|
Publisher: Total Eclipse Developer: Total Eclipse Release Year: 2011
White-haired Miranda Calomy, with the assistance of her robot Sprocket, helps a bunch of random people clean up their messes on the way to delivering parts to her grandfather, even though she doesn't know what for or even exactly where he is. While The Clockwork Man's Victorian steampunk setting and artwork are pleasantly unique, the game is short, even by casual hidden object game standards, and the objects are very tiny and difficult to discern. The game boasts zooming scenes, but it only lets you zoom between two different areas of a scene, not actually zoom in on objects to see what the heck they are. I assume it was done this way to force you to use Sprocket, who's essentially an elaborate hint system, to help find objects because the idea is that Miranda and Sprocket are supposed to work together. But if you don't want to be a "cheater", you'll have to risk eye strain.
NOTE: To (hopefully) get this game running in Windows 10, go to the "The Clockwork Man.exe" file in your Steam folders, right click on it, choose "Properties", and go to the "Compatibility" tab. Check the box to "Run this program in compability mode for:", and choose "Windows 7" from the drop-down menu. If you're lucky, it'll work. This game runs on my newer Windows 10 laptop, but not my older Windows 10 PC, so it might depend on other factors.


Type: Object Assembly/Repair
Comment: The first puzzle involves fixing this airship machinery. Although this is more like "use items from your inventory here", I'll include it because this game has so few puzzles. Put the gear with the others on the left and replace the broken radio tube. Use the hammer on the hole in the pipe in the upper right.

Put the copper sheet over the hole. Put the weight in the copper pot, and use the match on the blowtorch. Use the blowtorch on the weight to melt it. Then use the molten metal from the weight to seal the copper sheet on the pipe. You're done.

Type: Matching Symbols
Comment: This puzzle box has a strange lock mechanism. Each symbol in the row that is highlighted must contain something in common with the symbols on the brown part above it. The first dark grey symbol is locked in place and cannot be changed - it is your clue for how the rest of the symbols should be set. Note that this puzzle is randomized per game, so I cannot give you exact solutions. I can only give you examples from this playthrough to set you in the right direction. For the first part, notice the first symbol is turned 90 degrees to the right. Each symbol I choose here must have the same color as the top row, but be turned 90 degrees right. So, here is how I matched the row of symbols for this example.

The second and third row in this example were solved the same way, so let's just look at the third. The symbols are not only turned 90 degrees right, but the colors are also inverted. What is black must be made white, what is white is made black.

For the last example, the symbols are in the same position, but anything white should be turned black. When you play this game, you will likely get a different set of examples and will have to figure them out, but this guide should at least have given you the right idea. Moving on.

Type: Object Assembly/Repair
Comment: Another repair job, this time a funky furnace that runs on ammonia. Start by connecting the three pipes to where there are missing pieces just above the ammonia tank.

Open the ammonia tank, stick the funnel on it, and pour in every ammonia bottle you've got. Remove the funnel and close the cap when you're done.

Shovel some coal into the furnace, then use your shovel on the handle so that Miranda will be able to turn it. Turn the handle, then click the red lever in the middle control panel. That should do it.

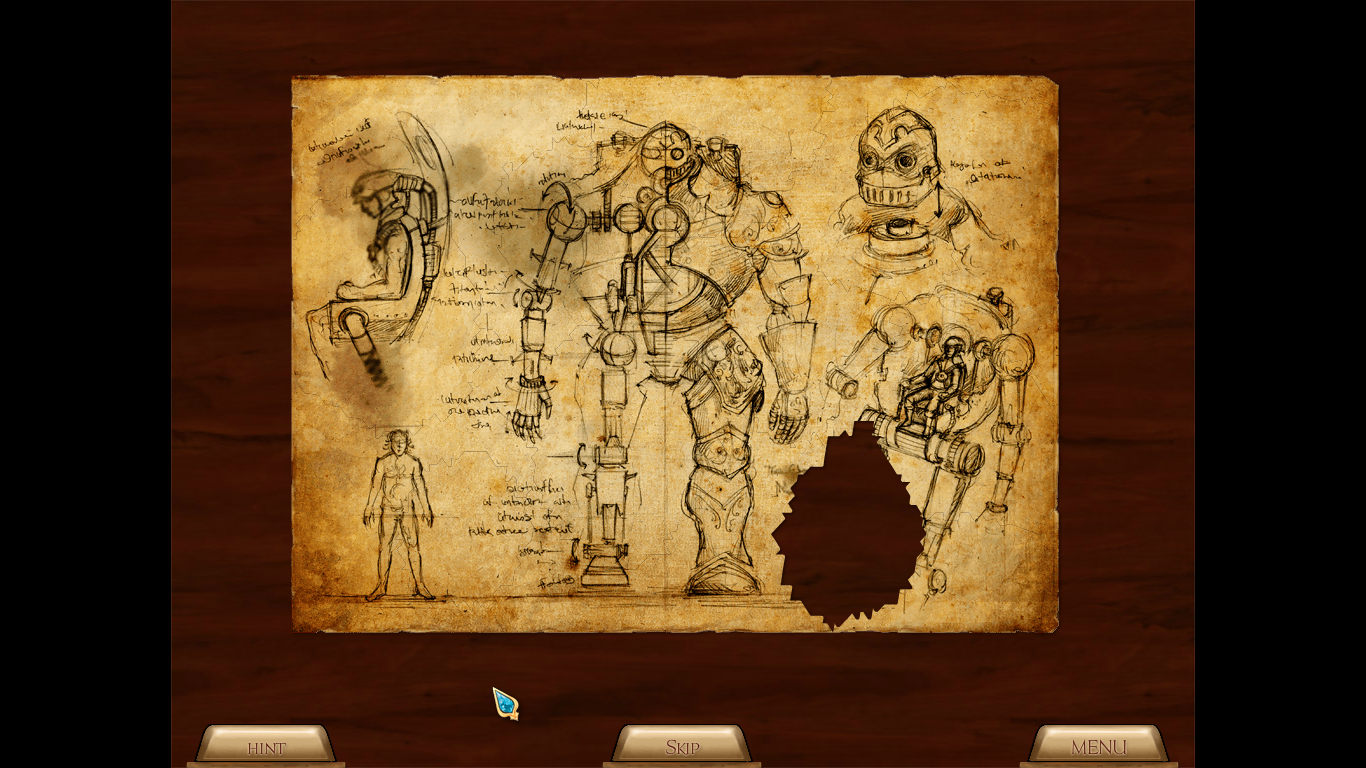
Type: Jigsaw Puzzle
Comment: Put together the picture of Miranda's grandfather's sketch. Um, well, this is it mostly solved, but I ran into a bizarre glitch where one of the pieces didn't spawn. I had to skip it to get past it. Assuming it doesn't do that to you, it shouldn't be too hard to figure out on your own.

Type: Combination Lock
Comment: This is a tricky one. To open this door, refer to the note in the bottom right of your screen. The set of faces in the top middle of the door is "0". Click that first, per the note. To know what other tiles to click on the door to open, count from the faces to the right if the number is positive, or the left if the number is negative. So, you would go three to the right and click that tile. Then go 2 to the left of the faces and click that tile. Then go 4 to the right and so on and so forth. Always return to the starting position of 0 to count, not from where you left off.

When all the correct tiles have been pressed, the arrow in the middle of the door becomes movable and will open a hole where it points. This is where the W, E, N on the note comes into play. First turn it to face the western hole, then put one of the stones from your inventory in the hole. Then turn it east and do the same. Then north for the last stone. Here is the door completely solved.

Type: 3D Maze
Comment: Work your way through the labyrinth and pick up artifacts you find along the way. A map of the maze will fill out as you move through the rooms.

At the end you'll find this wall carving. You will need to place all the artifacts in the holes. Three small sculptures, three large sculptures, and a skull. Here is the wall carving with all but one piece installed, and this image also shows the fully-drawn map.

Type: Combination Lock
Comment: After solving the previous puzzle, you will get the pieces from the wall carving back. When you place them on the pedestals in this room, the statue heads will raise a certain amount of height per type of piece. Small Sculpture = 1. Large Sculpture = 2. Skull = 5.

The answer to how high each head should be is on the handkerchief in your inventory: 1508.
Place a small sculpture in front of the first head to raise it one click.
Place one small sculpture and two big sculptures in front of the second head to raise it five clicks.
Leave the pedestal in front of the third head empty to keep it at zero.
Put everything else (one small sculpture, one large, and the skull) in front of the fourth head to raise it eight clicks. The door will open.
I didn't get a "completed" screenshot because it transitions too darn quickly, but this text solution should suffice if you have trouble.

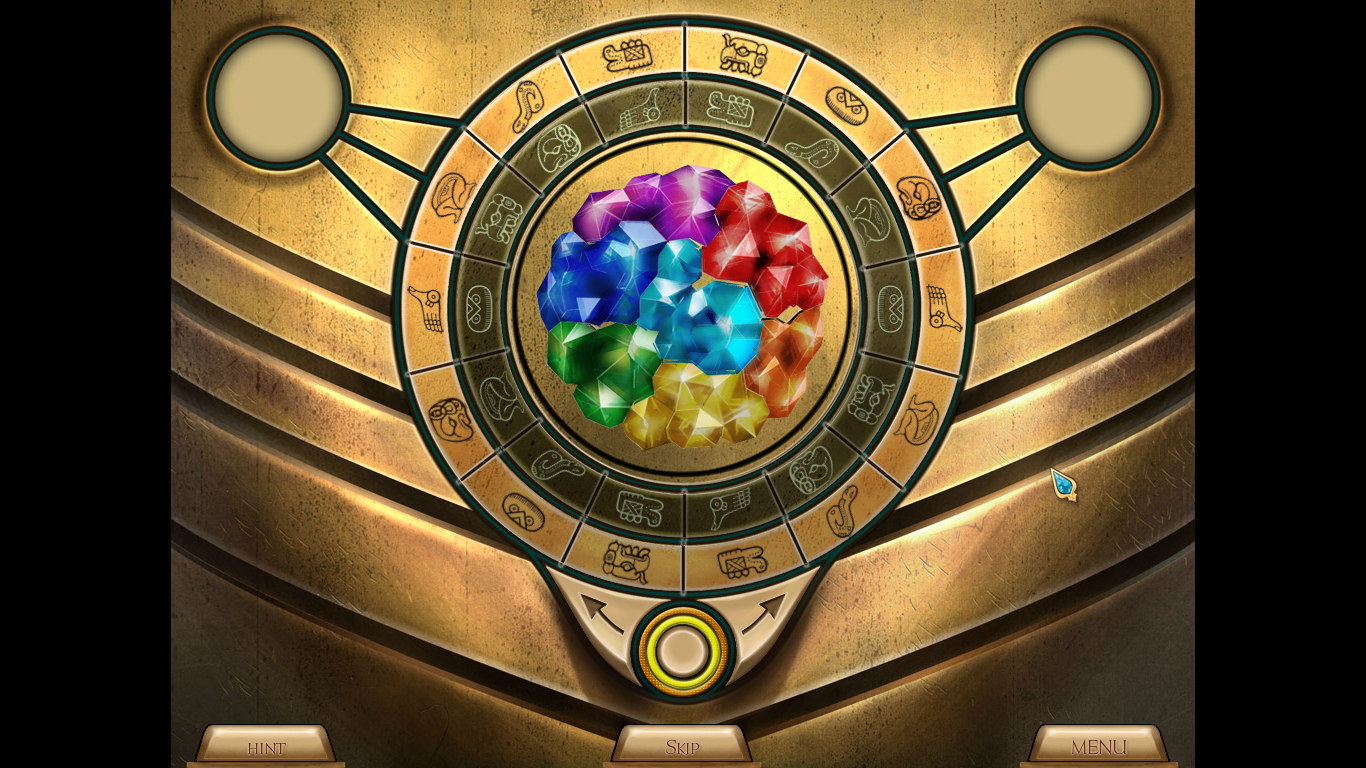
Type: Shape Matching
Comment: Put all the colored gems in the holes, matching them by shape. Here is what it looks like solved.

Type: Symbol Matching
Comment: For the final puzzle, use the buttons to turn the rings. Clicking the arrow buttons rotates the rings left or right. Clicking the round button changes which ring is active and can be moved. Match up any two of the same symbol in the area connected to the circle in the top left.

Then find the other pair of that same symbol and match it in the area that connects to the circle in the upper right. Now, you will have to do this again for every set of symbols. Yeah, it's obsessive and a lot of busywork, I agree. At least once you're done, the game is over.
|


