|
Publisher: 1C Company/Shaman Games Studio Developer: iMaxGen Release Year: 2009
Join FBI agent and part-time historian Jane Angel in a search across the globe for the Holy Grail. While Templar Mystery has some really creative hidden object scenes, it suffers from a translation so poor that the story makes almost no sense at all, and if I'm understanding the ending correctly, it turns out to be one big wild goose chase. It also eschews a soundtrack in favor of weird ambient noises, like ringing phones, typewriter sounds, and somebody playing with the dial on a radio.


Type: Jigsaw Puzzle
Comment: Put together the pieces of the ripped-up plane ticket. Here is what it looks like solved.

Type: Decoding Message via Rotating Parts
Comment: Rotate the rings until the letters line up to form actual words. Here is what it looks like solved.

Type: Find the Differences
Comment: This game puts an odd twist on the "Find the Differences" concept by having you arrange the objects in the room on the right to match the room on the left. For example, see that handbag hanging from the ceiling fan? You'll have to drag and drop it down to the dresser. Sometimes the game is a little picky about letting you drop an item if you don't get it in the *exact* right spot, so you may have to play around with it.

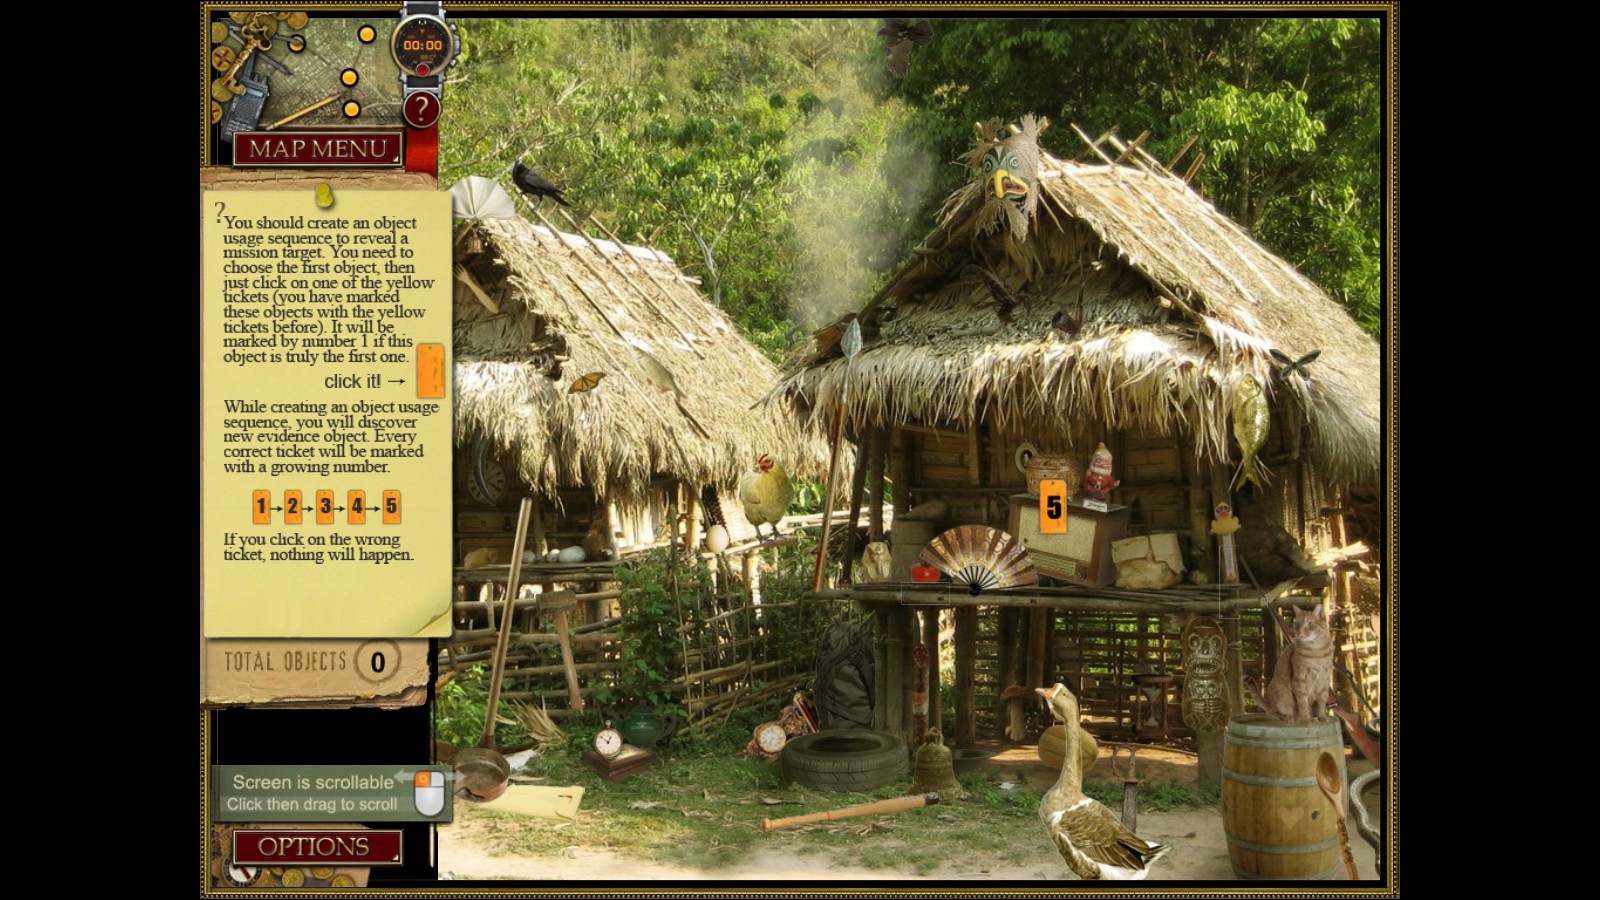
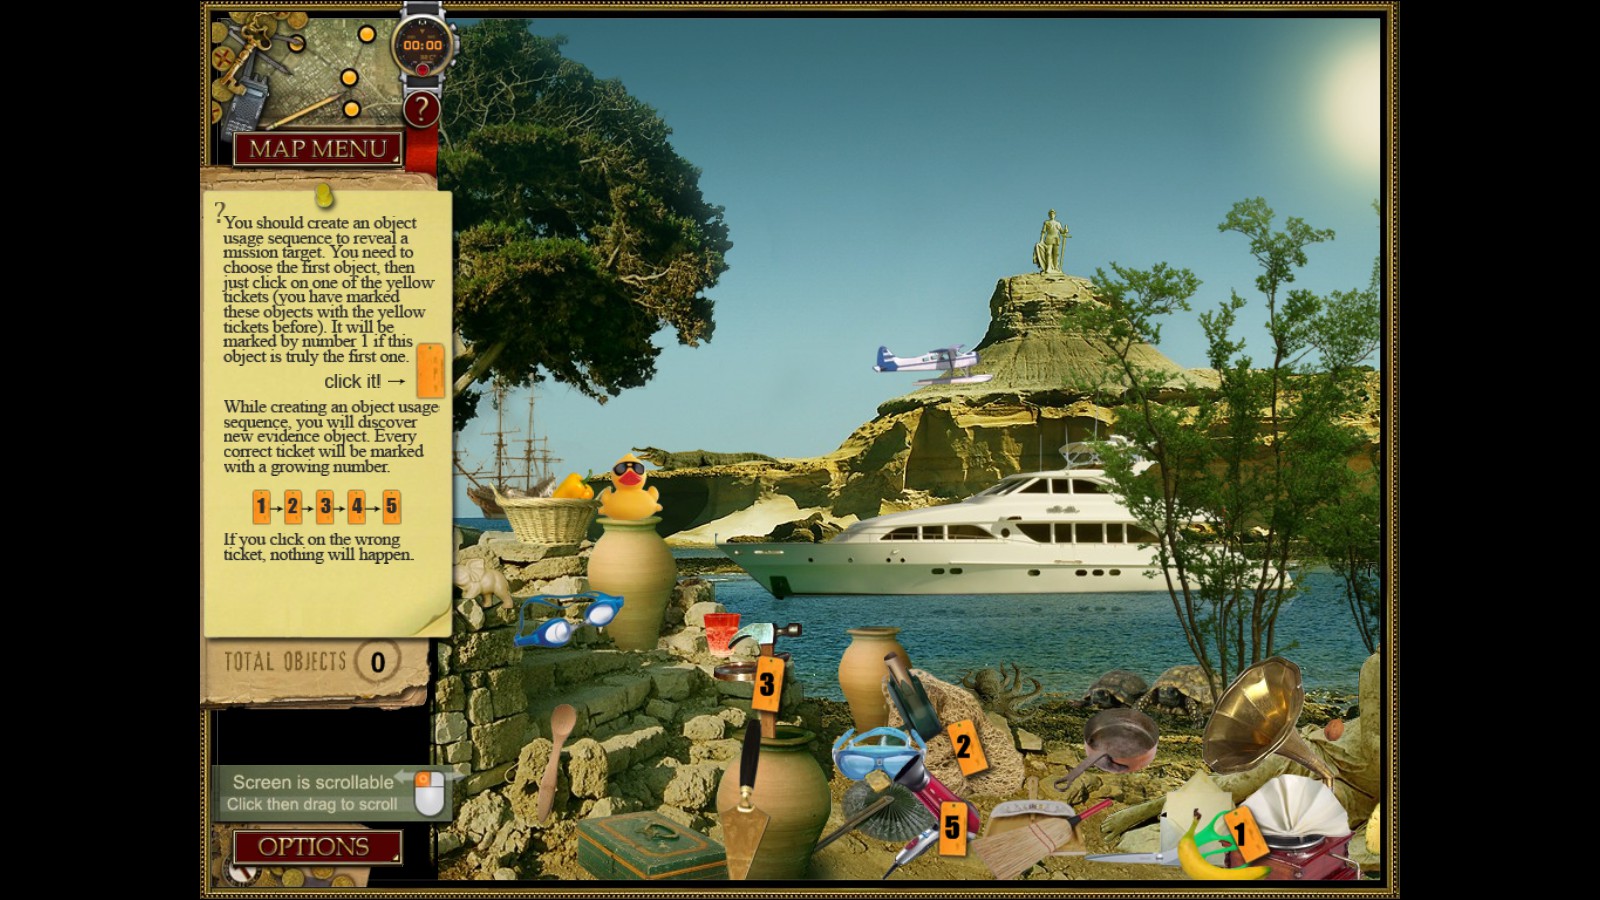
Type: Rube Goldberg Sequence
Comment: Some hidden object scenes end with you putting tags on items, and then you have to select the tags in a specific order to set off a chain reaction that reveals the area's secret treasure. In this case, start by clicking the gloves, then the electrical cord, then the swith below the cord (Figure 1). Then click on the weight that's hanging from the ceiling. This makes something fall down and break into pieces on the floor. Click that and you're done (Figure 2).

Type: Jigsaw Puzzle
Comment: This is what broke in the previous scene. It's a horse and rider statue. Put it back together again. Here is what it looks like solved.

Type: Color Matching Chains
Comment: A mini-game Jane Angel plays on her phone to be sure she isn't dreaming (I'm not making this up). You have to match a certain number of colored lights together, according to the instructions on the left. When you move a light, if you place it into a group of 6 or more, the group will vanish and no new lights will appear. If you move a light and it doesn't make any other lights disappear, new lights will pop up in random places on the grid. If the playing field becomes so cluttered that you can't make any moves, you will have to start all over again.
Because of the random nature of this mini-game, I can't really give exact instructions, just a few tips.
1. The number of lights the game wants you to remove must be exact. For example, if it asks you to remove a cluster of 6 blue lights, and you remove a cluster of 7, that won't count for the 6.
2. Because groups of 6 always vanish, you will have to do some planning to get a 7 or higher chain. This screenshot shows an example of one.
3. Clear the playing field if it starts getting too tight, even if it means removing lights that the instructions don't actually ask for.
4. If there's a high concentration of one color anywhere in the grid, start with setting up a chain there first.
5. Other than that, just practice and eventually you'll get it.

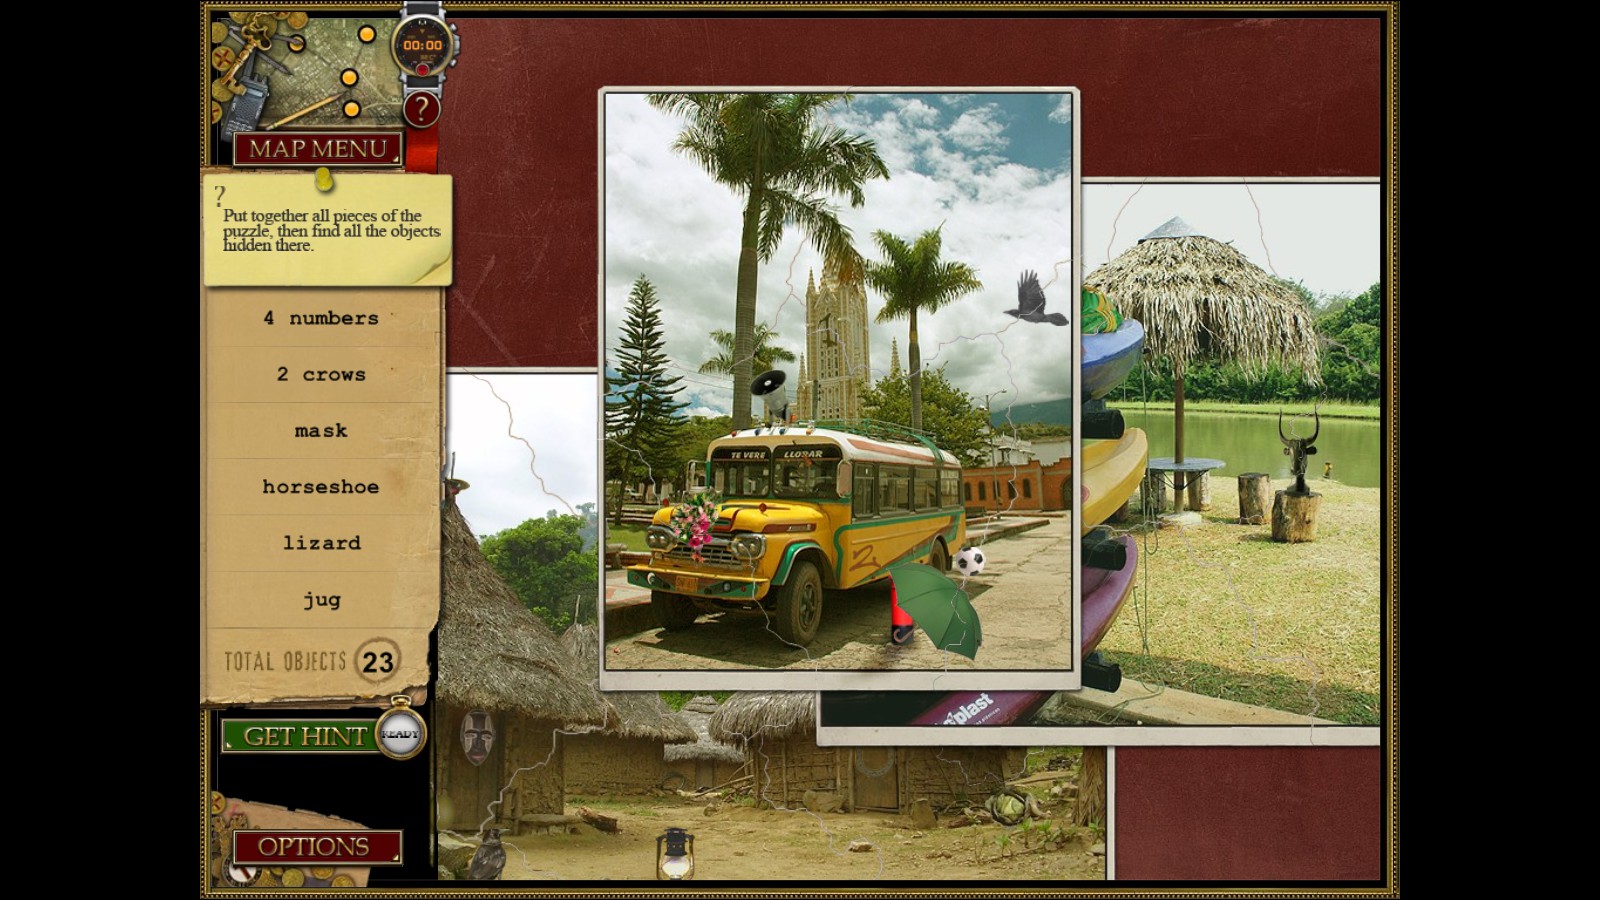
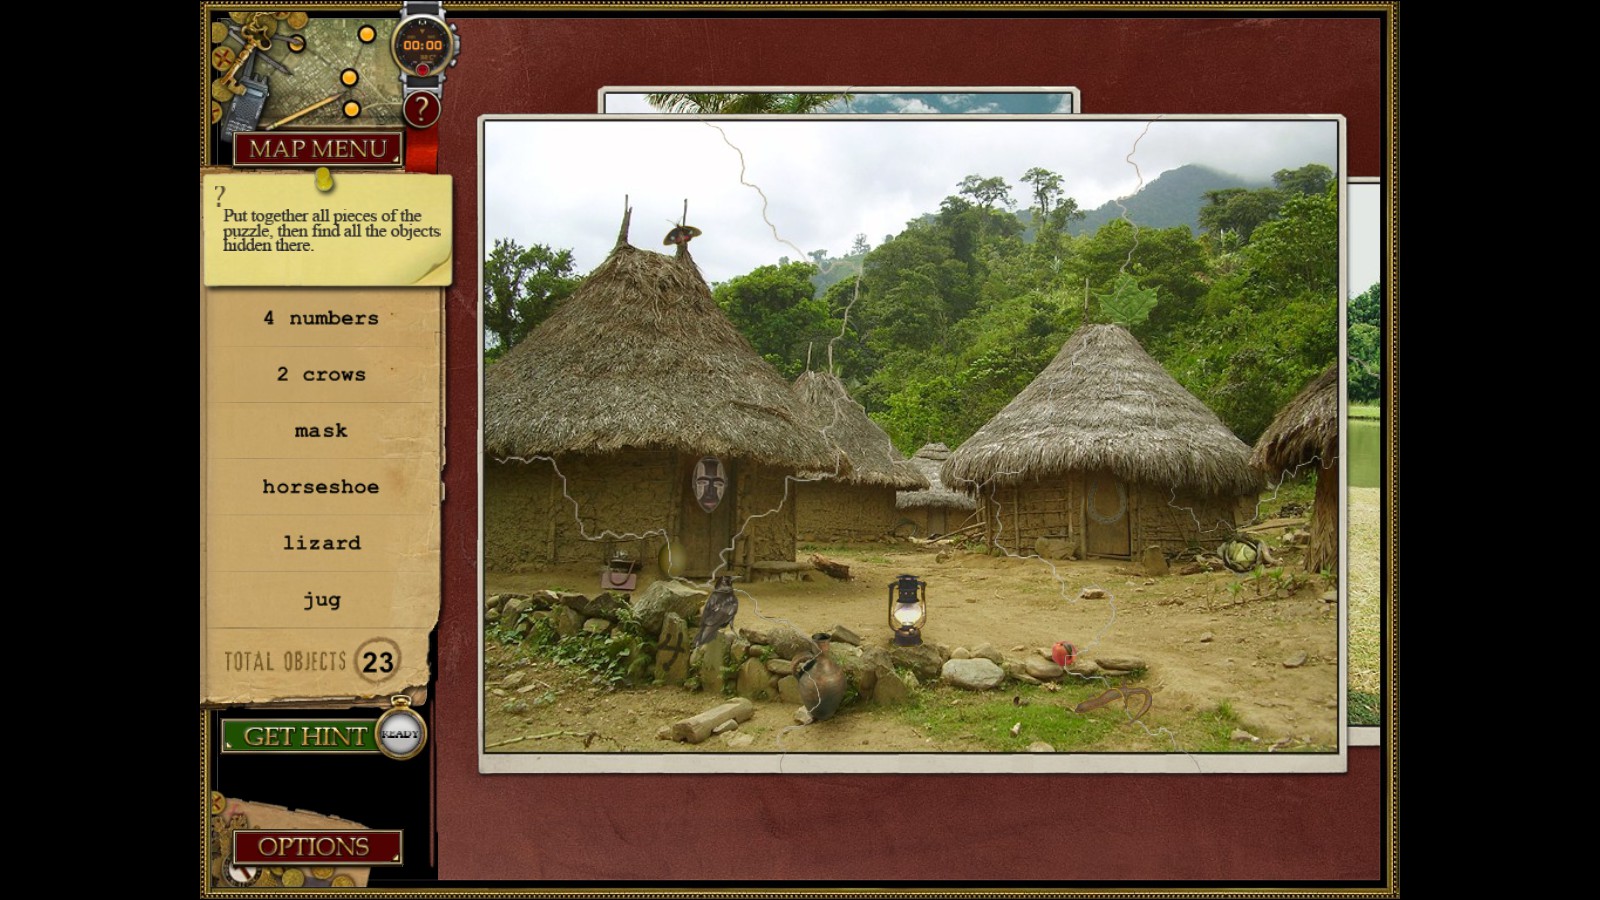
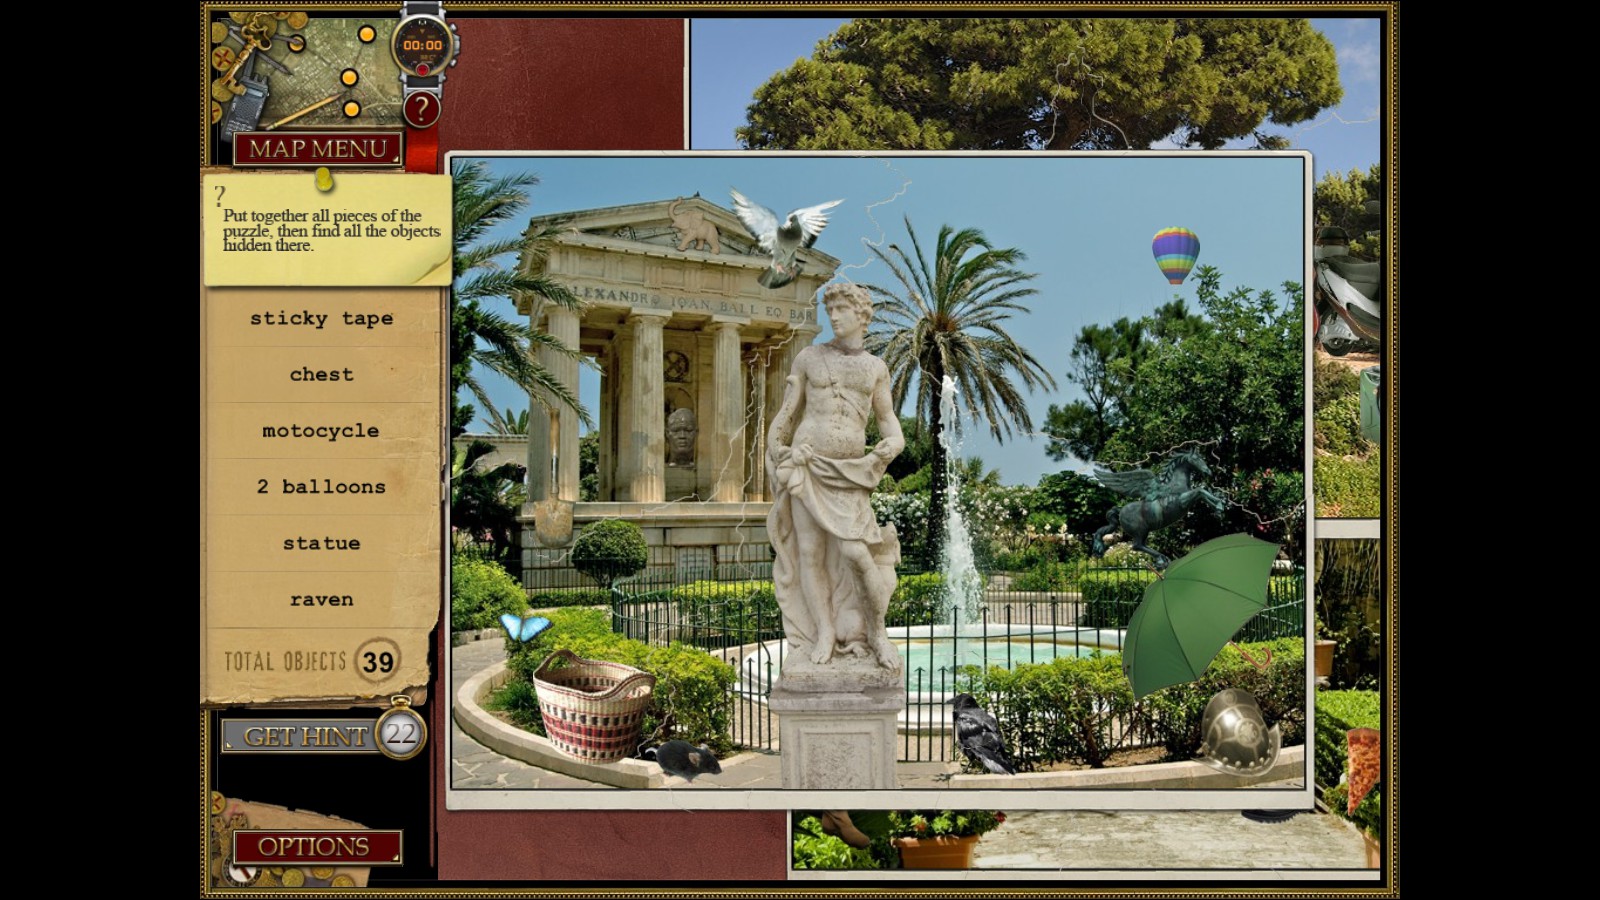
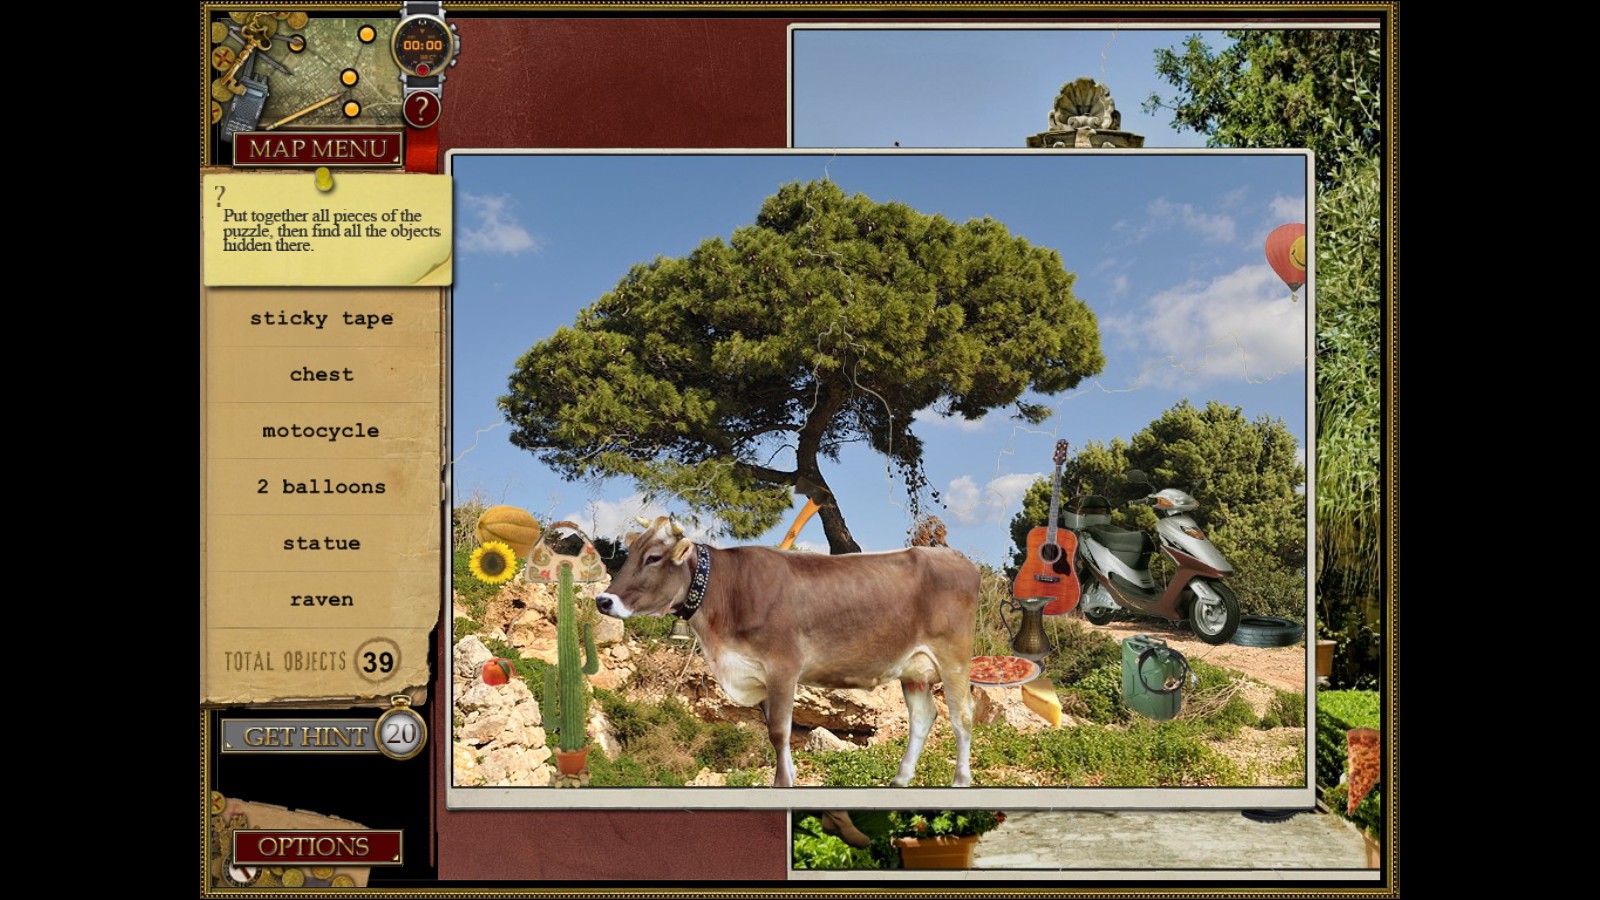
Type: Jigsaw Puzzle
Comment: Jane has to search for hidden objects simultaneously in three different areas, but before she can, she has to assemble their pictures. Here is what they look like solved: Picture 1, Picture 2, Picture 3.

Type: Rube Goldberg Sequence
Comment: The second Rube Goldberg puzzle. Click the hatchet, then the branch, then the magnifying glass. This makes the monkey leave. Click the key where it was (Figure 1). Scroll over and click the locked box (Figure 2).

Type: Sliding Tile
Comment: Although this is a sliding tile puzzle, it's probably the easiest one I've ever seen. Most pieces are already in place and those that remain need to be moved one or two spaces over at the most. Here is what it looks like solved.

Type: Find the Differences
Comment: Another one of these. The item that gave me the most trouble is the hatchet. Only its head is sticking up from the bottom of the screen near the vases.

Type: Rube Goldberg Sequence
Comment: The rope, magnet, and spear form a single item that lets you get the key above, which unlocks the padlock. Here is what it looks like solved.

Type: Jigsaw Puzzle
Comment: Put together this weird note. Here is what it looks like solved.

Type: Jigsaw Puzzle
Comment: Once again, Jane has to piece together the pictures before she can go searching for items in them. Here is what they look like solved: Picture 1, Picture 2, Picture 3.

Type: Color Matching Chains
Comment: You have to do this mini-game again, and it's the same as before except now it's a little harder because there are more 7's and 8's expected for you to complete.

Type: Find the Differences
Comment: This game is caught in a rut. The eagle is a little tough to spot - it's down and slightly to the right of where it should be. Don't forget to move the moon in the sky.

Type: Rube Goldberg Sequence
Comment: Pull the chain in the knight's hand. This darkens the room. Move the shield then click the key that appears. Turn on the flashlight and then click the safe. Here is what it looks like solved.

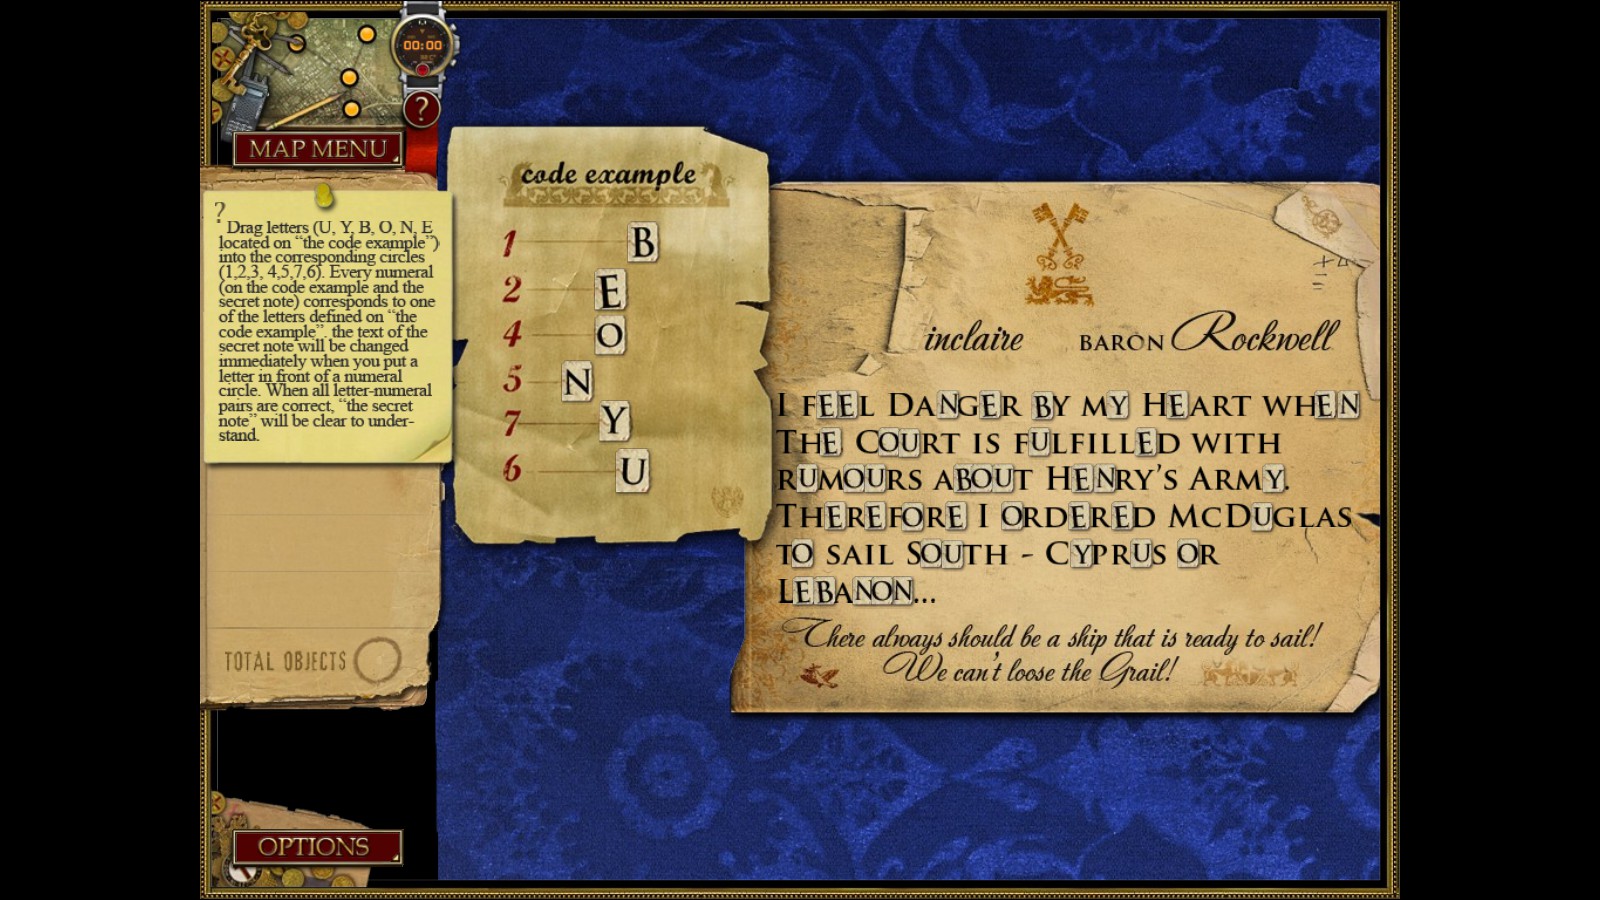
Type: Decoding Secret Message
Comment: Finally! Something different. Place the letters on the numbers to decode the message, using intuition and common sense. Here is what it looks like solved.

Type: Shape Matching
Comment: Put the countries where they belong on the map. Here is what it looks like solved.

Type: Rube Goldberg Sequence
Comment: Click the walkie talkie, then the hook, the rope, and the box. Here is what it looks like solved.

Type: Rube Goldberg Sequence
Comment: Click the scissors, then the net, the hammer, bottle, and the hairdryer. Here is what it looks like solved.

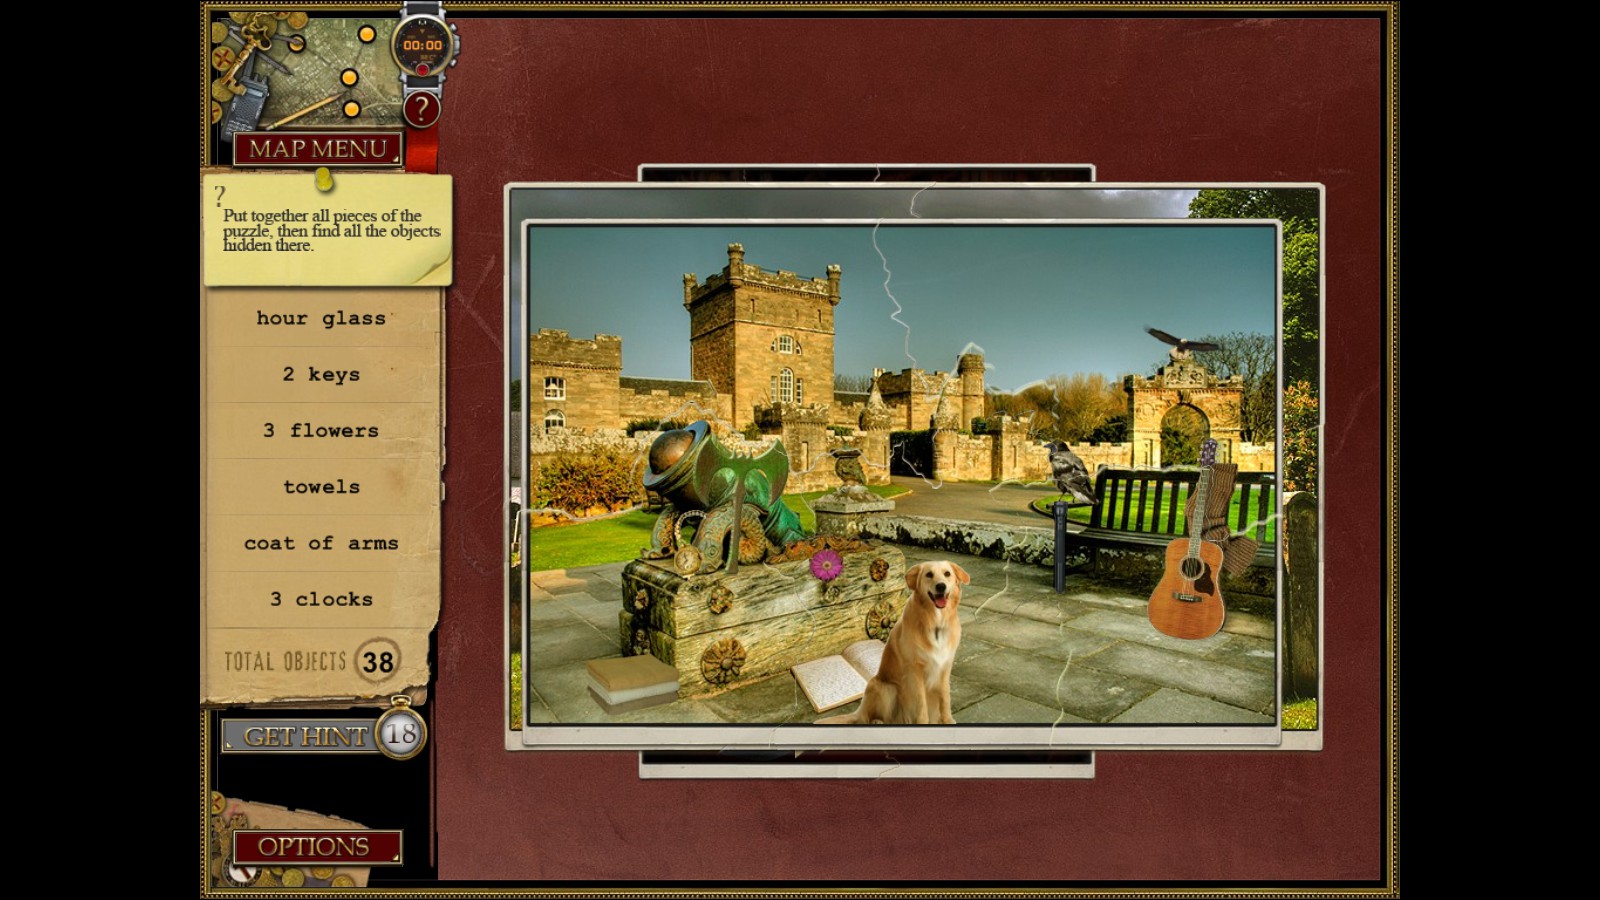
Type: Jigsaw Puzzle
Comment: Another note to reassemble. Here is what it looks like solved.

Type: Jigsaw Puzzle
Comment: Yup. This again. You know the drill. Here is what they look like solved: Picture 1, Picture 2, Picture 3.

Type: Rube Goldberg Sequence
Comment: Climb the ladder, pull the flag, then use the letter opener on the envelope. You'll get a combination that Jane automatically uses when you click on the safe. Congratulations, you've found the fake Holy Grail. Here is what it looks like solved.

Type: Color Matching Chains
Comment: The game's final puzzle is this thing again, which is the same as always, except there are more 7's and 8's and even a 9! Good luck!
|


