|
Publisher: MumboJumbo Developer: MumboJumbo Release Year: 2011
Despite her rather questionable approach to archaeology, Samantha Swift is back for a third adventure, this time seeking out the legendary Fountain of Youth by finding clues all over the world. All the while, she's pursued by villains who don't know how to ride jetskis. The Swift games are a cakewalk, but have a very pleasant and unique hand-drawn art style and ambient music.


Type: Swapping/Arranging Parts to Form a Picture
Comment: Very similar to a Bookshelf Puzzle, except you're arranging pieces of a wooden fence to form a picture. Here is the solution.

Type: Matching Pattern Chain
Comment: The rack on the right will show you a sequence of seashells and you have to find this pattern in the grid and link them. They can be linked horizontally, vertically, and/or diagonally. These are rather easy, but I'll show you a possible solution to the final one since it's the most complicated: Figure 1.

Type: Match 3 via Rotating Panel
Comment: The idea here is to get the colors to line up in groups of three by rotating the panel. For the first set, hit the middle button, then rotate left or right.

For the second one, rotate left twice.

The third one is the easiest. All you have to do is click the middle button once and you've got it.

Type: Matching Colors
Comment: Arguably the most annoying puzzle in the game. Click on groups of two or more colors and the crates will disappear, shifting the others into a single pile. You must keep doing this until all the crates are eliminated and a keycard is revealed under the bottom right one. The problem is that if you have a single color left at the end, a whole new set of crates will fall down and you'll have to try again, and it will do this forever until you solve it.

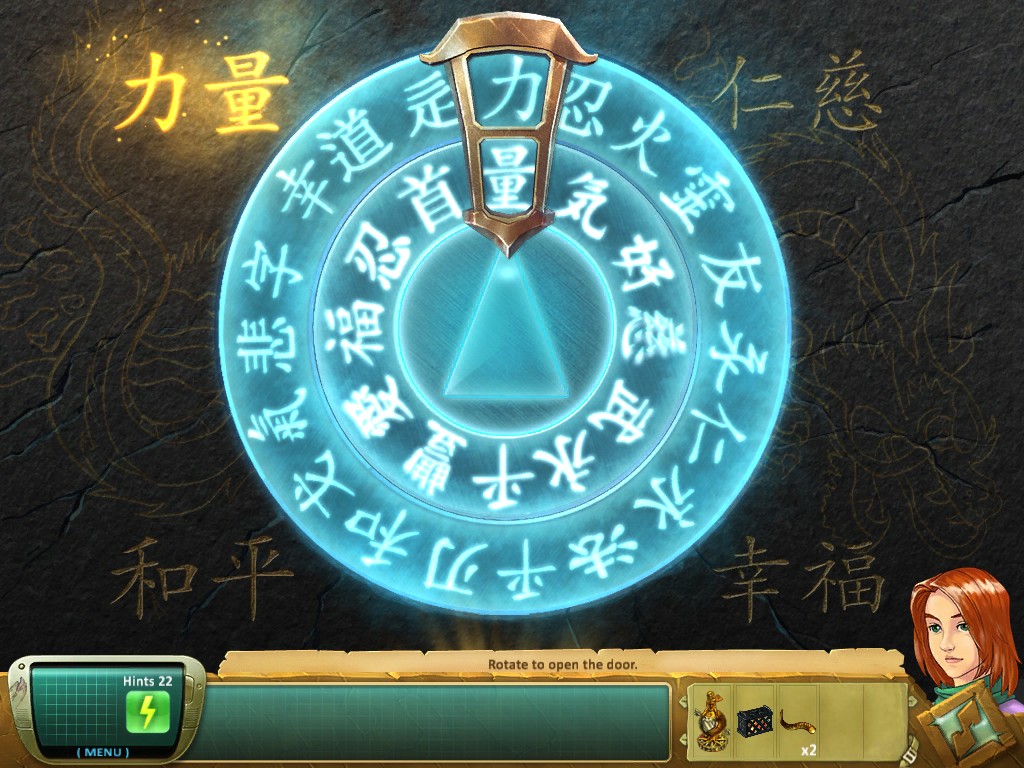
Type: Matching Symbols via Rotating Parts
Comment: The kanji on the left needs to be in the top of the pointer and the kanji on the right in the bottom. Rotate the rings to line them up. Here is the solution to the first one. I'm not going to show all of them because it's too easy.

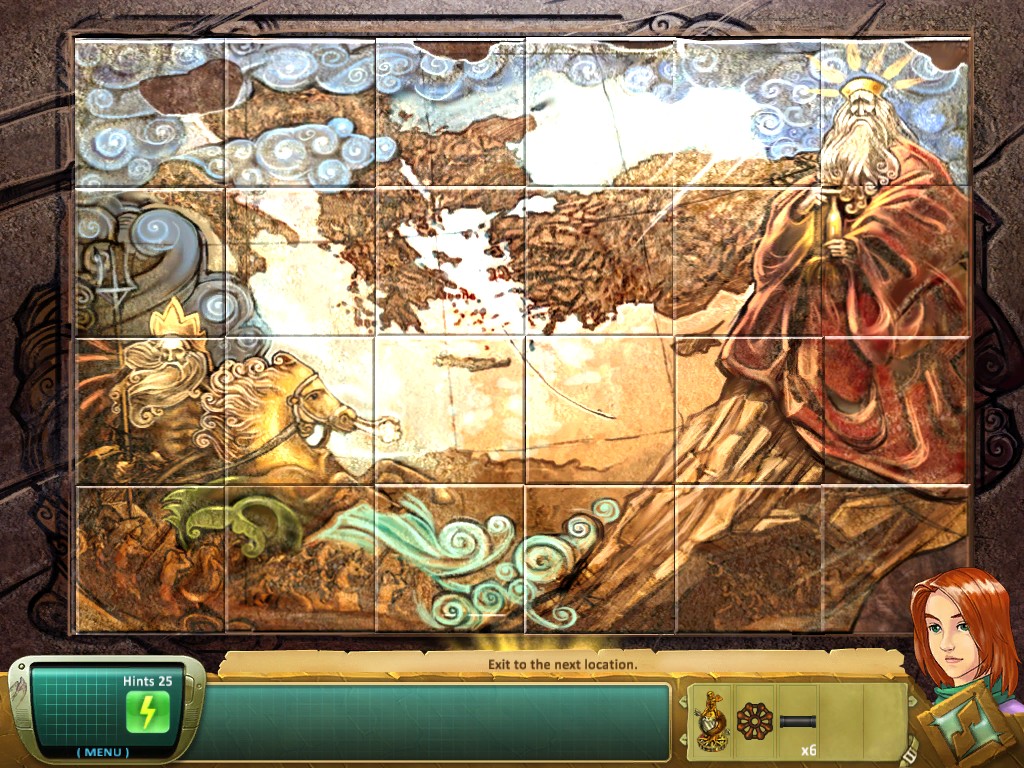
Type: Jigsaw Puzzle
Comment: This puzzle starts with several pieces already in place. It's easy to form the rest of the picture around them. Here is the solution.

Type: Match 3
Comment: Click two colored bricks to briefly swap them. Every time three or more of the same color line up, the bricks disappear and destroy the white blocks underneath, then new colored bricks fall down to replace them. Keep doing this until all of the blocks are gone. Sometimes it can be annoying if you only have one left. Just keep matching colors until you can take it out.

Type: Find the Differences
Comment: Most of these are obvious as dirt, but some of the harder ones include: the pink key hidden amongst the gems, the extra curl on the lion's mane, the two swifts on the column, and the two differnces in the griffin carving on the left column.

Type: Pipe Connecting Puzzle
Comment: Take the pipes from your invetory and form a complete connection between the two pipes on the grid. Don't forget to place and turn the valve when you're done. Here is one possible solution.

Type: Rotating Goal Puzzle
Comment: Throw your Kachina dolls onto the net. You can rotate the net left or right and the diamond will slide around. Manipulate it so that it touches all of the dolls and a Kokopeli flute player will appear in the middle. Send the diamond down the hole to complete the scene. This one is easy because you can stop the diamond's movement by rotating the net while it's sliding, so it's very easy to work it into all the corners and the hole.

Type: Matching Shapes
Comment: I don't normally include puzzles that are essentially just "use your invetory items here", but this one confused me when I first got to it because it wasn't immediately obvious what I had to do, so I decided to put it in the guide. In the hidden object scene right before this gate, you'll be asked to find a bunch of metal leaves. They go in the empty spots in this gate and you have to match them up by shape. When you've got them all in place (as I mostly do in this screenshot), wait for the rose at the bottom to morph into a lock. Then use your key on it.

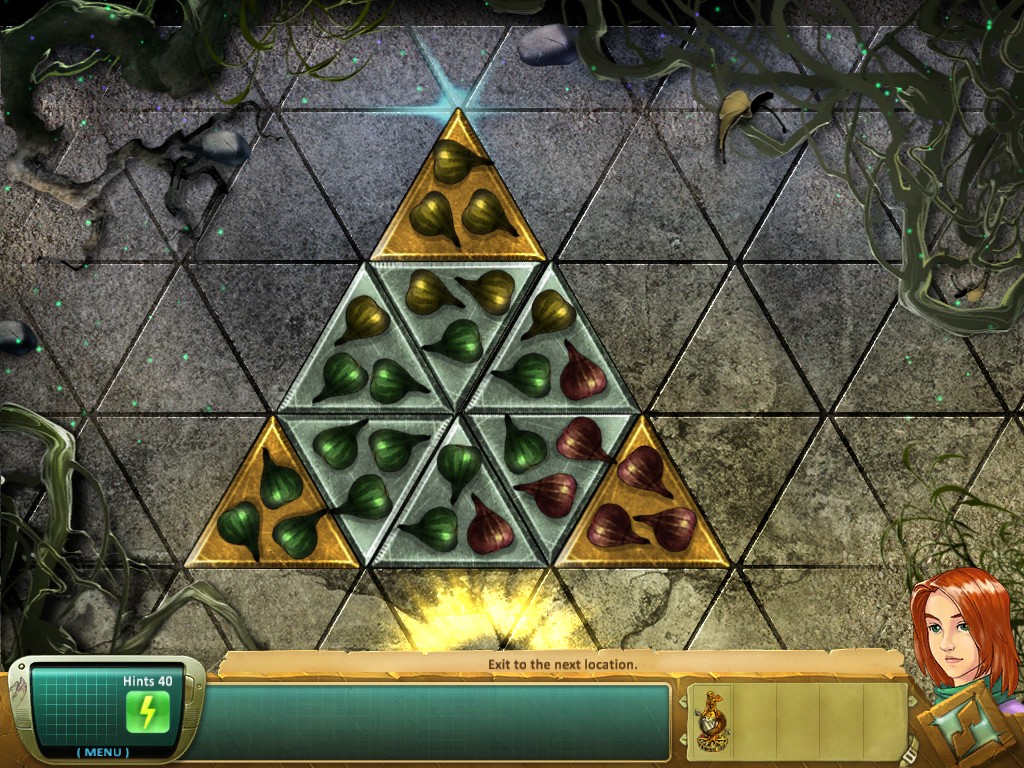
Type: Matching Color Patterns
Comment: The figs on the gray triangles need to be grouped with the ones on the yellow triangles, and each other, by color. If you can't figure it out, here is the solution.

Type: 3D Labyrinth
Comment: The secret to getting through this first-person maze is to take the corridors where you see a playing card on the wall, like so. At the end, you'll find a lantern, like so. Use that to burn down the spider web to the right and exit the maze.

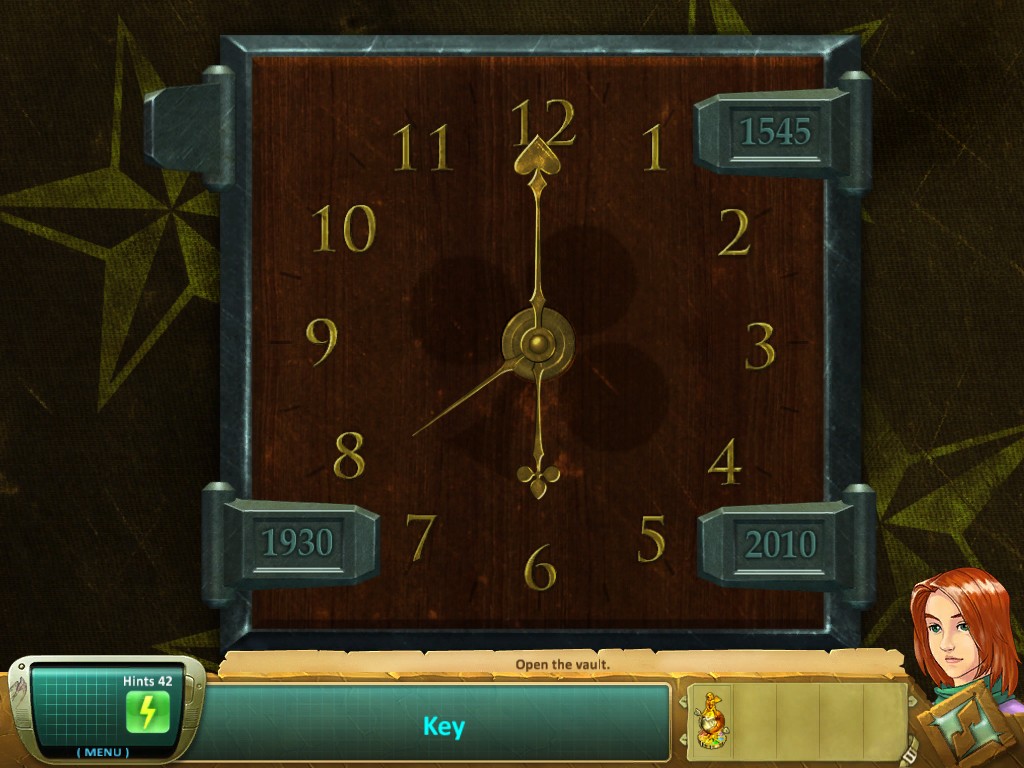
Type: Clock Puzzle
Comment: This is the game's final puzzle. The hinges show the times (in military format) that the clock handles need to be set to. Ignore the seconds hand, it's constantly moving and plays no role in this puzzle. The first one is 6:00. The second one is 3:45. The third one is 7:30. The fourth one is 8:10, but the screen transitioned too quickly for me to get a screenshot.
|


