

Level 5: Quagmire
Level 5: Quagmire
|
When dealing with the Quagmire dungeon, prepare to die a lot. This dungeon has a LOT of spike-filled rooms that are quite difficult to navigate without getting punctured. The layout of the dungeon is not quite as much of a pain as Atlena was with all the collecting keys and walking back and forth, but some (though not all) of the rooms are real teeth-grinders. Also, just getting the dungeon started can seem impossible because most overworld entrances will take you to rooms from which you can't go much farther due to locked doors. What I will do is take you directly to the entrance that leads into the heart of the dungeon, and then circle that area so that you collect all of the keys. Once you have all of the keys, you can then choose to go to whatever part of the dungeon you want from there, it doesn't really make much of a difference after that. Strangely enough, the keys are actually harder to get in Quagmire than the tokens are. A lot of tokens are sitting out in the open where they're rather easy to get to and some are found by killing easy enemies.
 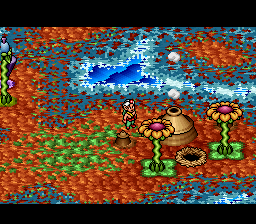 Cross the bridge from the southwestern area of Atlena to reach the Quagmire overworld. You'll want to find the dungeon entrance that leads to Room 05-31. The others will do you little good to visit right now because your path forward will be blocked off by locked doors. The entrance you're looking for in is the south middle part of the Quagmire overworld map. (See screenshots for reference.) 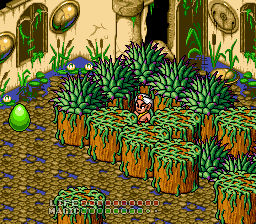 Kill the Green Blob in Room 05-31 to open the locked door. The locked door leads to the boss room, but obviously you do not need to go there right now. Instead, exit through the NW door that's just to the left of the boss room door. 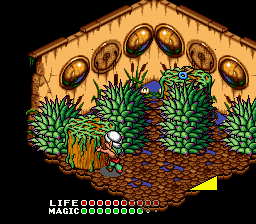 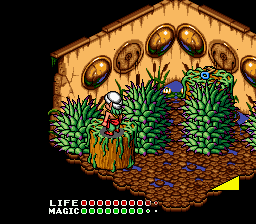 Room 05-2D contains the first set of difficult jumps over spikes that you'll encounter when following this guide. Start by pushing the movable pillar up against the spikes. Then use it to jump over the spikes, but you'll have to also bend your jump around the corner. It's difficult to do and might take some practice, so hopefully you have a full life bar. 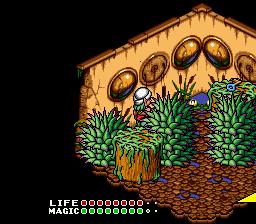 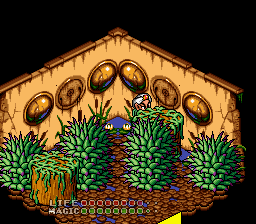 Get the Blue Key, then push the pedestal it was on up against the spikes. Once again, use the platform to jump around them. Exit back to Room 05-31, then take the NE exit just to the right of the boss room. 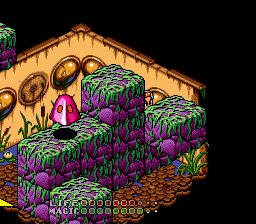 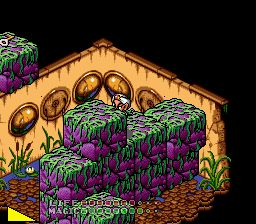 In Room 05-36, push against the block at the back row to move it slightly out of your way so that you can get up onto the platforms. Kill the Red Ghost to get him out of your way, too, and then push the top block down towards the block with the key. Use that block to jump up to the White Key. Exit back to Room 05-31 then take the SW exit. 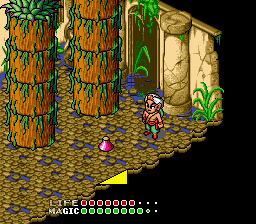 Kill the Blue Devil in Room 05-30 for a Red Potion. Then exit NW (the door is hidden from view by the columns, but it's exactly opposite from the visible SE door.) 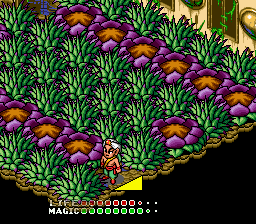 Room 05-2A has several rows of flower pad platforms that will push you off of them as you cross due to the conveyor belt effect. You'll have to carefully jump across them to hold your position and keep from falling on the spikes. When you get to the other side, exit NW. 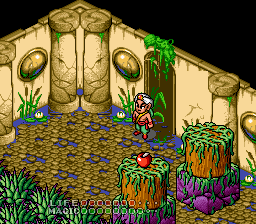 Use the moving platforms to get over the spikes in Room 05-27. Get the White Apple if you need it, then exit SE. 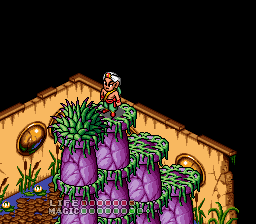 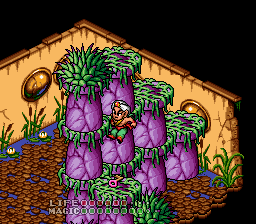 In Room 05-2B jump up to the top of the stacked pedestals. You'll have to fall from the top one and bend your landing trajectory slightly to land on the lower pedestal with the Red Key. Exit back to Room 05-27 when you've got the key and then go NE. 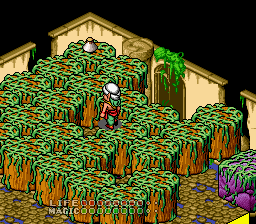 Room 05-28 has a White Potion which completely refills your magic meter. Unless you're low on magic or life now, I would suggest leaving it so that you can get it later if you start running low. If you are low on life, refill your health meter as much as you can with the Heal spell, then take the White Potion to replenish your magic. Exit SE. 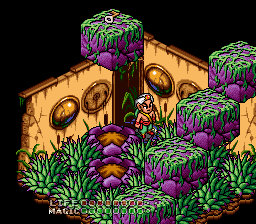 Room 05-2C has a White Key that is fairly simple to get to. Jump across the spikes and up to the block with the key by using the flower pads and floating blocks in the room. Exit back 05-28 when you're done and then go NE. 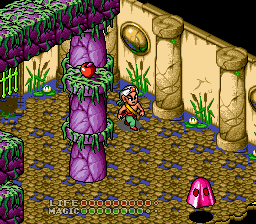 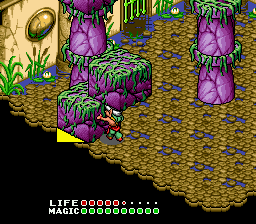 Room 05-29 has a Red Apple that seems impossible to get to at first...until you realize that the block that sits on the floor can be pushed. Push it out from under the other block to use it as a platform to get up to where the apple is. When you're done, exit SE. 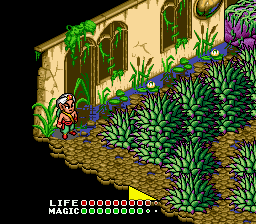 There's nothing special in Room 05-2F. Just go SW. 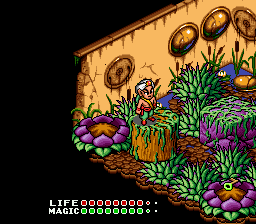 Room 05-2E has a Green Key that is, once again, simple to get to, except that you have to be careful of the spikes. Just use the platforms in the room to get to and from it. Exit back to Room 05-2F, then go SE. (You'll have to use platforms to get across the spikes, but it's not that hard.) 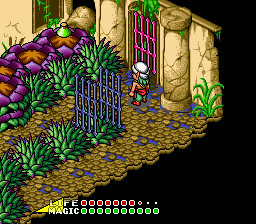 Room 05-33 has a Green Potion. Get it if you need it, then exit SE. 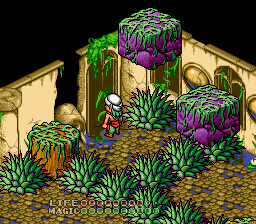 Use the platforms to get around the spikes in Room 05-39, and exit SE. (This dungeon has a lot of filler rooms.) 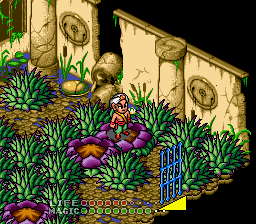 Room 05-3C has a Blue Potion that's a little difficult to get to. It's in the lower corner and you'll have to carefully jump over spikes to land on the flower pad that has it. If you think it's too difficult pass it up. Likewise, you might find this next part too difficult, but I'll suggest it anyway. Try to get over to the SE Blue Door, and exit through it. I know that making the jumps to the flower pads is a little tricky without landing on the spikes, so if you can't make it, you can do the next room later. If you can get over there, then go ahead through the door. 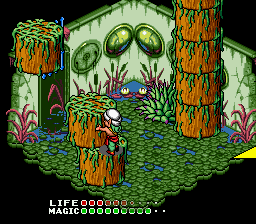 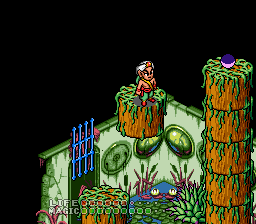 Room 05-3D has a Token (1) that is easy to get to. Just use the wooden pedestals to work your way up to it. Start by pushing the one that sits on top of the floor pedestal to form a "staircase" the higher log. When you leap to that one, it will start moving. You will have to bend your jump slightly to land on the token platform from the moving platform. If you fall and miss, you might have to restart the room by entering and exiting to reset the moving block. Exit back to Room 05-3C when you are done. 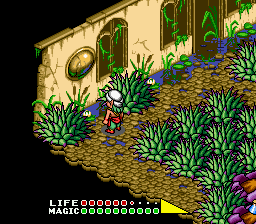 Back in Room 05-3C, do you see those two spike plants sitting against the NW wall? Walk between them and press into the wall. You'll go through a hidden door. 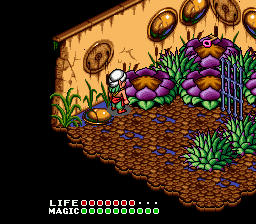 Room 05-38 has a Red Key that is again fairly simple, but tricky at the same time because you have to jump onto the flower pads and avoid the spikes. Also, the flowers act as conveyors, so you'll have to jump or press in the opposite direction of their movement to hold your position and not land on the spikes. When you've got the key, exit back to Room 05-3C, and this time go SW. 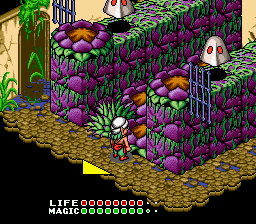 Room 05-3B has two White Ghosts that you can kill for a White Potion if you need it. Otherwise, exit NW. 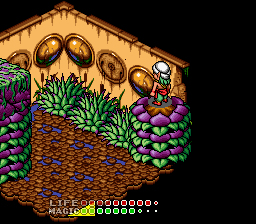 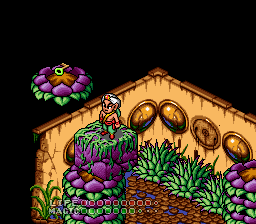 In Room 05-37, jump to the flower stack in the corner, then to the moving block, and from there to the block with the Green Key. Exit back Room 05-3B and go SW. 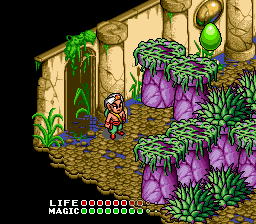 Kill or avoid the Green Blobs in Room 05-3A and exit NW. (Yep, another room with no significance.) 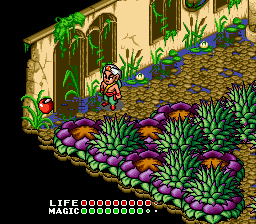 Kill the Green Devil in Room 05-34 for a White Apple, then exit NE. 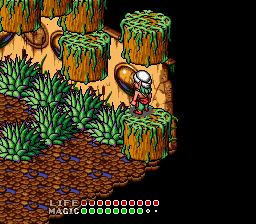 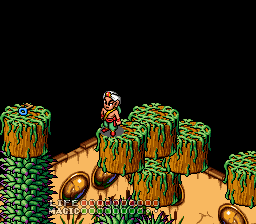 Room 05-35 has a Blue Key that you'll get to by jumping across wooden pedestals (again). There are two tricky parts. The first is that you'll have to jump from the lower logs to the upper ones by timing your jump to and from a moving log. Jump at it as it starts to come towards you, and then quickly jump to the upper row. The second tricky part is making the jump from the edge of the log platform over to the one with the key. You'll have to bend your jump to get over to it. When you're done, exit back to Room 05-34, and this time go NW. 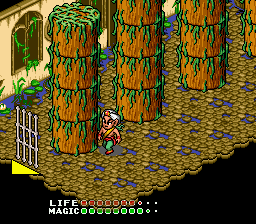 Guess what? You're back in Room 05-30. Now, at this point you've got all the dungeon's keys, so it doesn't really matter which quadrant you visit next. I'll just take you in a clockwise direction around the dungeon starting with the closest quadrant. Walk SW and exit through the White Door. 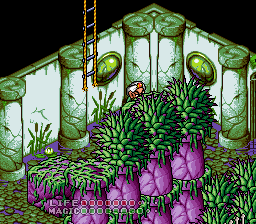 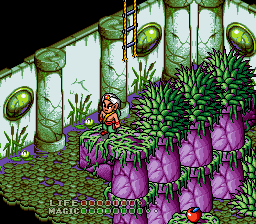 Room 05-23 is an overworld entrance/exit room, so you can leave and save your progress if you want, but first you have to get up to where the ladder is. There's a movable block hidden from view in the upper corner. Find it and push it to where you can leap from the top of it to the moving block. Use the moving block to reach the pedestal that leads to the ladder. Leave if you want, but when you come back, fall down to the side that has the pedestal with the Blue Apple. Get the apple if you need it, then exit SE through the White Door. 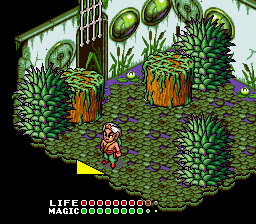 Room 05-26 has nothing of significance. Just be careful that the moving logs don't push you into the spikes and exit SW. 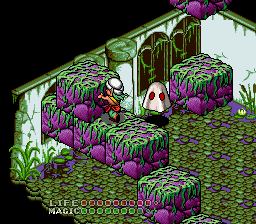 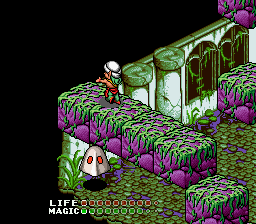 Do not kill the White Ghost in Room 05-25. (If you did kill it, leave and re-enter the room to respawn him.) Instead, push the movable block from the upper row of blocks down onto the White Ghost's noggin.  Then ride the block over to the platform with the Token (2). Exit SE. 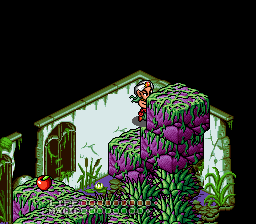 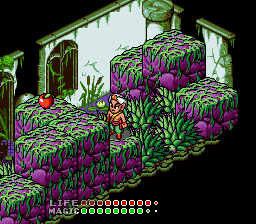 Push the uppermost block in Room 05-3E down to the ground, then use it to jump across the spikes to the other blocks. Get the Green Apple if you need it, then exit SW. 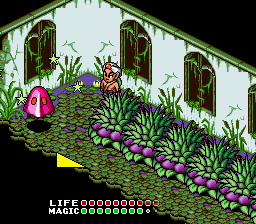 Kill the ghosts to get them out of your way in Room 05-24, then exit SW. (Another room with little significance, other than to make me wonder what the hell kind of building this Quagmire dungeon used to be. Sometimes it looks like a sunken castle, other times it looks like bungalow apartments.) 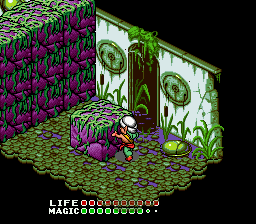 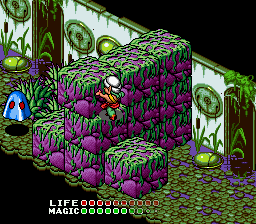 Kill the Blue Ghost in Room 05-1F, then push the floor block up against the wall of blocks. Jump up and push against the left lower blocks to make one of them move out of your way. Drop to the other side, kill the remaining Blue Ghost for a Red Apple, then exit NE. 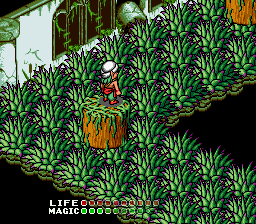 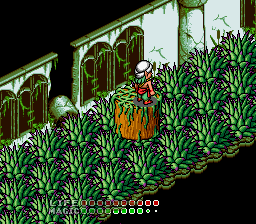 Room 05-1E is one of the biggest pain-in-the-ass rooms in Quagmire. You'll have to jump onto moving log platforms to get across the spikes, and in the middle of the bend in the "L", you'll have to time your jump from one moving log to another. It's difficult to do, so just keep trying. Exit SE when you get to the other side. 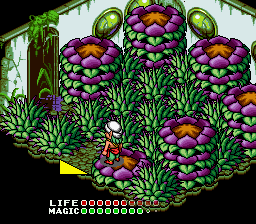 Jump around the flower piles in Room 05-21 to get to the SW door. Once again, the flowers act as conveyors, so keep jumping to prevent yourself from getting slid off onto the spikes. 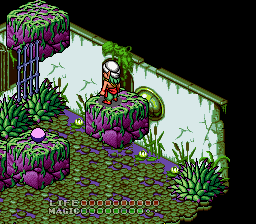 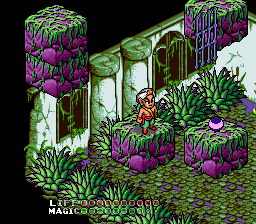 Room 05-20 has another Token (3) that is acquired by leaping across platforms and moving blocks to get to it. The only new twist on this one in particular is that when you make the jump from the last moving block to the block with the token, you'll have to time it so that you go underneath a rising/falling gate without getting impaled by it. When you've got the shiny blue object of desire, exit SE. 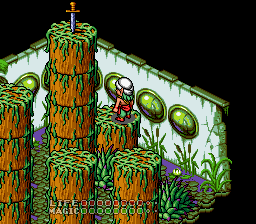 Room 05-22 has the Sword. However, there are two things to note here: 1. You have to leap up a series of log columns that push you off with a conveyor effect to get to it. This is very difficult to do. 2. This weapon is completely worthless. It's stronger than the Twin Knife, but so much slower, and you can only throw one at a time (and it has no back attack), that it isn't worth using. If you're a completist, go for it, but if you find it too difficult to reach it, then don't bother. I never use it, even when I do get it. At this point, you'll want to find your way to Room 05-06. There are two ways of doing this. #1. Backtrack to Room 05-23 and exit the dungeon. Then find the overworld entrance that takes you to Room 05-06. To get to Room 05-23 from the Sword room, go NW to 20, NE to 21, NW to 1E, SW 1F, NE to 24, NE to 3E, NW to 25, NE to 26, NW to 23. #2. Go all the way to Room 05-06 without exiting the dungeon. To do that from the Sword room, go NW to 20, NE to 21, NW to 1E, SW 1F, NE to 24, NE to 3E, NW to 25, NE to 26, NW to 23, NE to 30, NW to 2A, NW to 27, NE to 28, NE to 29.  From Room 05-29 exit NW through the Green Door. This will put you in Room 05-08, which you haven't been to yet, but has nothing of significance. (Although it is the single most mysterious room in the game, aside from the excised 07-02 of the Ghost Ship, due to the weird arch of plants against the wall and the moving log that slides neatly into that arch when you stand on it. I have no idea why that is there. Seems like there should've been a hidden door in that archway, but there isn't.) Anyway, just go NE. 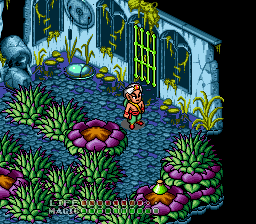 There's a Green Potion in Room 05-06 that you can take if you need it. You can also exit the dungeon to the overworld via the pedestal in the back corner if you want to save your progress. When you're ready, go NE through the Green Door. 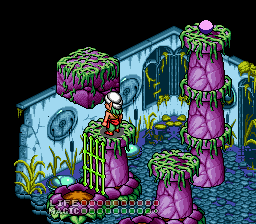 Room 05-07 has a simple Token (4) that you can get by leaping up to it via the platforms in the room. I shouldn't have to tell you how to do that at this point. Get it and exit SE. 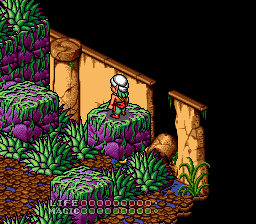 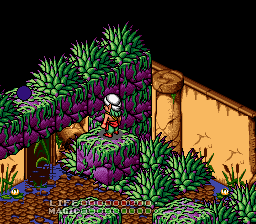 The Token (5) in Room 05-09 is a little harder to get to because you have to make a precise jump from the moving platform to the spike-free space in the middle of the upper row of blocks. If you're off by just a pixel in either direction when you jump, you'll hit the spikes and have to try again. When you've got it, go back to Room 05-07 and exit NE. 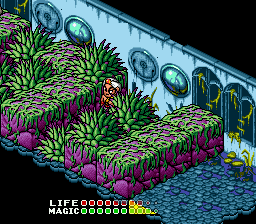 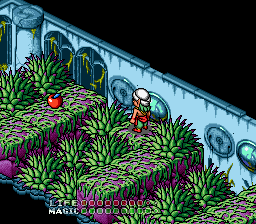 You can kill the ghosts in Room 05-05 to get a Blue Apple. You'll have to jump carefully around spikes in this room, but otherwise it's not too difficult. Exit NW. 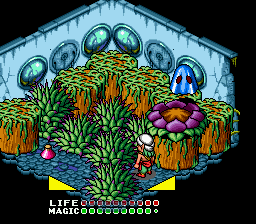 Kill the Blue Ghost in Room 05-01 to get it out of your way, and then use the platforms to get over to the exit. (Be careful of the conveyor belt effect on some of the platforms again.) Get the Red Potion if you need it, and exit SW. 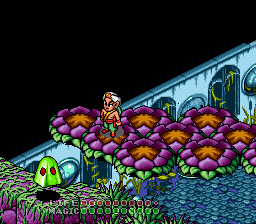 Leap up the rows of flower pads in Room 05-00 to get over the spikes and cross to the other side. Kill the Green Ghost for a Red Apple and to get it out of your way, then exit SE. 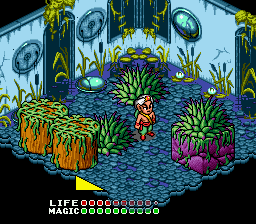 Room 05-03 is just a connector room. Exit NE. 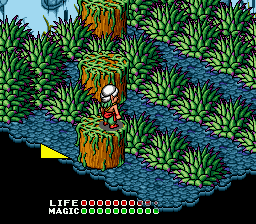 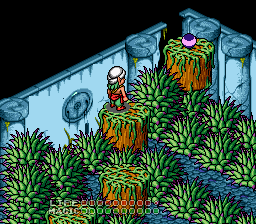 Room 05-04 is another huge pain-in-the-neck Quagmire room. You'll have to leap across log platforms to get to the Token (6) at the far end of the room. You must time your jumps precisely to land in the empty rows between the spiked plants and not be so much as a pixel off so you don't get impaled. 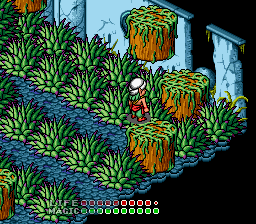 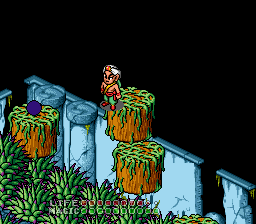 Using the straddling method can help to reach the offset blocks here. Once you've got the token, you'll have to exit back out of the room by doing the same thing. Good luck! When you're done, go back to Room 05-03 and exit SW. 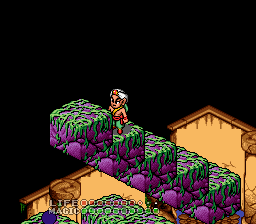 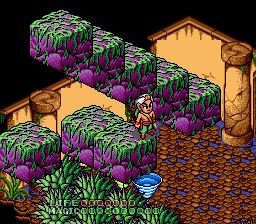 Kill the Spinning Devil in Room 05-02, then use the staircase of blocks to reach the Token (7). Just be careful to use the blocks to the side of the token block to get back out, otherwise you might fall onto the spikes below. Now I want to get you to Room 05-18. From Room 02, go NE to 03, NW to 00, NE to 01, SE to 05, SW to 07, SW to 06. From here, you could leave 06 the overworld, then find the dungeon entrance that takes you directly to 05-18. Otherwise, go SW to 08, SE to 29, SE to 2F, SE to 33, then NE through the Red Door. 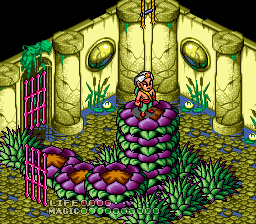 Room 05-18 has an overworld entrance/exit. You can use it to save your progress. Otherwise go NW through the Red Door. 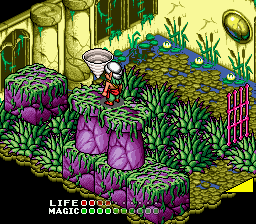 Use the platforms to get across the spikes to the other side of the room in Room 05-15. Kill the White Devil if you need to get it out of your way, then exit NE. 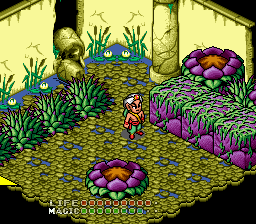 Room 05-16 has a Green Apple and Blue Potion that you can get if you need them. Exit NW. 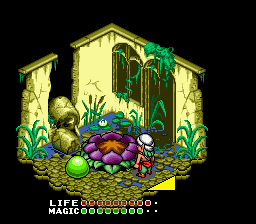 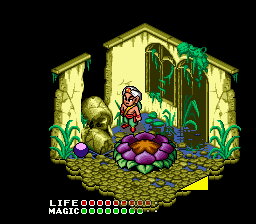 Room 05-13 has the most inexplicable Token (8) in this dungeon. Simply kill the Green Blob and there it is. Maybe they just wanted to give you an easy one after all those difficult spike rooms, but still, what the hell? Exit NE. 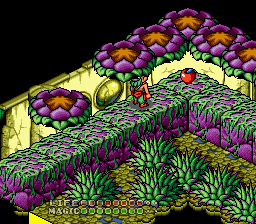 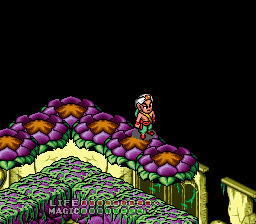 The middle path of Room 05-14 has a Blue Apple that you can get if you need it. But you'll want to walk across the upper row of flower pads to get to the other side without falling onto spikes. Exit SE. 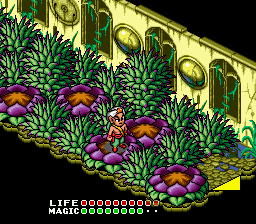 Oh man, Room 05-14 is really hard! Kill the Red Ghost for a Green Apple, then get to the other side by CAREFULLY leaping across the flower pads. You'll even have to bend your jump around a pineapple-shaped outgrowth of spikes, and believe me it is NOT easy. Keep trying because you have to get over there. Exit SE once you make it across.  Room 05-1D has a Red Potion that you can get if you need it. Just be careful of the rising/falling gate and exit SW. 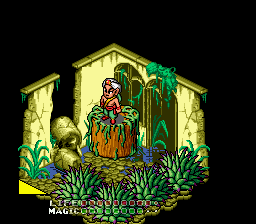 Room 05-1C has nothing of significance. I don't really know why this room even exists. Just exit SW again. 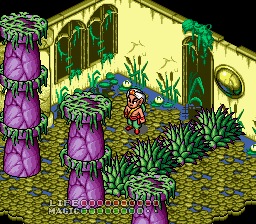 Room 05-1A has three pedestal columns, each with a Green Blob on top. As they leap off to attack you, kill them all to get a Blue Apple. Take the upper NE exit (not the one you came through, but the other one). 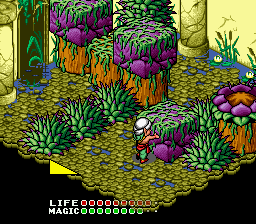  Room 05-1B has the second most inexplicably easy Token (9) in this dungeon. Simply push the floor block over to the spikes in the corner, then leap over to it. That's it. Exit NW.   Room 05-19 has the Zap spell. It's a stronger version of the Damage spell, and unlike Quagmire's weapon, you might find it rather useful, especially in the upcoming dungeons. Leap across the blocks to get to it. Now you'll want to go to Room 05-0B. From Room 05-19, go SE to 1B, SW to 1A, NE to 1C, NE to 1D, NW to 17, NW to 14, SW to 13, SE to 16, SW to 15, SE to 18. From here, I recommend leaving the dungeon and finding the overworld entrance to Room 05-0B. Otherwise, proceed SW to 33, SE to 39, and SE to 3C. Remember earlier in the walkthrough when I said it might be too difficult to leap across those flower pads to the Blue Door in Room 05-3C? Unless you took my advice and exited via Room 05-18, you'll have to do that now. Exit SE to 3D, then SE again to Room 05-0B.  Now you're in Room 05-0B. If you came in through the overworld, and had previously skipped Room 05-3D because you had too much difficulty making those jumps across the flowers in Room 05-3C, exit NW and get the token from Room 05-3D now, then come back here. When you're ready to go, exit NE through the Blue Door. 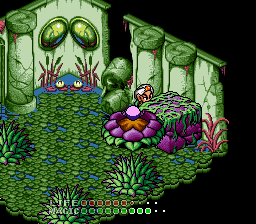 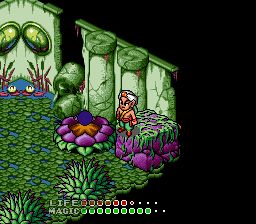 Room 05-0C has the third most ridiculously easy Token (10) in Quagmire. Just push the floor block down into the corner, then leap over to it. I don't know why they made some of these so easy, except maybe to give you a break after all those really difficult rooms. Exit NW. 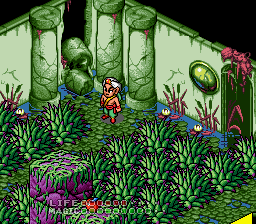 Use the blocks to get around the spikes in Room 05-0A, get the Blue Apple if you need it, then exit NE. 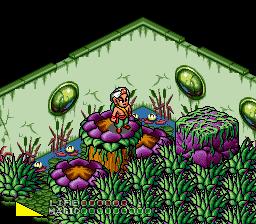  Another difficult room. Ride the moving platforms in Room 05-0D over the spikes to get to the other side. Exit SE. 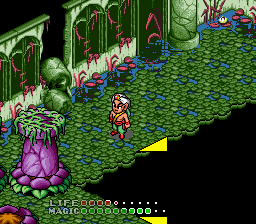 Room 05-10 has a row of pedestals that are too high to jump to because they're sitting on flower pads. They block off the lower section of the room. Instead of worrying about them, exit SE. 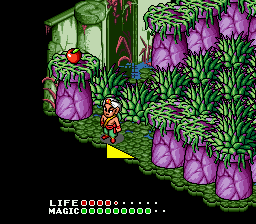 Use the pedestals in Room 05-12 to get to the other door. Once again, be careful of the conveyer belt effect, and use its momentum to make the bent jumps around the spikes in the corners. Take the Green Apple if you need it and exit SW. 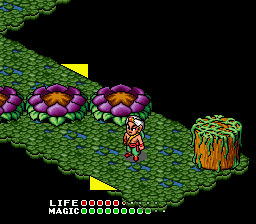 You're in Room 05-10 again, but on the other side of the pedestals. Exit SW.  Walk down to the other end of Room 05-11. Push the movable log up against the spikes and use it to leap over to the NW exit. 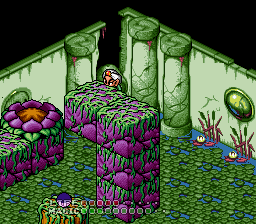 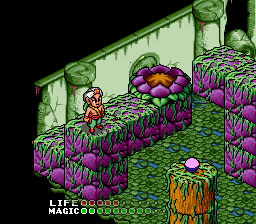 In Room 05-0E, there is a movable block in the back corner hidden exactly behind a higher-up block so that you can't see it. Feel around for it and eventually you'll find it. Push it down into the SW corner. Then use it to jump up to the row of blocks. 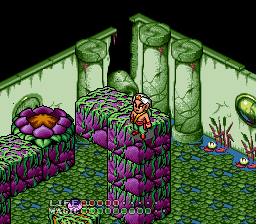 Jump from the block with the flower pad to the other row of blocks, and from there, jump to the log with the Token (11). Exit NE. 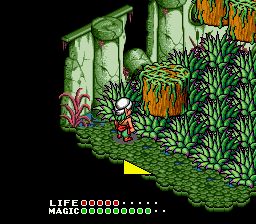  Room 05-0F seems simple enough. Just jump across those moving log platforms to get to the final Token (12), right? Well, the problem is that you have to jump on those logs and only allow them to move just the right distance so that they don't go too far and you can't get back across to exit the room! It's not as difficult as it seems, but might take a few practice runs. Now that you've gotten all the tokens, you need to get back to the boss room, which we found at the very beginning of the dungeon. To do that from Room 05-0F, go SW to 0E, SE to 11, NE to 10, NE to 12, NW to 10, NW to 0D, SW to 0A, SE to 0C, SW to 0B. From there, I recommend exiting the dungeon and then finding the overworld entrance that takes you directly to Room 05-31 (it is the same one I told you to go to first at the very beginning of this guide). If you don't want to leave the dungeon, then from 05-0B, proceed NW to 3D, NW to 3C, SW to 3B, SW to 3A, NW to 34, NW to 30, then NE to 31. Either way you do it, go NE from Room 05-31, through the flashing door that was previously locked (kill the Green Blob to open it if you didn't earlier). 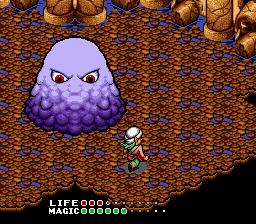 In Room 05-32, you will face the boss, Dollop. He is one of the easiest bosses in the game. Simply fire your weapon at him (he's vulnerable pretty much anywhere) and stay out of his way as he bounces around. He doesn't move very fast so if you observe what direction he's going in, it's easy to get out of his way. 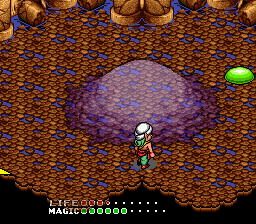 Occasionally, Dollop will leap to the center of the room and become dormant and translucent. During this time, a couple of Blob enemies will start bouncing around the room. You have to kill the blobs to make Dollop active and vulnerable again. This is actually where the biggest danger in this fight comes from. The first few times he does this, the blobs will be the easy green variety, but they get harder the more times Dollop is permitted to create them. 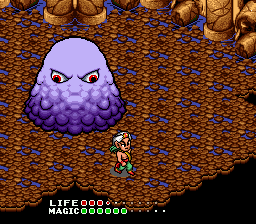 When Dollop comes out of his trance, he'll sit in the middle of the room crossing his eyes for several seconds. This is a good time to get in quite a few hits. Even if you got the Sword in this dungeon, I recommend using the Twin Knife because it is so much faster, you'll get in multiple hits. 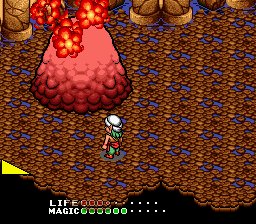 Eventually, when Dollop's taken enough hits, he'll go down. You'll get a life and magic meter increase and the final harp string.  If you got the Sword in Quagmire, fight a Troll somewhere on the overworld to get a life meter increase. I can never find Trolls in Quagmire, but they're easy to find in Galadonia, as always. Note: Make sure you have everything you want from these first five dungeons before moving onto the next phase of the game. Eventually, you will reach a point of no return and if you're missing a spell or weapon, you won't be able to come back for it later.
| ||||||||||||||||||||||||||||||||||||||||||||||||||||||||||||||||||||||||||||||||||||||||||||||||||||||||||||||||||||||||||||||||
 |
|
 |