|
Publisher: Artifex Mundi Developer: Artifex Mundi Release Year: 2012
An unnamed SCUBA diver goes on an underwater adventure to find her lost boyfriend who had disappeared while exploring an underwater city that's been taken over by mysterious wraith-like beings and a giant octopus. The city's aesthetics are like that of the Fritz Lang movie, Metropolis. While the setting of Abyss is intriguing, if there was ever a hidden object game that needed the ability to instantly travel to any location via the map, it's this one, because you spend a lot of time going up and down an elevator whose animation can't be skipped.

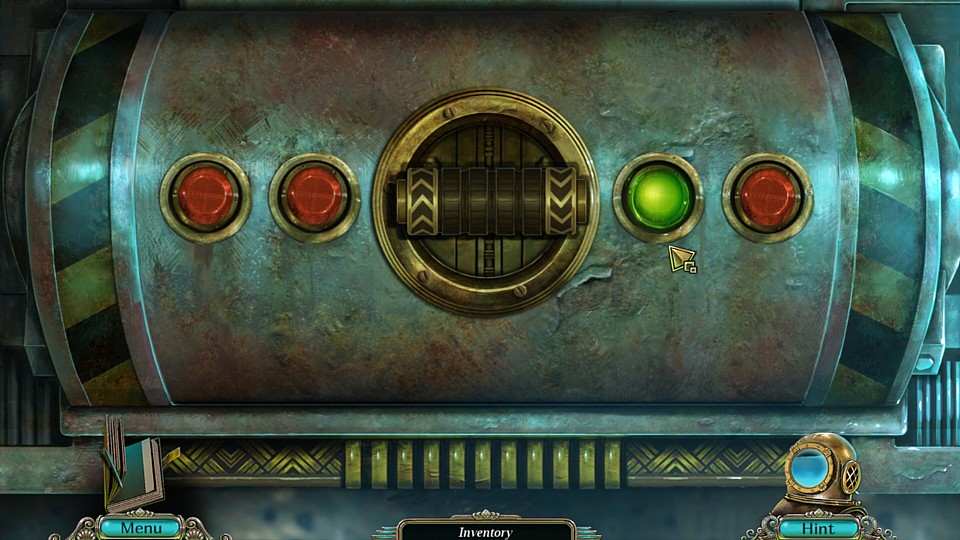
Type: Correct Order/Sequence
Comment: The first puzzle in the game isn't considered a true puzzle as there is no option to skip it, but the only way to solve it is through trial and error. The buttons must be pressed in a particular sequence, or else the hatch won't open. Numbering left-to-right, the correct order is: 3124.
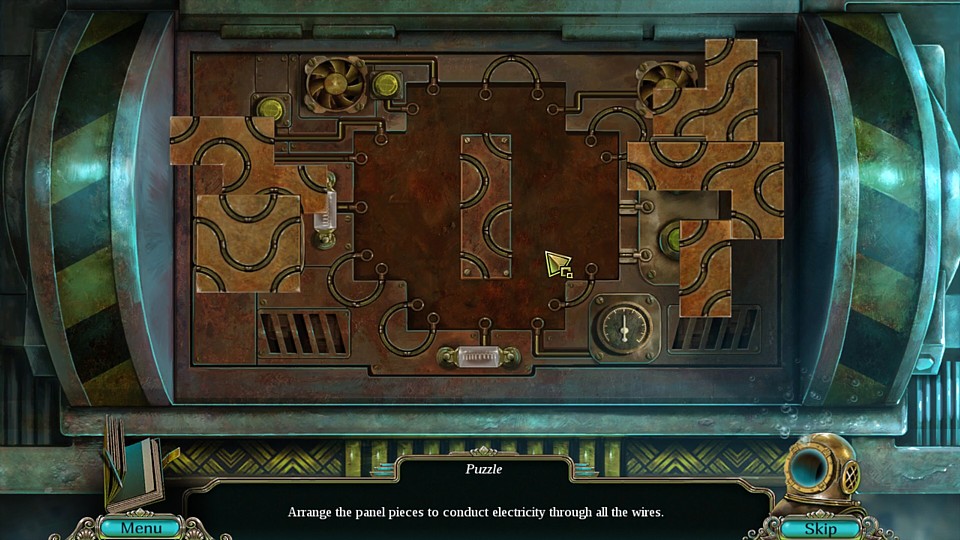
Type: Tetris Blocks
Comment: When the hatch is opened, you get the first true puzzle. If you fit the blocks into the spaces correctly, the wires will all line up automatically. As far as I know, they only fit one way. Here is the solution.
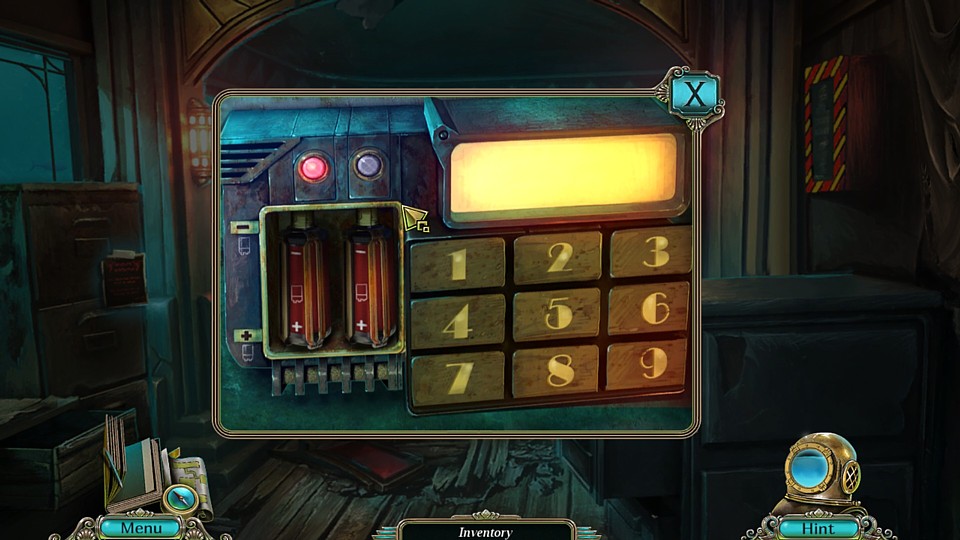
Type: Combination Lock
Comment: While not a true puzzle, I included this because it might be easy to overlook the code on the poster in the same room as the lock. The answer is: 4932.
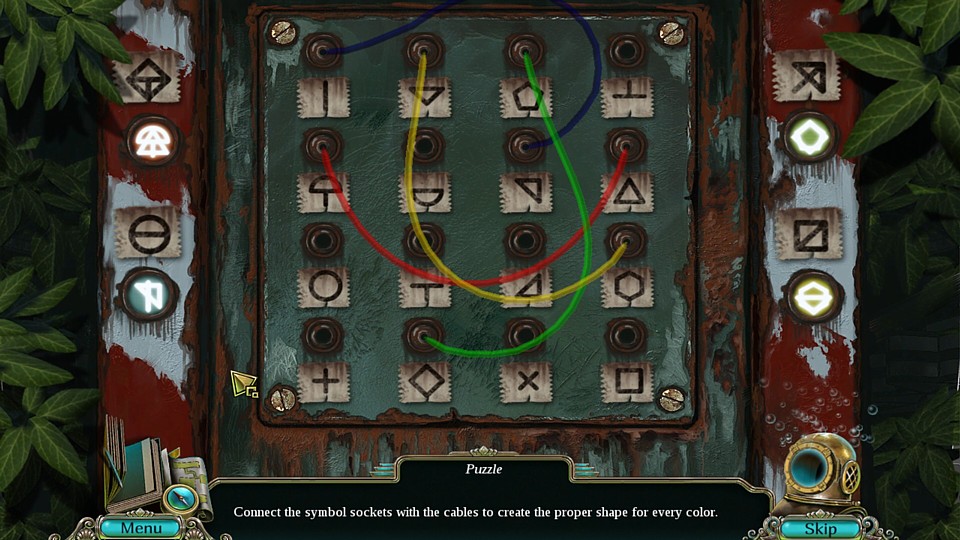
Type: Electric Shape Matching Puzzle
Comment: Use the colored wires to recreate the same shapes seen on the left and right. Here is what it looks like solved.
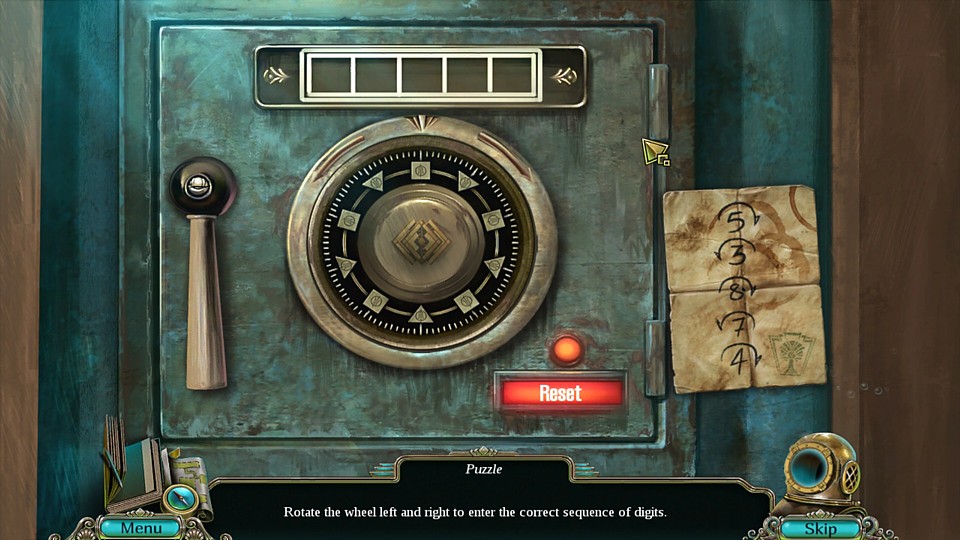
Type: Safe Cracking
Comment: Simply follow the instructions on the paper to open the safe. 5 clicks to the right, 3 to the left, 8 right, 7 left, 4 right.
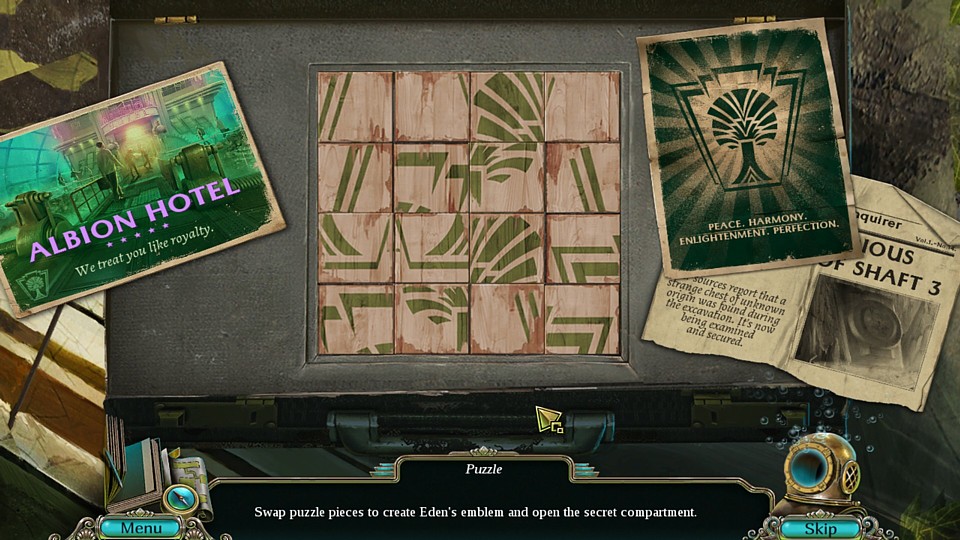
Type: Swapping Tile
Comment: Swap the tiles to form the same image of a tree logo as seen on the poster to the right. Here it is solved, but that was the best I could do with the lightning-fast screen transition.
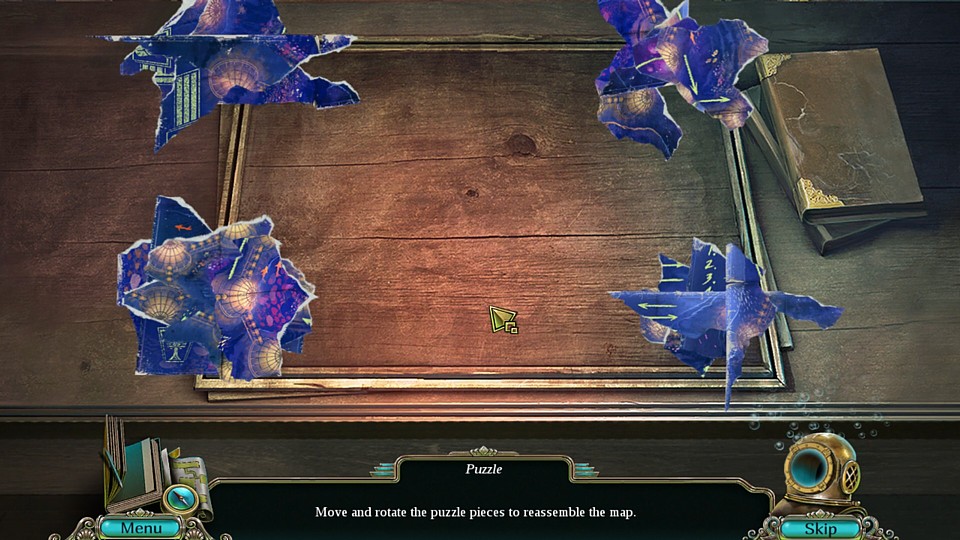
Type: Jigsaw Puzzle
Comment: Put together the pieces of the greenhouse map. Here it is solved.
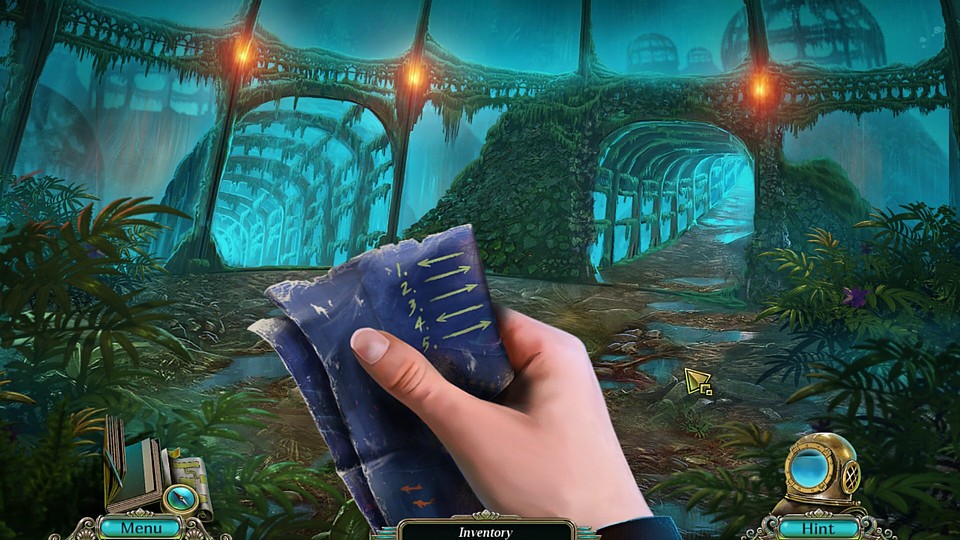
Type: Screen Maze
Comment: Not a true puzzle, but I document HOG screen mazes. Follow the directions on your map to get through it. Left, Right, Right, Left, Right.
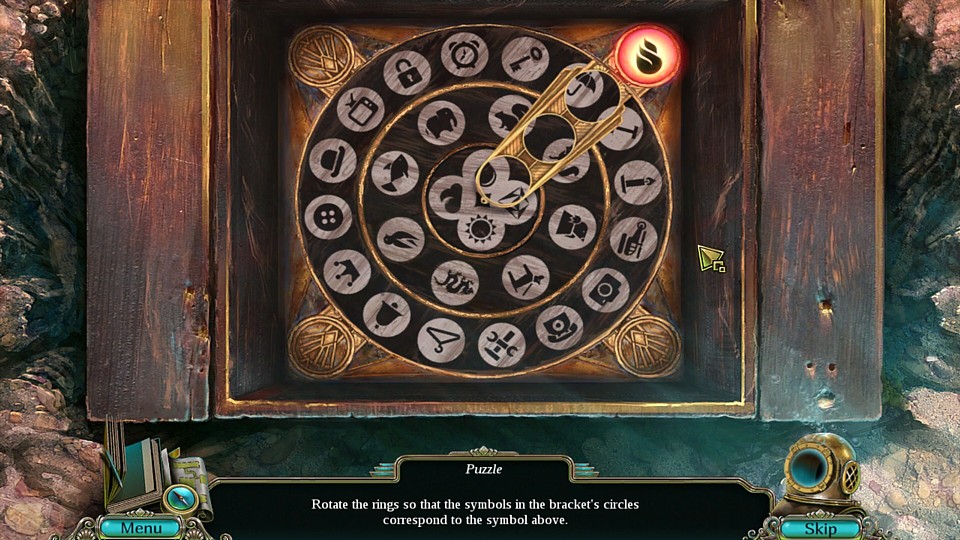
Type: Symbol Matching via Rotating Parts
Comment: Line up the rings so that the symbols in the circles thematically match the highlighted element. The answers are as follows:
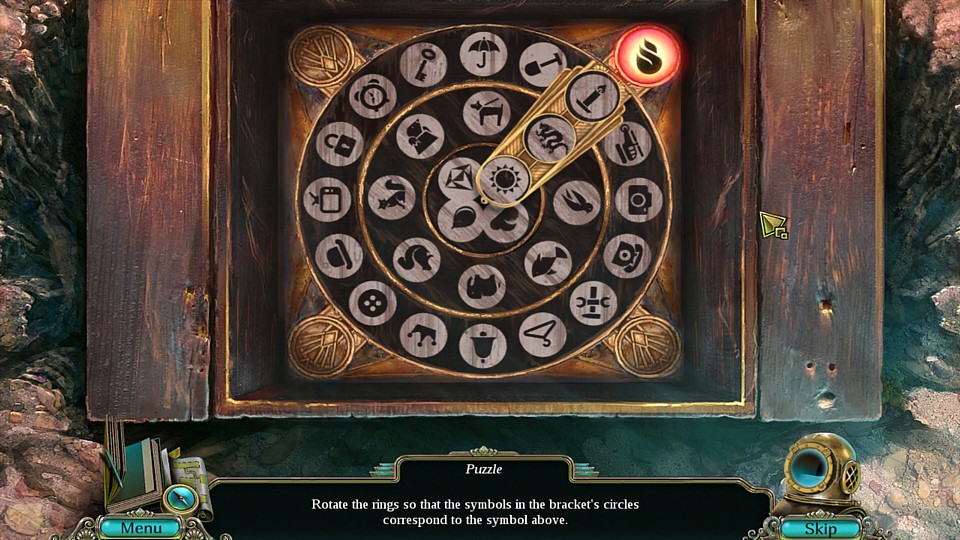
Fire: Candle, Dragon, Sun
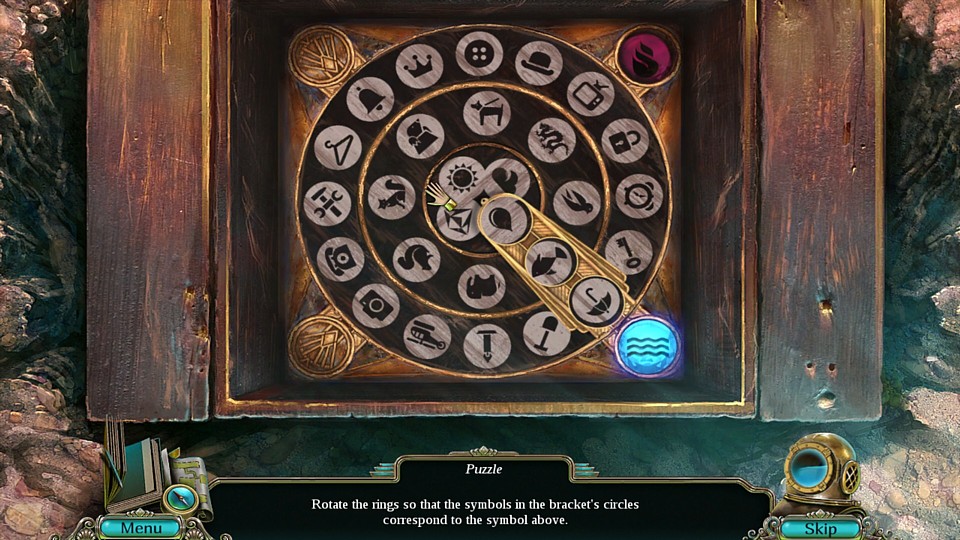
Water: Umbrella, Fish, Raindrop
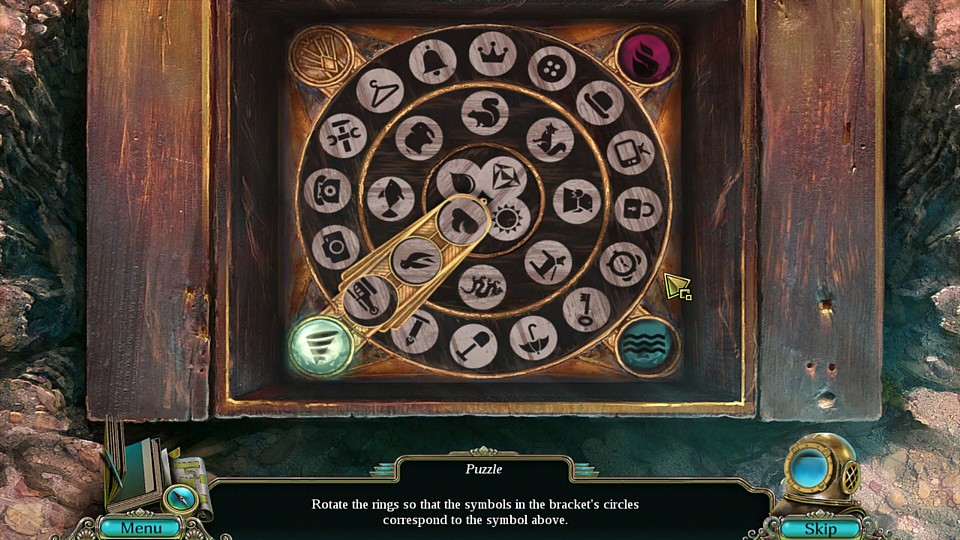
Air: Helicopter, Bird, Cloud
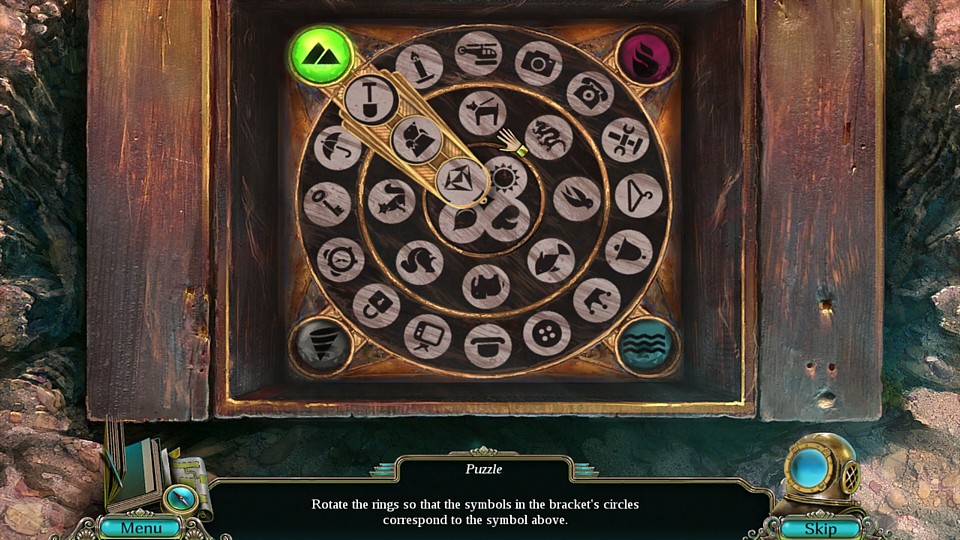
Earth: Shovel, Mole, Diamond
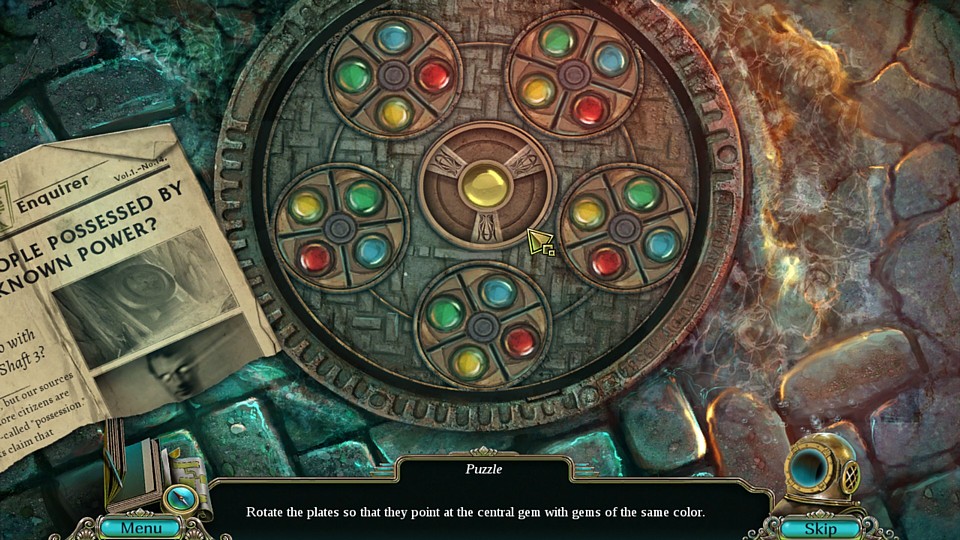
Type: Matching Color Wheels
Comment: Turn the wheels so that the gems that face the center gem are all the same color. Turning a wheel will affect one next to it. You will have to do this three times, once each for yellow, blue, and red. Here is an example of the yellow solved. The rest are done the same way.
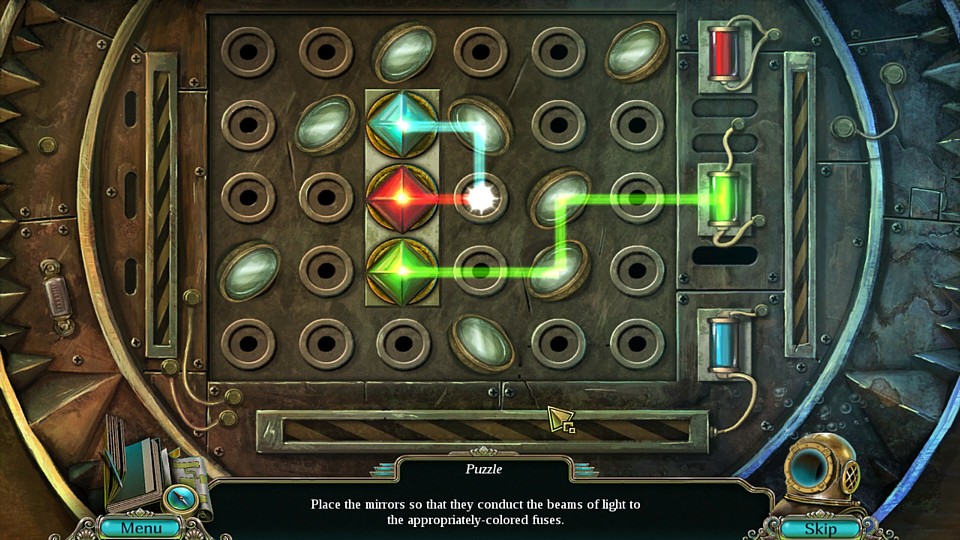
Type: Light Beam Puzzle
Comment: Arrange the mirrors to guide the colored beams of light to the same-colored batteries. Here it is solved.
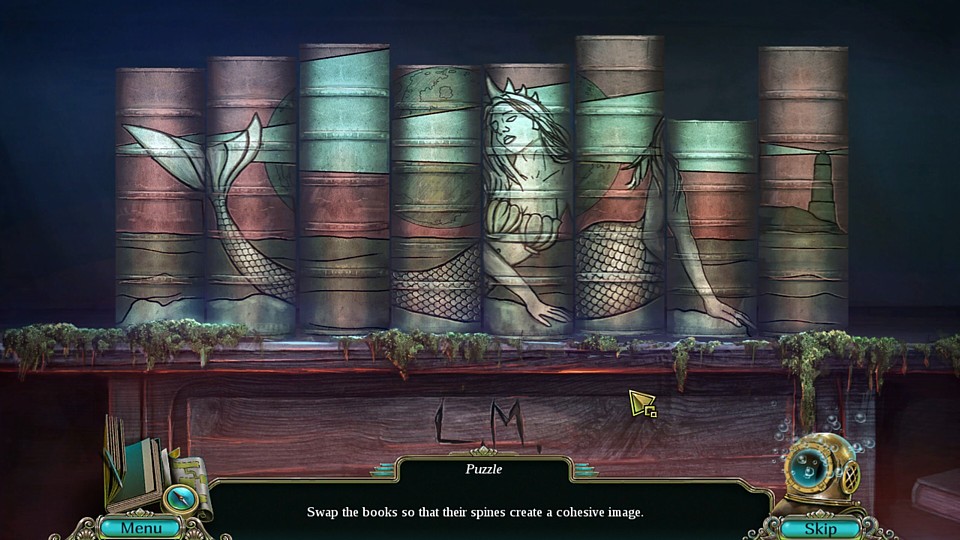
Type: Bookshelf Puzzle
Comment: Rearrange the books so that the spines form a picture of a mermaid and lighthouse. Here it is solved.
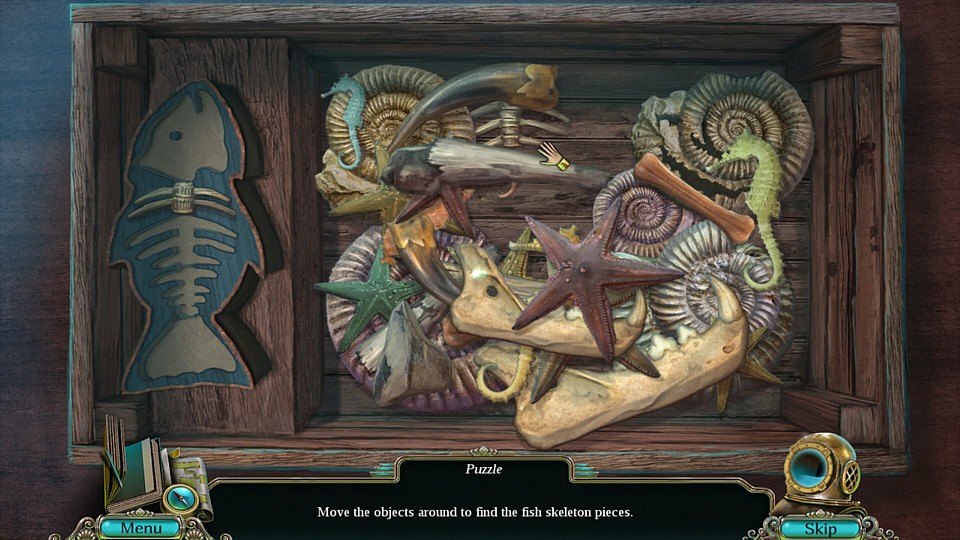
Type: Object Removal
Comment: Pick up and move the objects in the box to find the missing pieces of the fish skeleton. Here is what all the pieces look like.
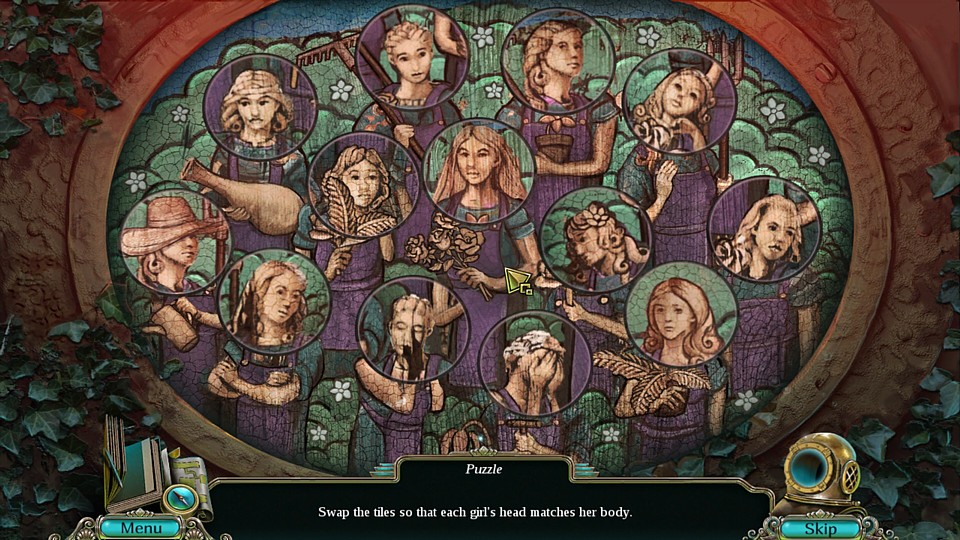
Type: Family Portrait
Comment: Similar to a Family Tree puzzle, swap the heads so that they end up on the correct bodies. Here it is solved.
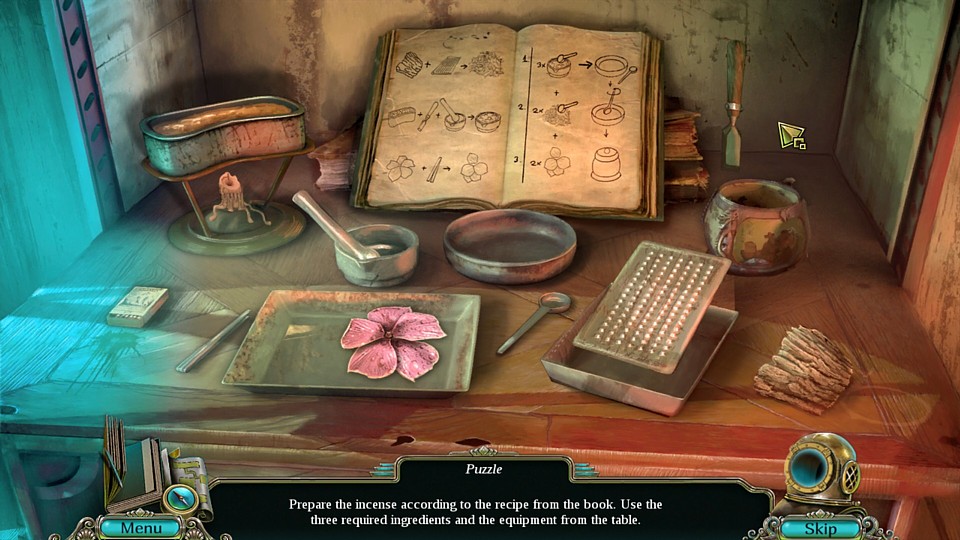
Type: Concoction
Comment: Follow the instructions in the book to make incense. Start by grating the tree bark in the grater. Light the candle under the tree resin with a match, then chop it up with the chisel. Put some of it in the mortar and grind it with the pestle. Take 3 teaspoons of the resin powder and put it in the incense jar. Then put two teaspoons of the bark shavings in the jar. Finally, use the tweezers to put two flower petals in the jar. The incense is complete.
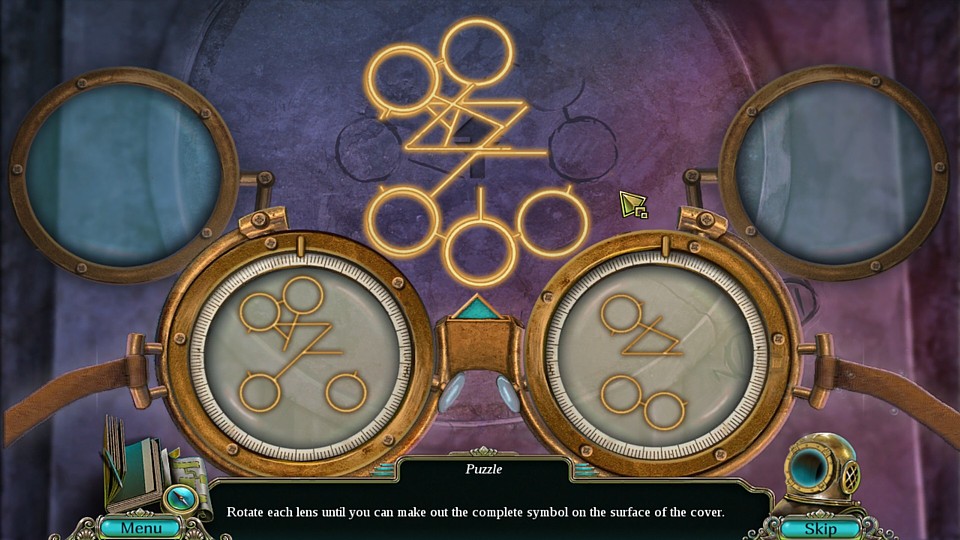
Type: Pattern Matching
Comment: Turn the dials so that the two different sets of patterns eventually form one image. No pieces should overlap in the end. Here it is solved.
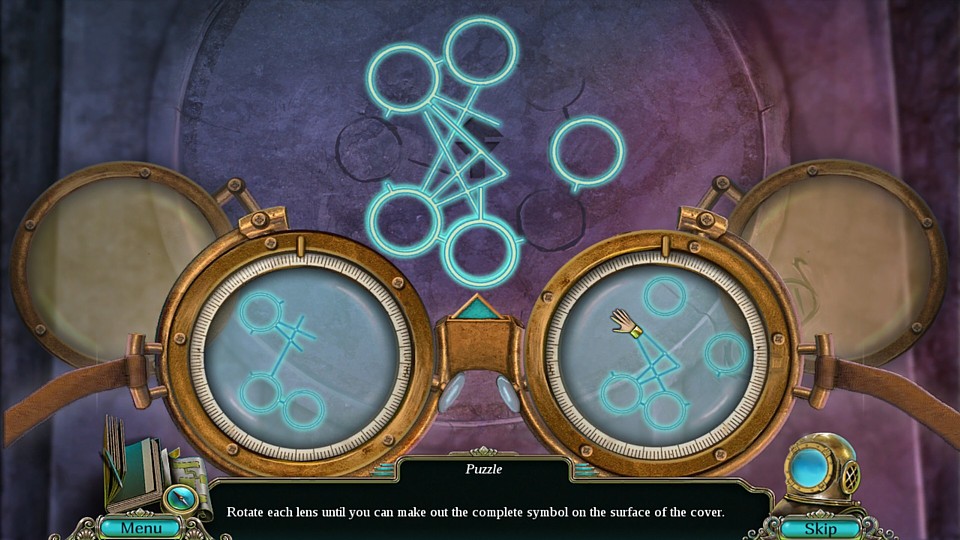
After you get the first one, you'll have to do another one. Here it is solved.
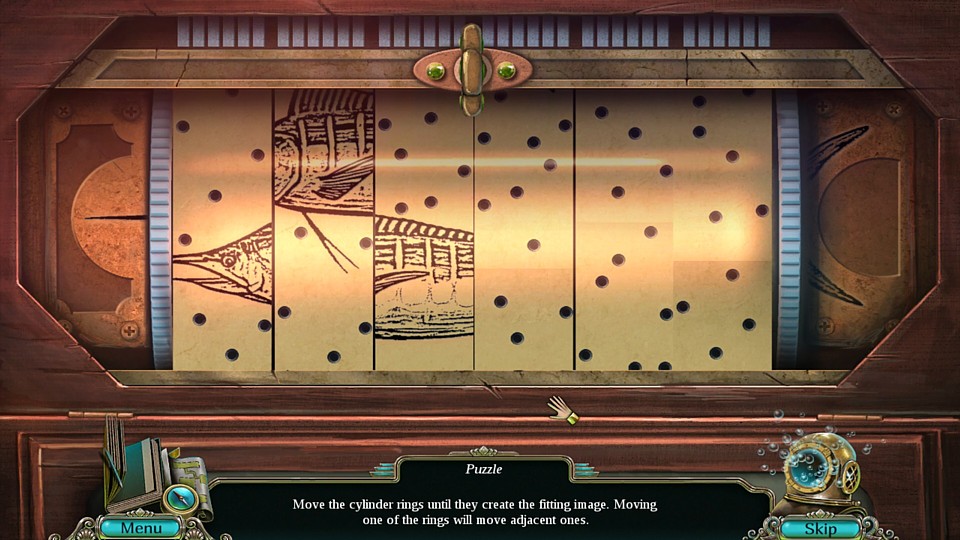
Type: Cylinder Picture Puzzle
Comment: Move the pieces of the cylinder to form the full image of a swordfish. Moving a part will move adjacent ones with it, so you'll have to work with it a bit. Here it is solved.
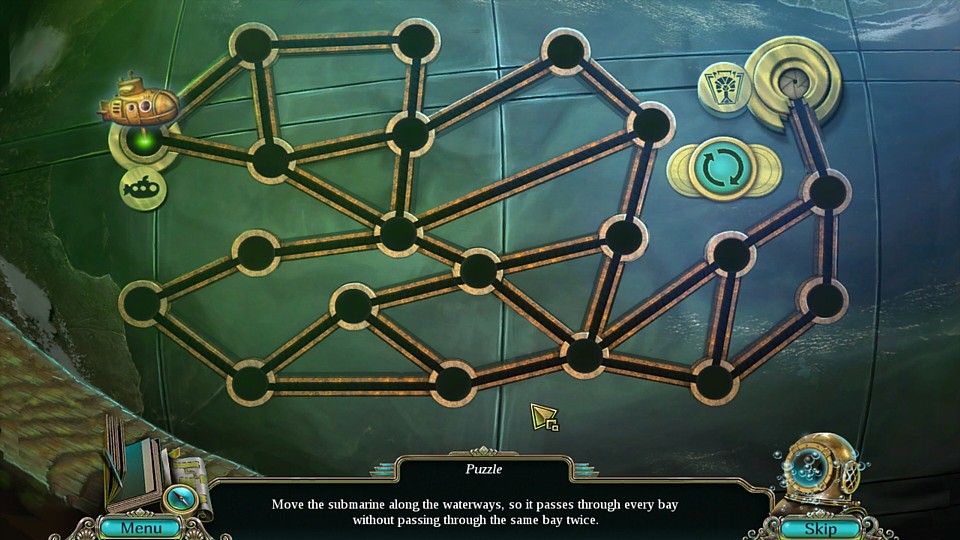
Type: Node Maze
Comment: Make the submarine visit all nodes on the way to the hatch. It can only visit each node once. Here is the solution.
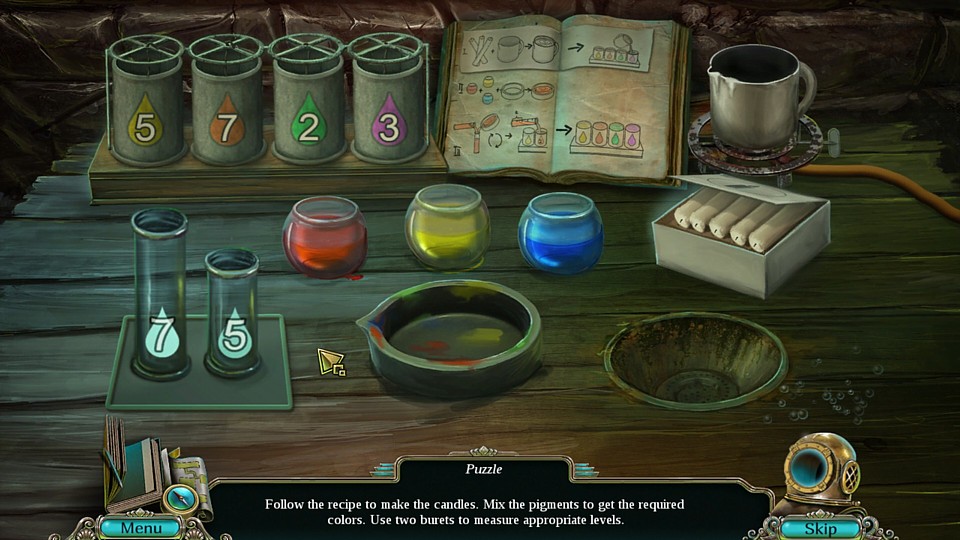
Type: The Bucket Problem/Paint Mixing
Comment: This candle-making assignment combines paint mixing with the classic Bucket Problem. Follow the instructions in the book. Start by putting the candles in the cup, then turn on the burner. They will melt. Pour the wax into the numbered cylinders.
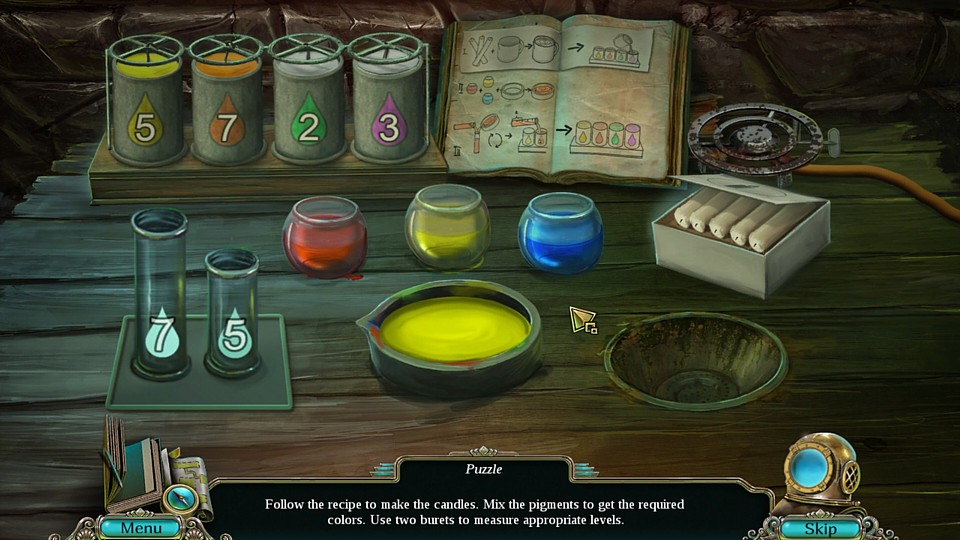
For the Yellow 5 Candle, simply pour the yellow paint jar into the mixing dish, then pour the dish into the 5 vial. Pour the vial onto the Yellow 5 Candle.
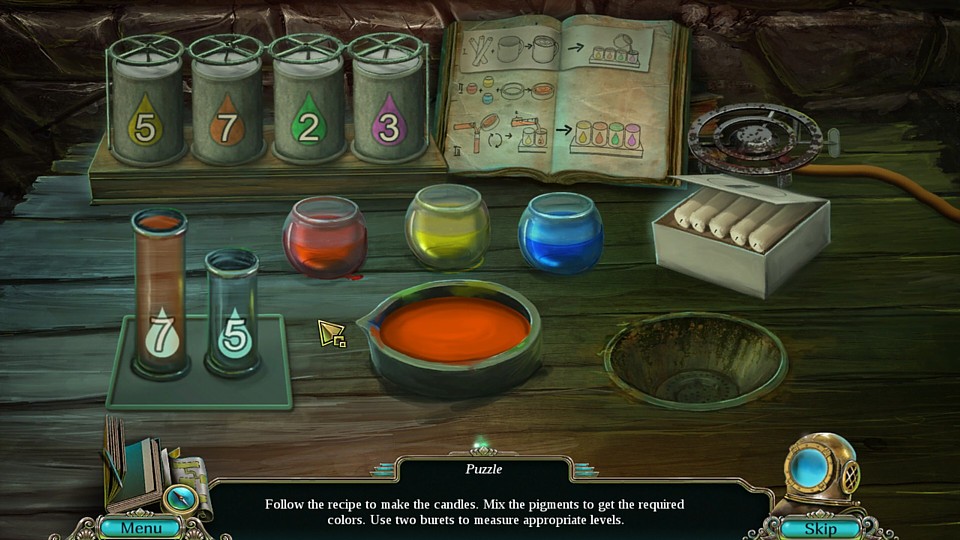
For the Orange 7 Candle, pour both red and yellow paint into the mixing dish to make orange paint. Then pour the dish into the 7 vial. Pour the vial on the Orange 7 Candle.

For the Green 2 Candle, pour both yellow and blue paint into the mixing dish to make green paint. Pour the dish into 7 vial.
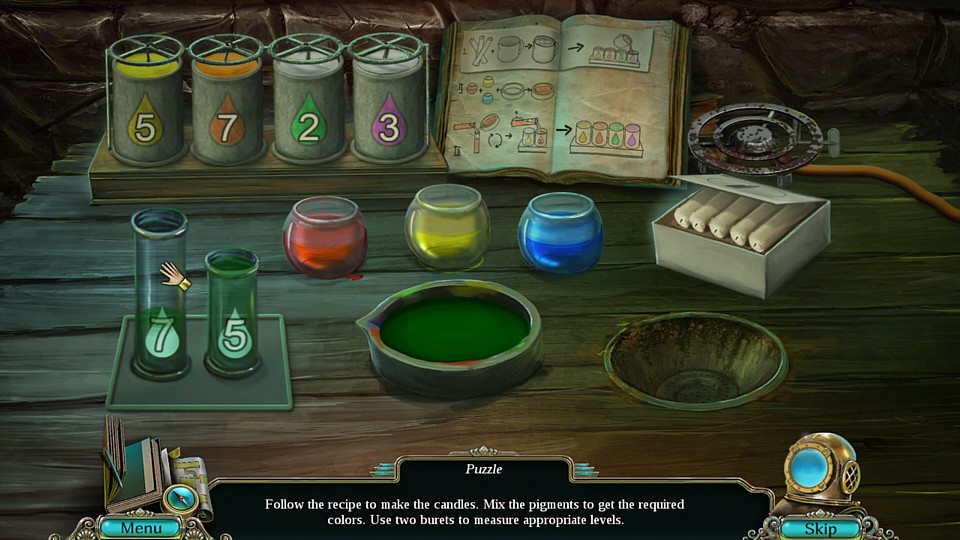
Pour the 7 vial into the 5 vial. This leaves you with 2 in the 7 Vial. Pour that into the Green 2 Candle.
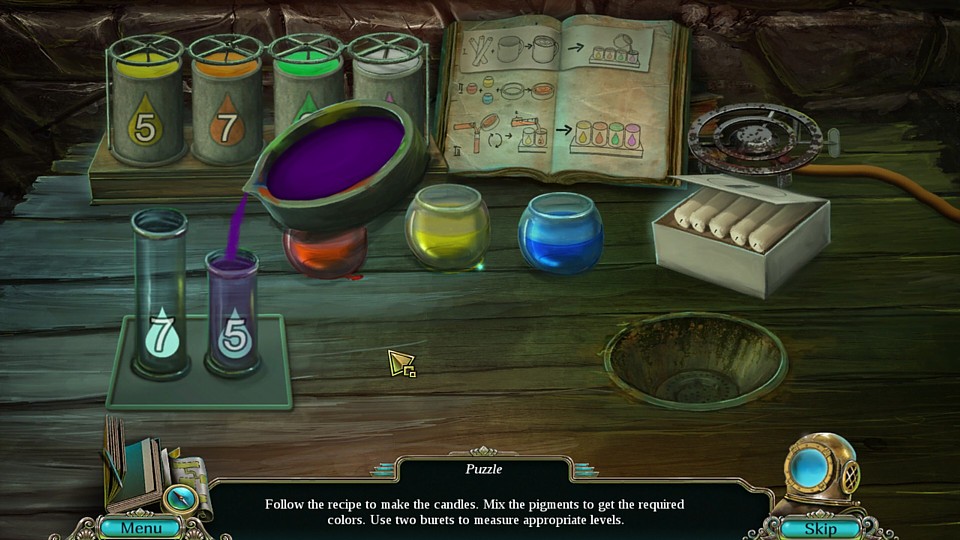
For the Purple 3 Candle, mix blue and red paint in the dish to make purple paint. Pour the dish into the 5 vial.
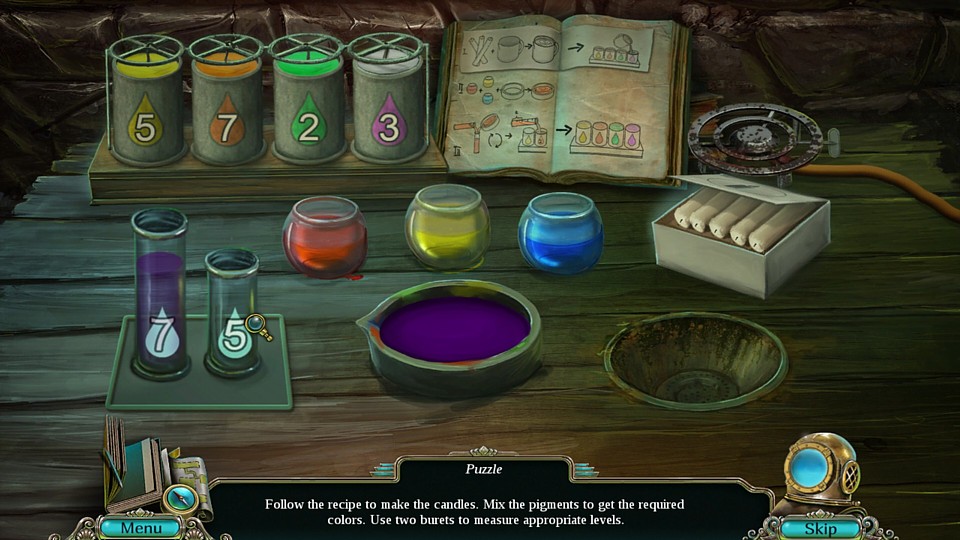
Pour the 5 vial into the 7 vial.
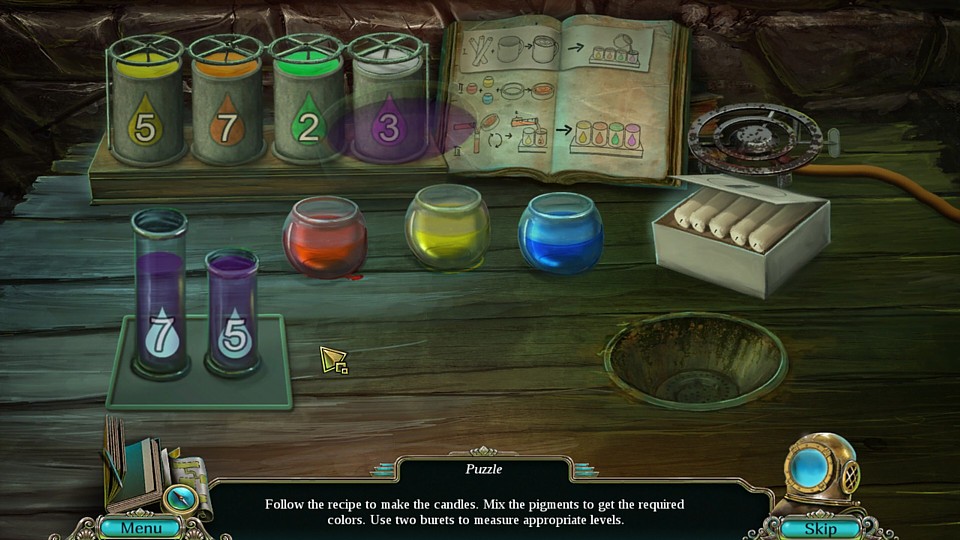
Refill the 5 vial.
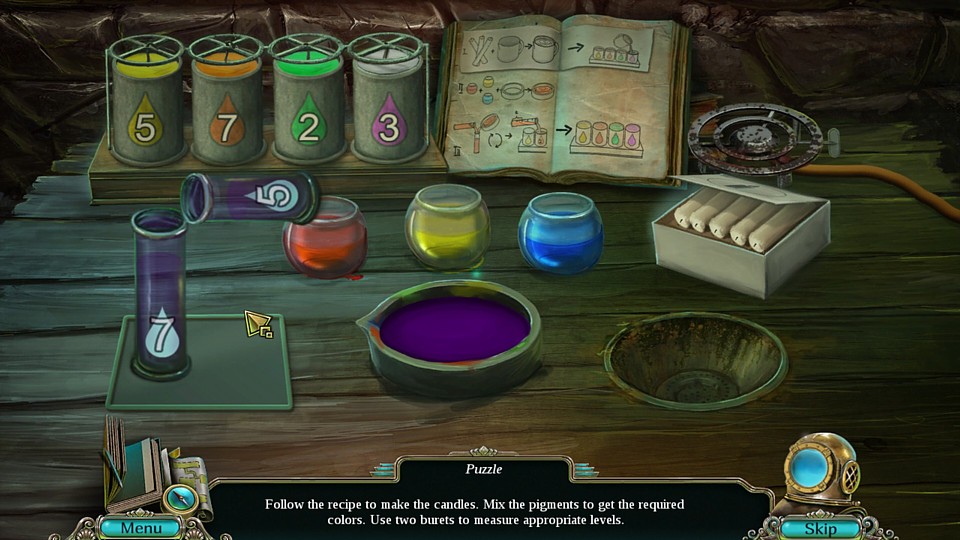
Pour the 5 vial into the 7 vial. This leaves you with 3 in the 5 vial. Pour the 5 vial onto the Purple 3 Candle and you're done.

Type: On/Off Puzzle
Comment: The final puzzle of the main game is an rather simple on/off puzzle. You need to turn all the glowing stones "on", and don't forget that the statue in the middle needs to be lit up, too. Turning on some lights affects others, but like most puzzles in this genre, it won't take long to solve it.

Type: Sliding Tile Node Variant
Comment: For the first bonus chapter puzzle, you need to get all the moon phases in the correct order by swapping them around the nodes. The scratch marks will give you a clue as to what the order should be. Here it is solved.
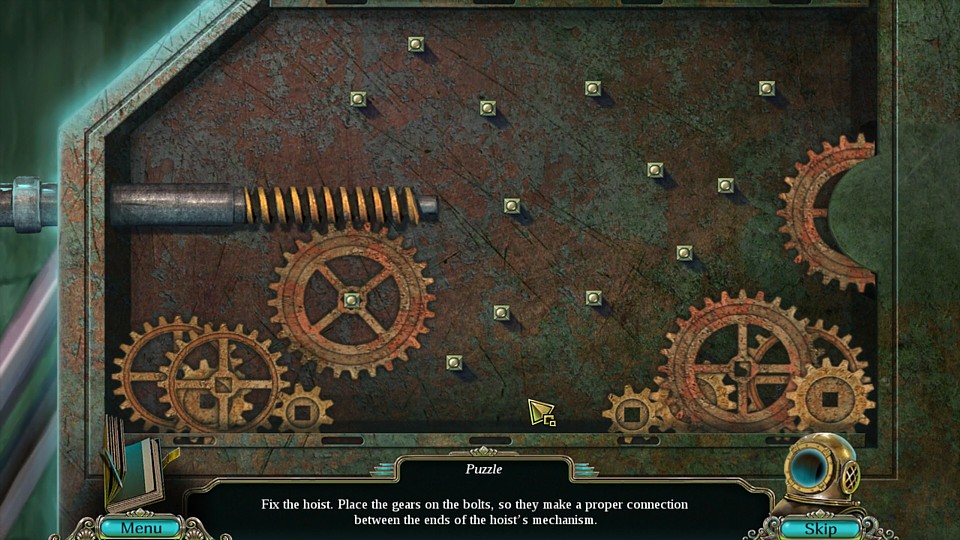
Type: Gear Fitting Puzzle
Comment: Put all the gears in place from the big one on the left to the big one on the right. Here it is solved.

Type: Rotating Rings Puzzle
Comment: Rotate the rings to create connections between the circuits and the lamps. As you rotate each ring, check for connecting lines to all four areas before moving onto the next ring. Here is what it looks like solved.
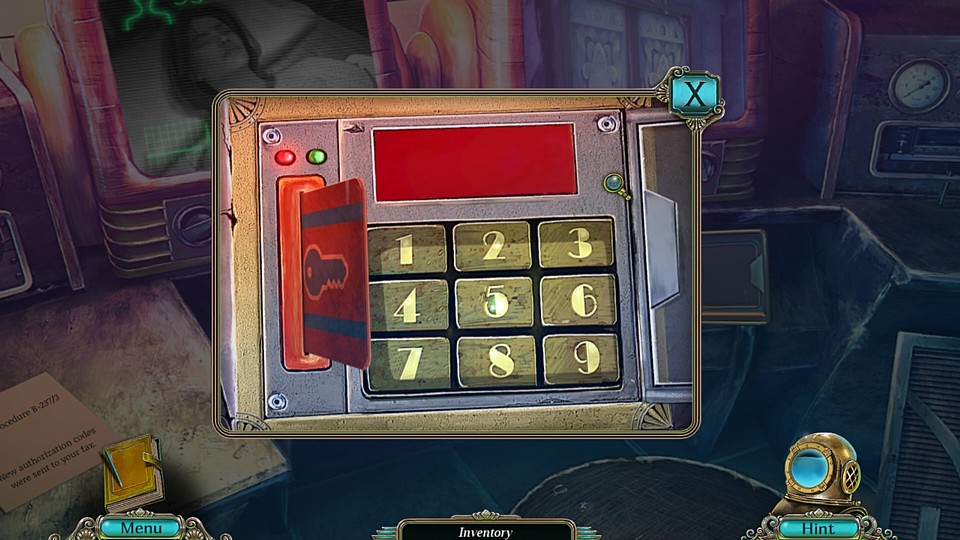
Type: Combination Lock
Comment: The game doesn't consider this a true puzzle, but the clue for it is in another room and doesn't get recorded in your journal. The code is: 35174.
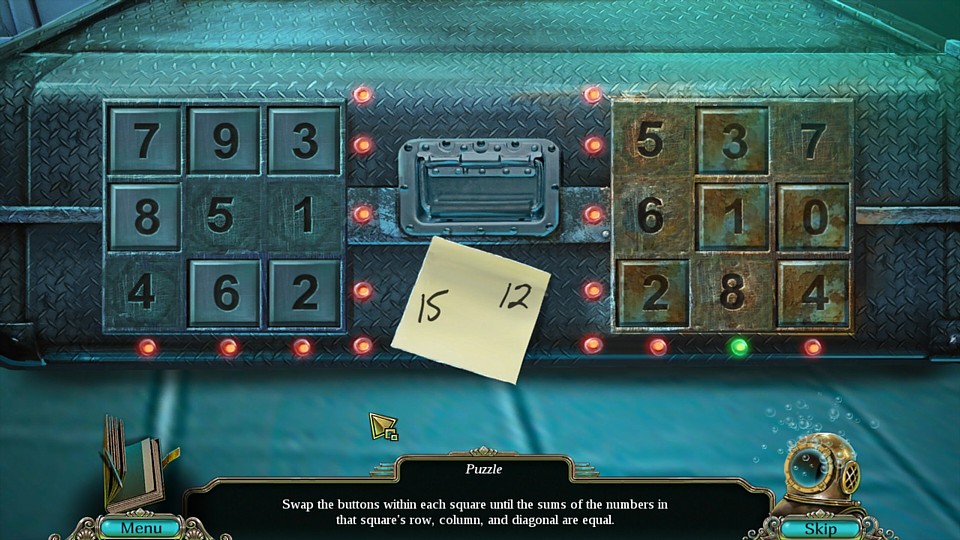
Type: Magic Squares
Comment: For the square on the left, all the numbers must be arranged so that they add up to 15 horizontally, vertically, and diagonally. The same goes for the square on the right, except they must add up to 12 instead. Here it is solved.
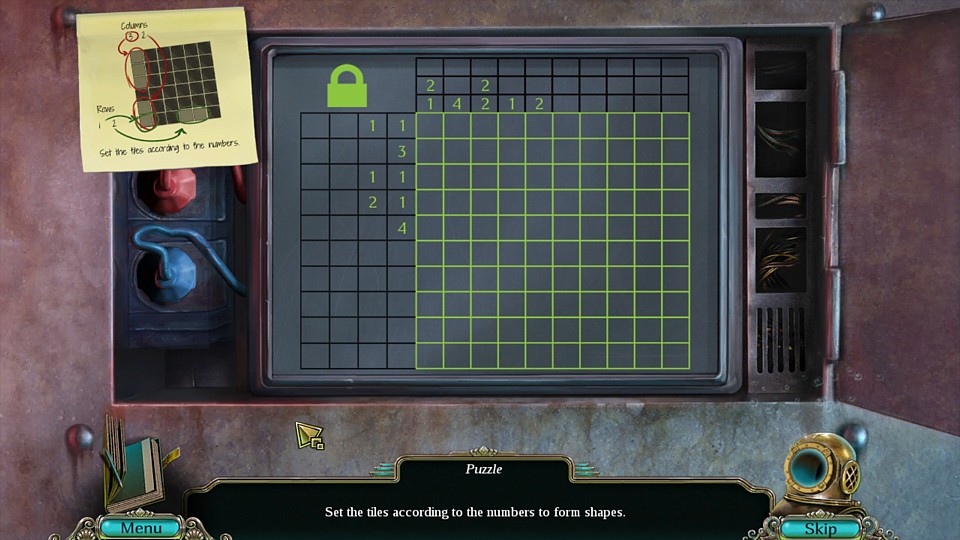
Type: Battleship/Picross Variant
Comment: The bonus chapter's final set of puzzles has you disabling a security system by playing a mini-game that works like Battleship, but results in pictures like Picross. The numbers on the rows and colums indicate how many pieces of the picture are in that row or column and how many are adjacent. So for example, a row that says "4" just has one row of four blocks. A row that says "2 1" has two pieces, one that is 2 blocks wide, and one that is only 1 block. The same is true for columns.
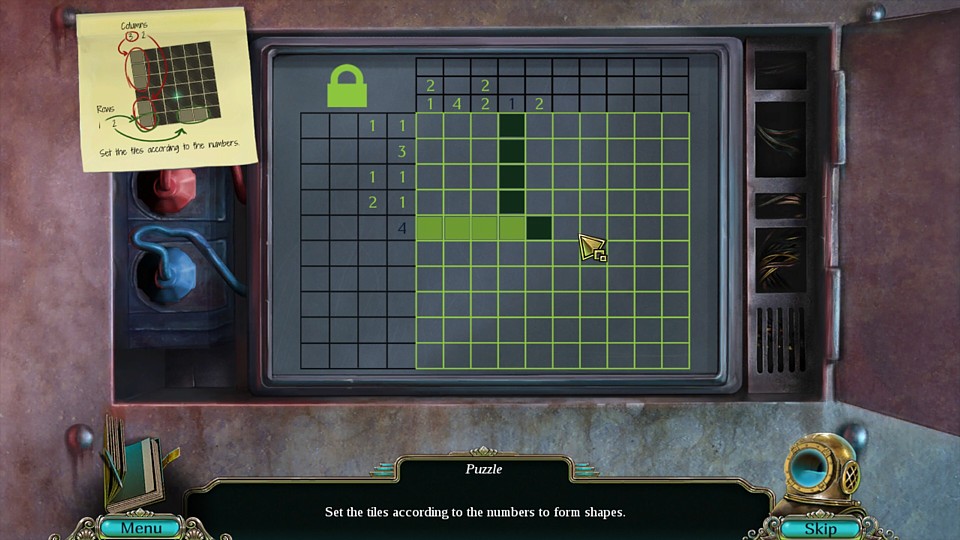
I started this one by solving the bottom row, which has one piece that's four blocks wide. This also solves the fourth column up that only has one piece that's one block long. When you completely solve a row or column, the extra spaces are automatically made blank.
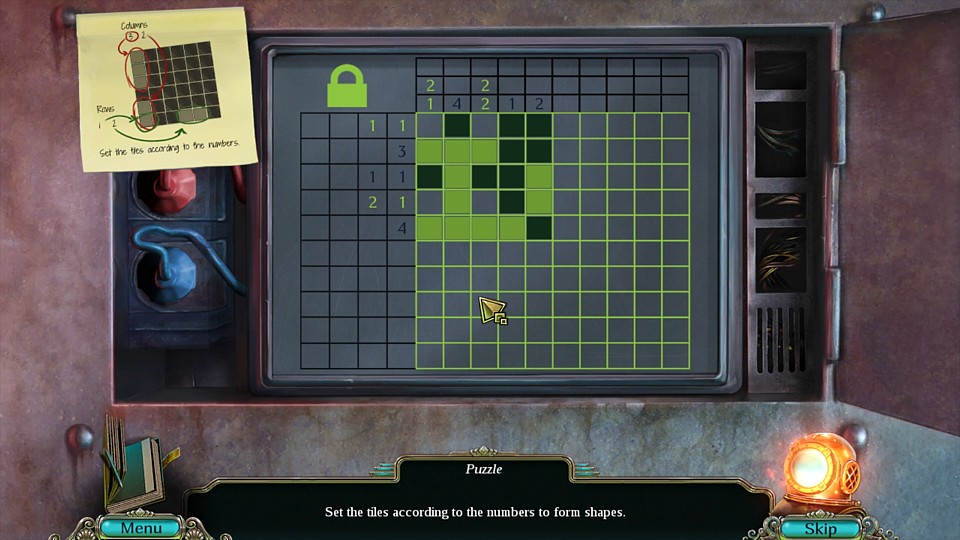
In this screenshot, the first of these puzzles is nearly solved. The two gray squares in the upper row will need to be clicked to complete it. Not sure if this shape is supposed to be anything, but it's what the game wants.
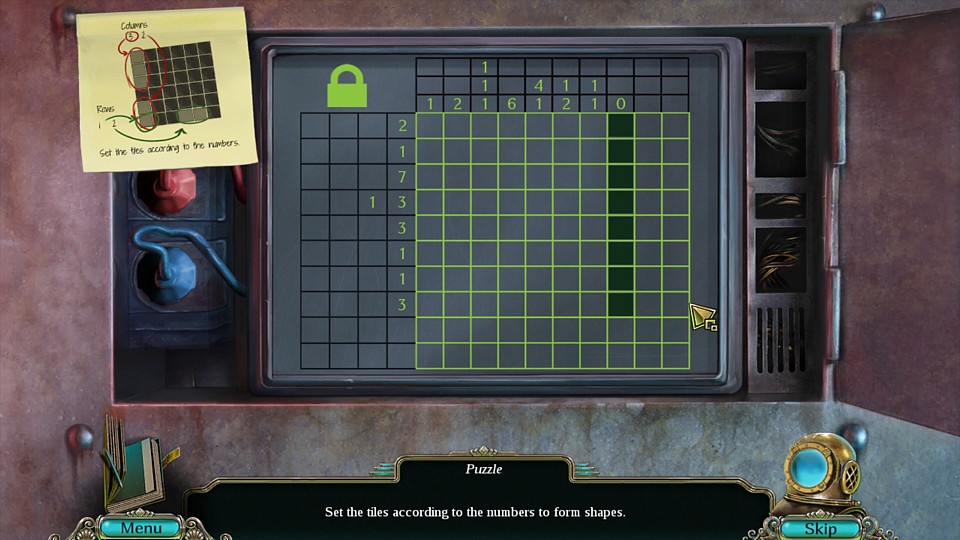
The next one is a little more complicated.
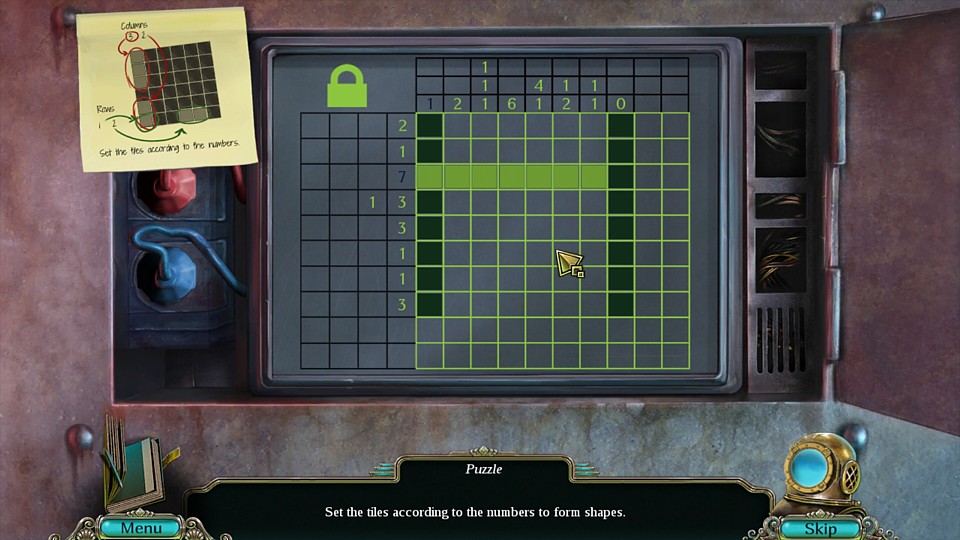
I would start by solving the row with the 7 because there are only seven tiles in that row, so it's a no-brainer. Then go from there.
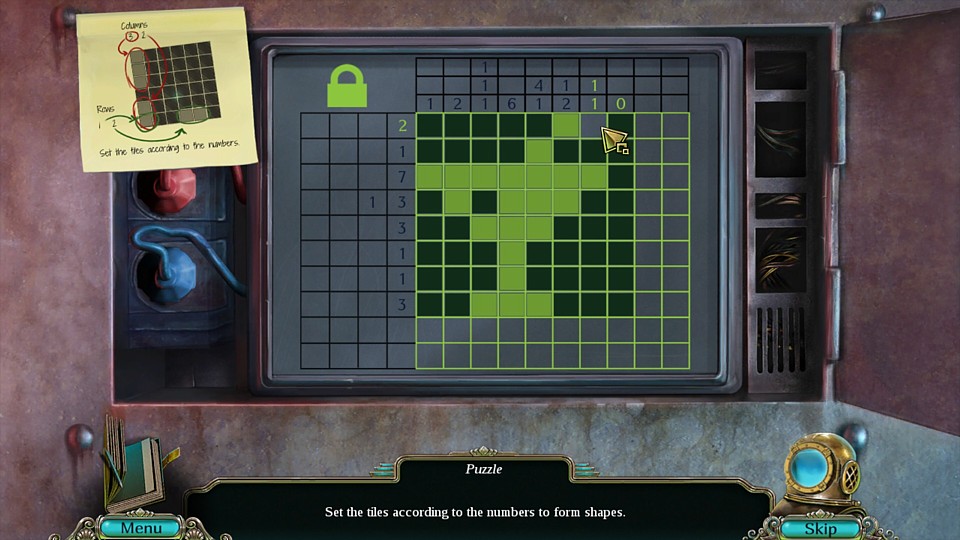
Here it is one click away from being completed. Unlike the first abstract picture, this one clearly looks like a martini glass.
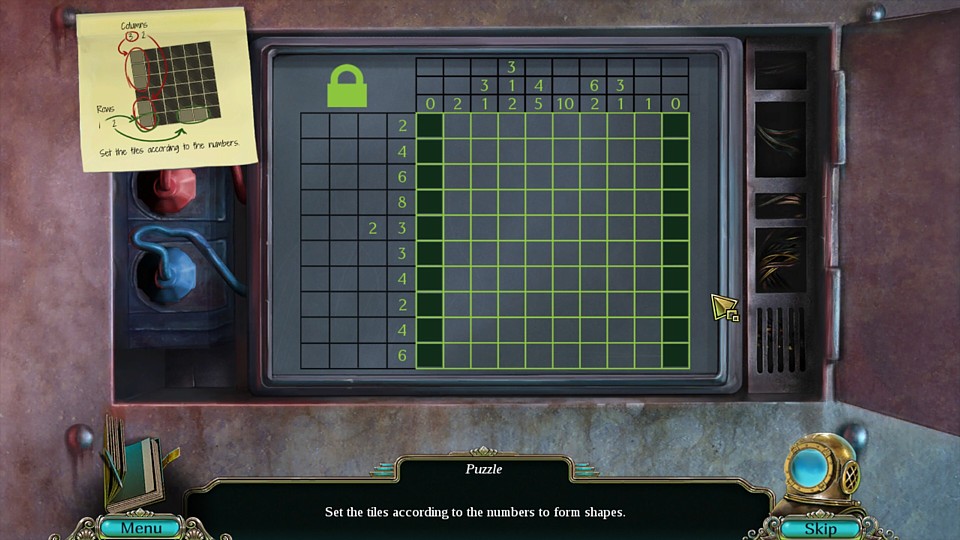
The third and final puzzle before you'll have the bonus chapter completed.
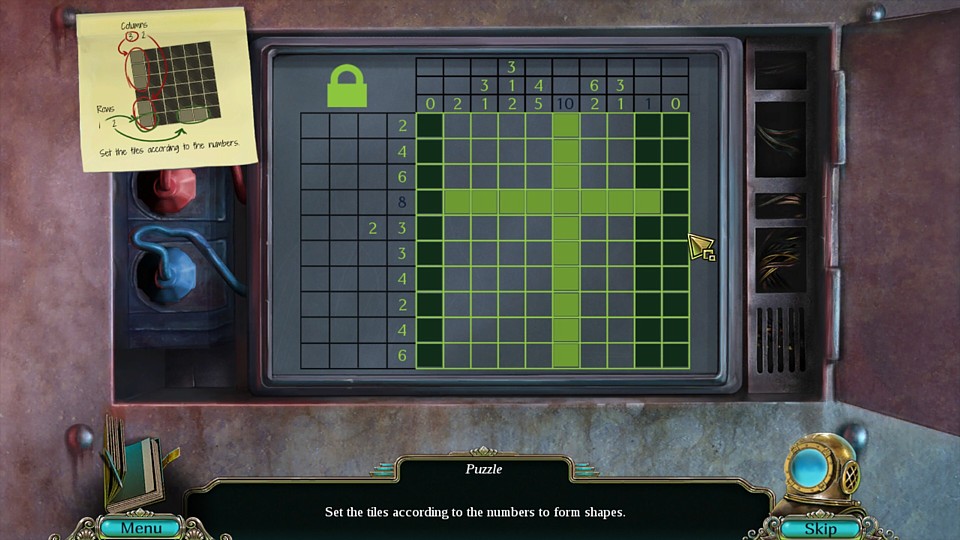
Start by solving the 10 column and the 8 row, because there are only 10 and 8 blocks in them. You might need to do some guesswork to figure out the rest. You can undo wrong moves by clicking on the tile again.
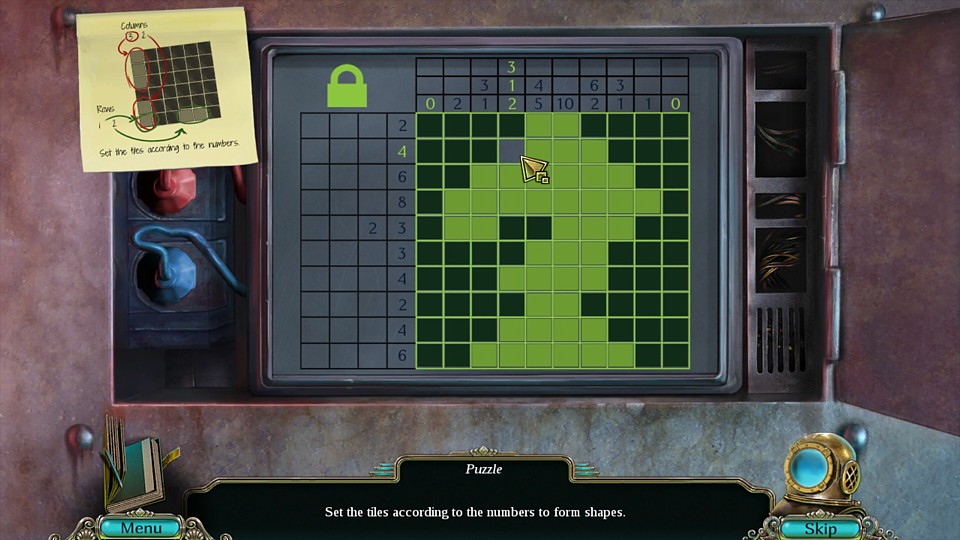
Here it is one click away from being solved (which I can't do because of instantaneous screen transition). Like the first puzzle, I'm not sure if this shape is supposed to be anything, but there it is.
|
