|
Publisher: Artifex Mundi Developer: Artifex Mundi Release Year: 2013
Time Mysteries 3 is a direct sequel to the second game in the series and picks up where its story left off. Esther discovers that Viviana, the evil sorceress she tangled with in the second game, escapes from her crystal prison in the future and destroys the world. Using her portable time traveling device, Esther must find a way to stop Viviana, who (as it turns out) may not be as bad as she seems as she's under the control of a more powerful and sinister being. The only problem with Time Mysteries 3 is that even with a bonus chapter, it is very short.

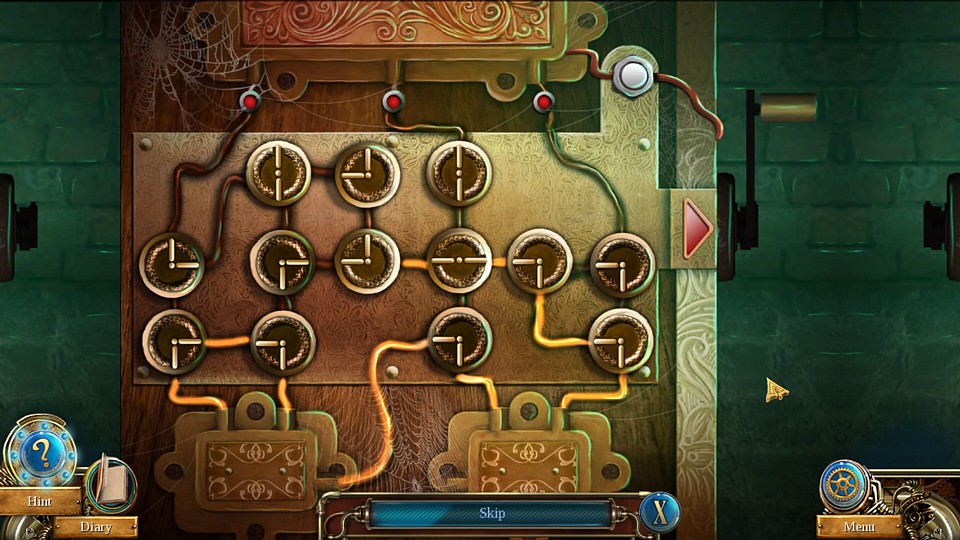
Type: Wire Connecting Puzzle
Comment: For the first puzzle, you need to turn the dials until the wires connect to all three of the lights above. Here is one possible solution. Turn the handle when you're done.
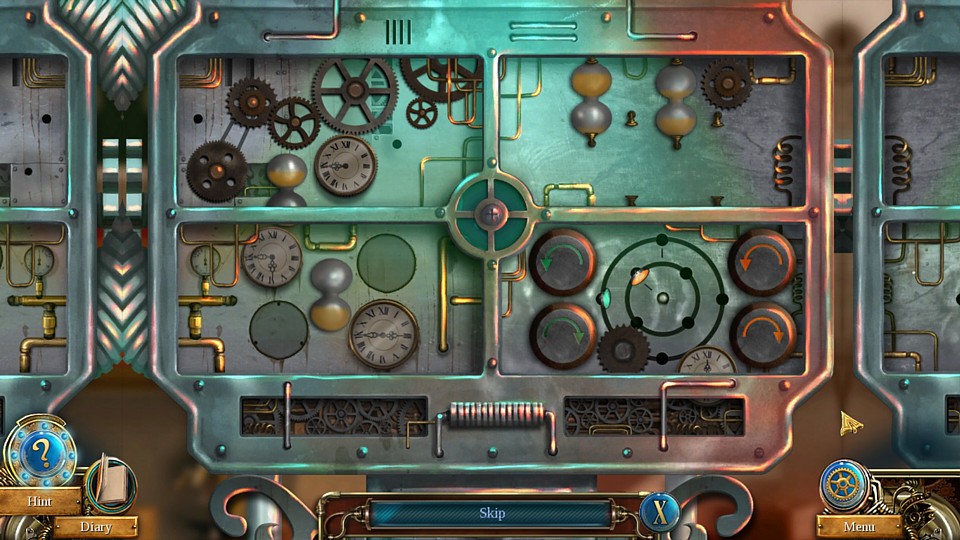
Type: Shape Matching
Comment: All you have to do for the first part of this puzzle is put the items in their proper compartments. The gears all go in the upper left, the clocks in the lower left, and the bulbs in the upper right.
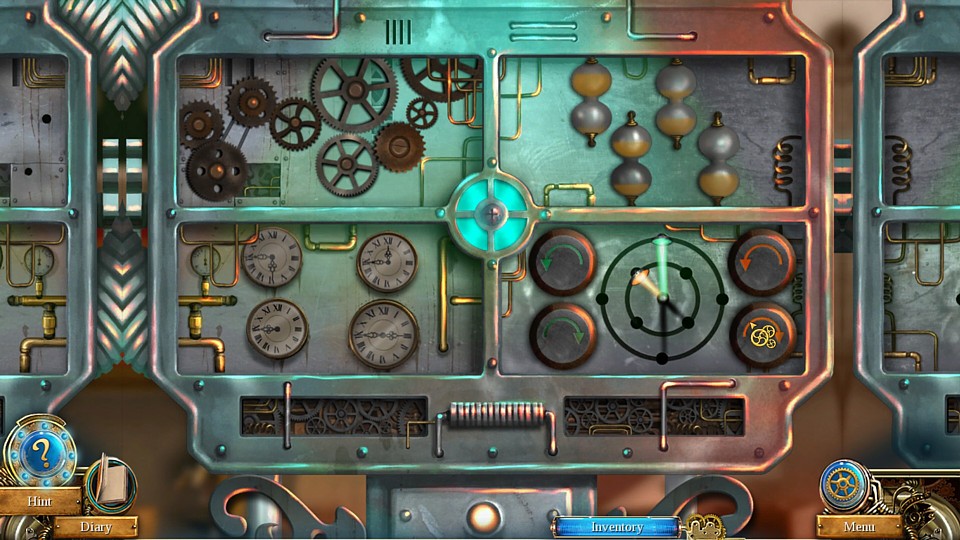
When you've done that, the lights in the lower right will turn on, and there doesn't seem to be a clue for what to do with them. You can use trial and error, or just put them in the positions shown in my screenshot.
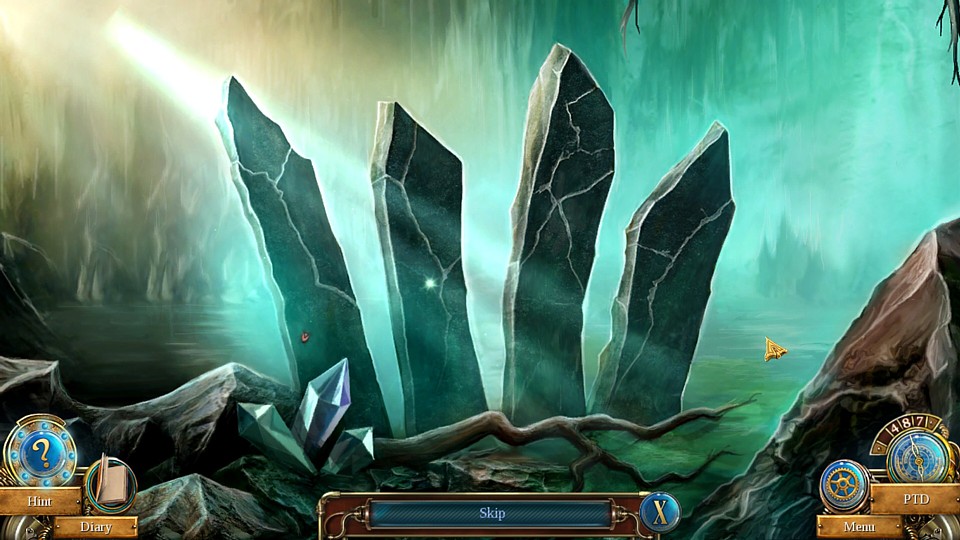
Type: Correct Order/Sequence
Comment: You must click on these shards in a certain order and each time you get it right, one of the three crystals in the lower left will light up. If you're playing the game on the casual setting, it will actually tell you which one to click next with a sparkle. But if you really need the solutions, they are: 2314, 4213, and 1432.
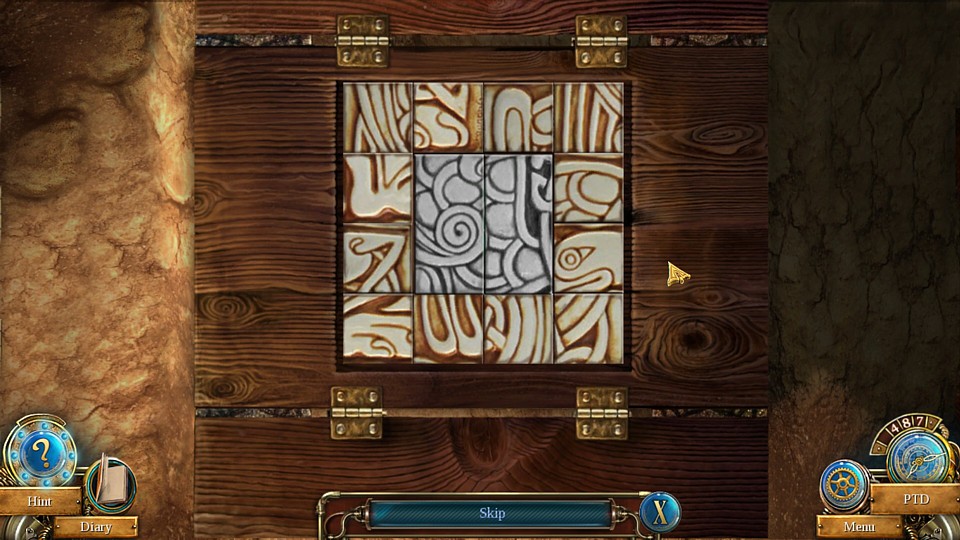
Type: Sliding Tile
Comment: Puzzle #4 is a sliding/swapping tile hybrid. You have to swap the pieces to move them around the permanent tiles in the middle until you have a complete picture. Here is what it looks like solved.
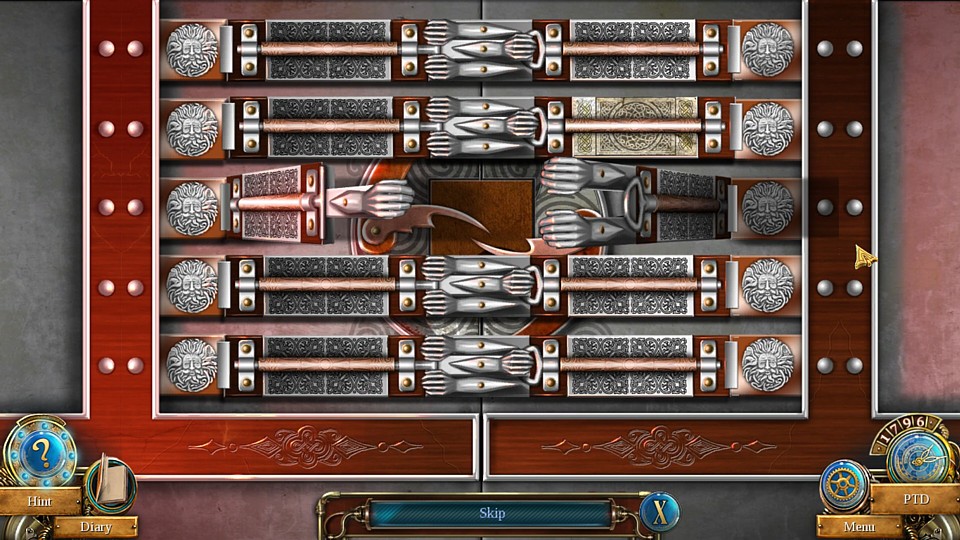
Type: On/Off Puzzle
Comment: This scary-looking lock is really just an easy on/off puzzle. Clicking the locks affects the others around them. They must all be set to "open".
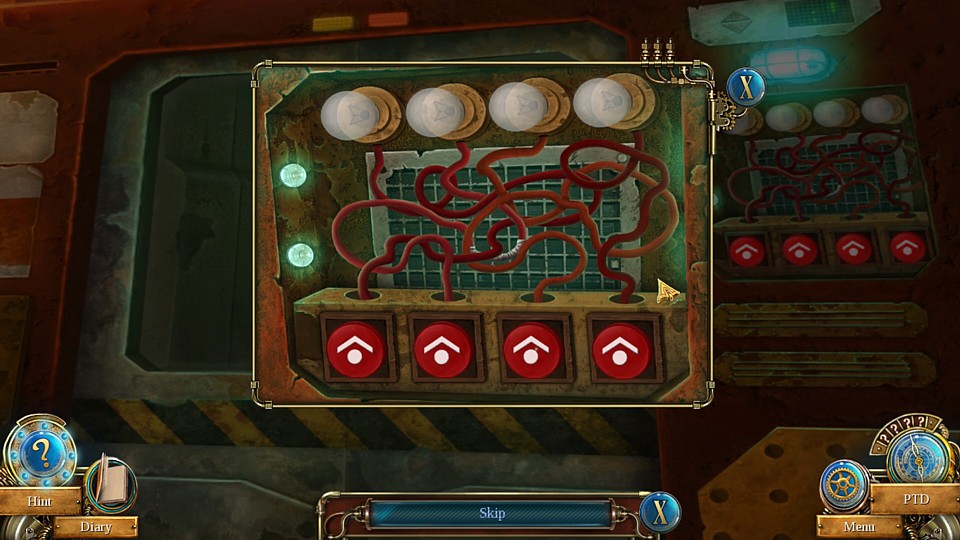
Type: Correct Order/Sequence
Comment: Just like with the earlier shards, the buttons must be pressed in a certain order. If you need the answer, it's 3241.
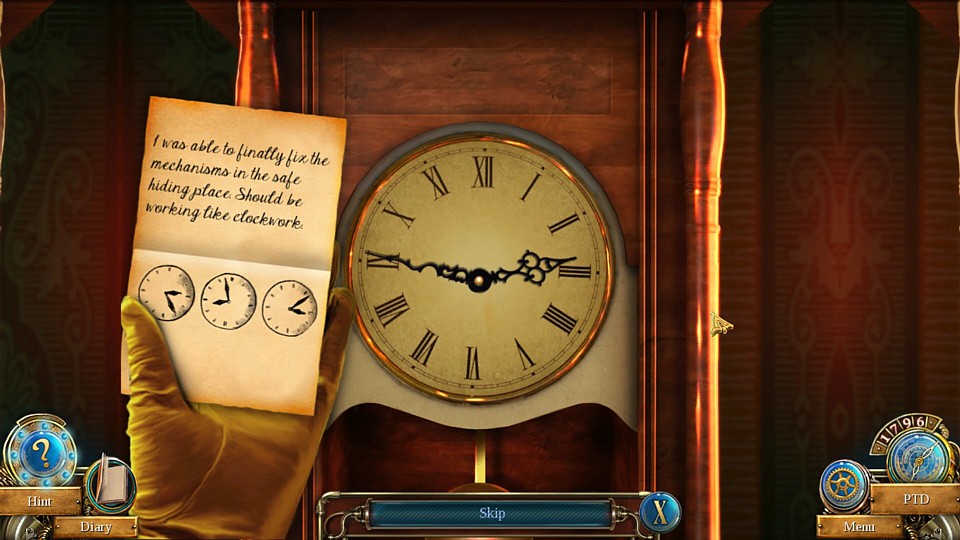
Type: Clock Puzzle
Comment: One by one, set the clock's time to the three times shown in the paper in Esther's hand.

Type: Object Removal
Comment: Move the junk on the table around until you find four pieces of the star emblem in the lower left corner. Click on them when you find them.
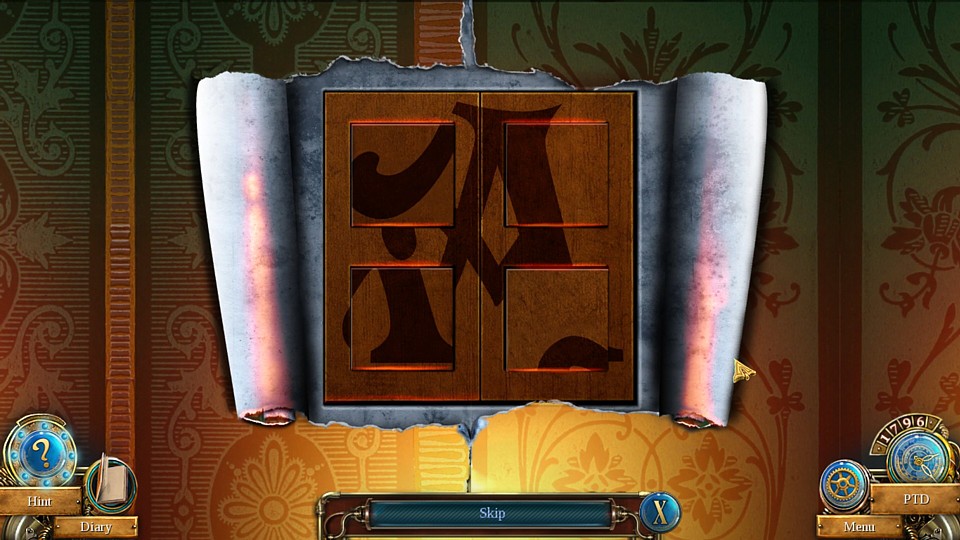
Type: Sliding Tile
Comment: Another sliding/swapping tile hybrid, even easier than the first. Just form the letter A and move on. Here is what it looks like solved.

Type: Correct Order/Sequence
Comment: Pressing the buttons on this machine will make the knight and dragon move forward and "battle" one another, but only if you press them in the correct order. Otherwise, the puzzle resets and you'll have to try again. The order is: Dragon, Shield, Dragon, Sword.

Type: Sliding Tile
Comment: A true sliding tile puzzle, you just knew this game would throw one at you eventually. Here is what it looks like solved.
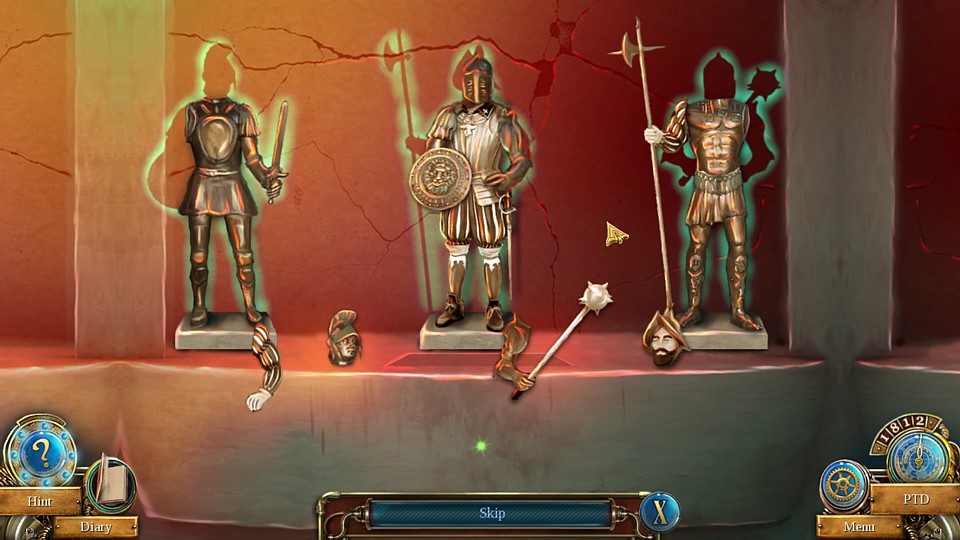
Type: Matching Shapes/Parts
Comment: These guys are all mixed up. Swap their parts until they're correct. Here is what they look like solved.

Type: Simon Says Music Puzzle
Comment: Repeat the notes on the piano in the order that it shows you. I failed to write down what it was, but it's only five notes, so it's not very hard.
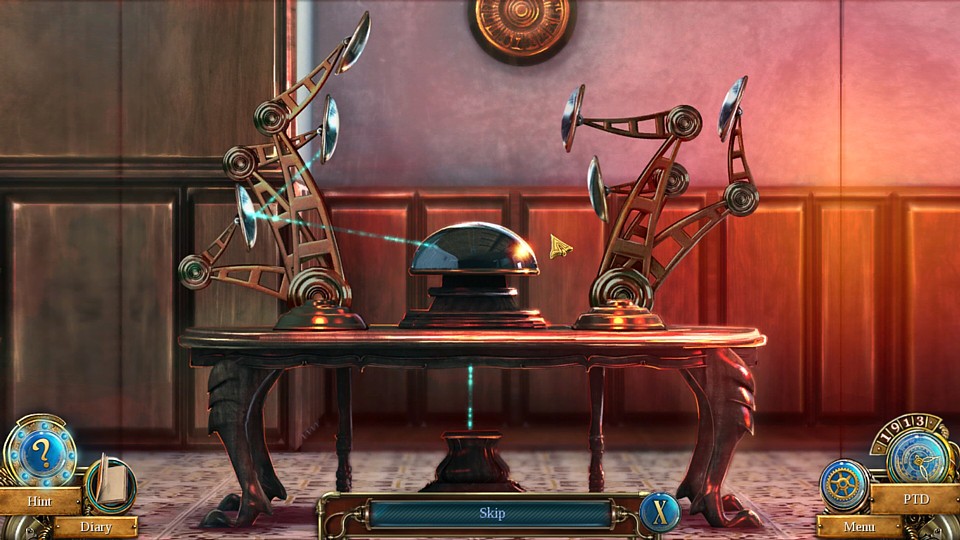
Type: Light Beam Puzzle
Comment: Move the lenses so that they eventually reflect the beam of light to the shield on the wall. Here is what it looks like solved.
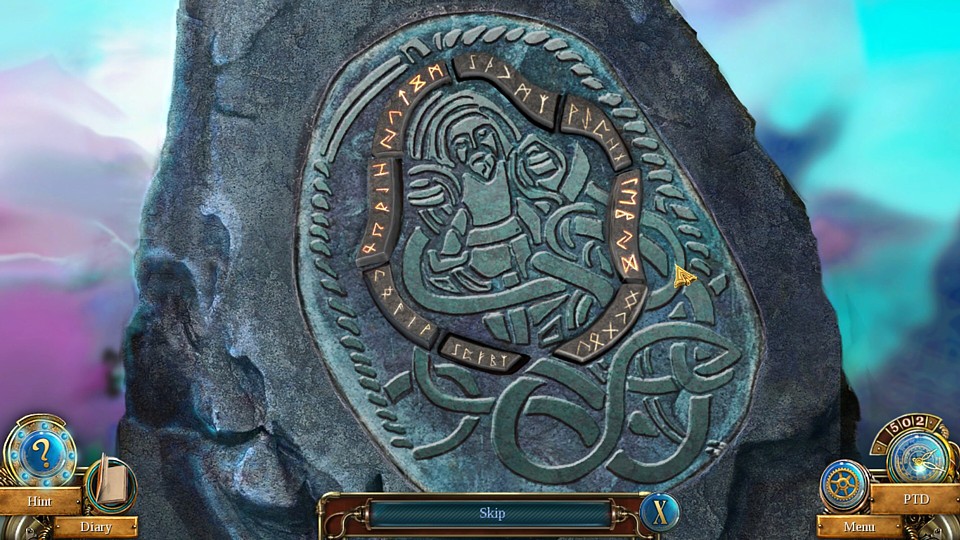
Type: On/Off Puzzle
Comment: Clicking on a rune will make the others near it turn off or on. You want them all set to "on".
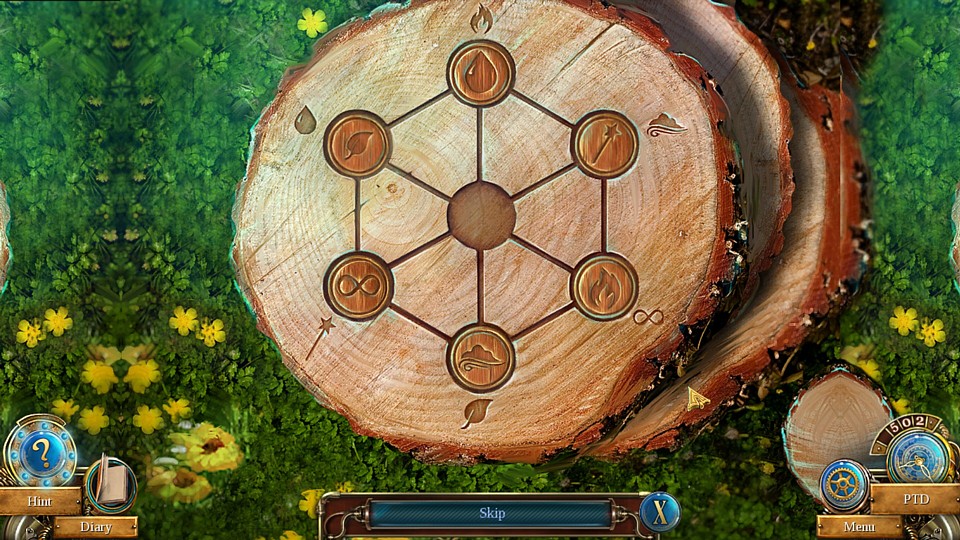
Type: Sliding Title Node Variant
Comment: The pieces in this puzzle must be moved to the nodes that bear the same symbol next to them. Here is what it looks like solved. Put your crystal ball in the middle when you're done.

Type: On/Off Puzzle
Comment: This is another on/off puzzle, this game has a ton of these. All the lights must be set to "on". Clicking one affects the others around it.

Type: Correct Order/Sequence, Sliding Tile, Rotating Rings Picture Puzzle
Comment: This is a three-parter. Start by clicking on the runes on the right in the correct order. That order is: 42153.
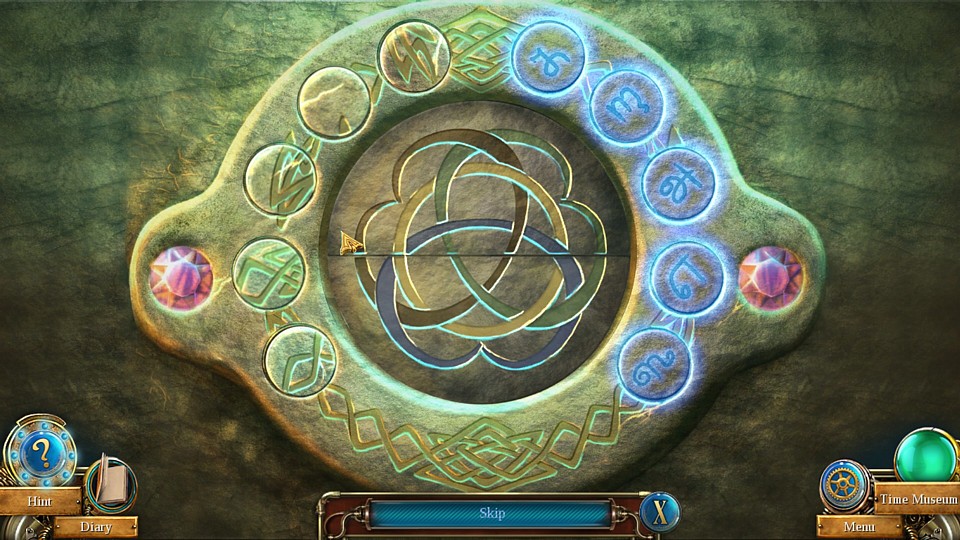
When that's done, swap the tiles on the left until their patterns match up with the design that runs through them.
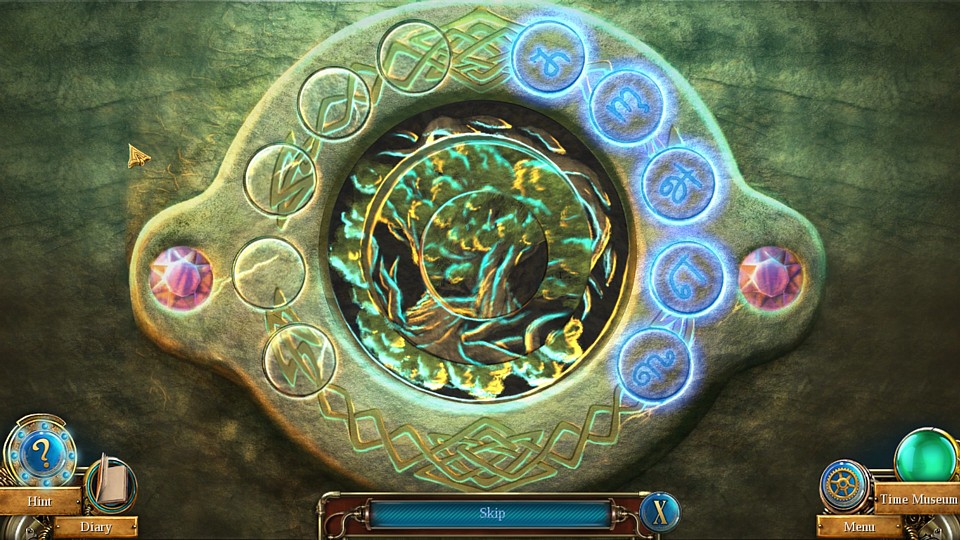
The center piece now opens up to reveal a rotating ring puzzle. Move the rings until you have the image of a tree. If you start by putting the roots in place with the outer rings, the rest will practically slide right into place.
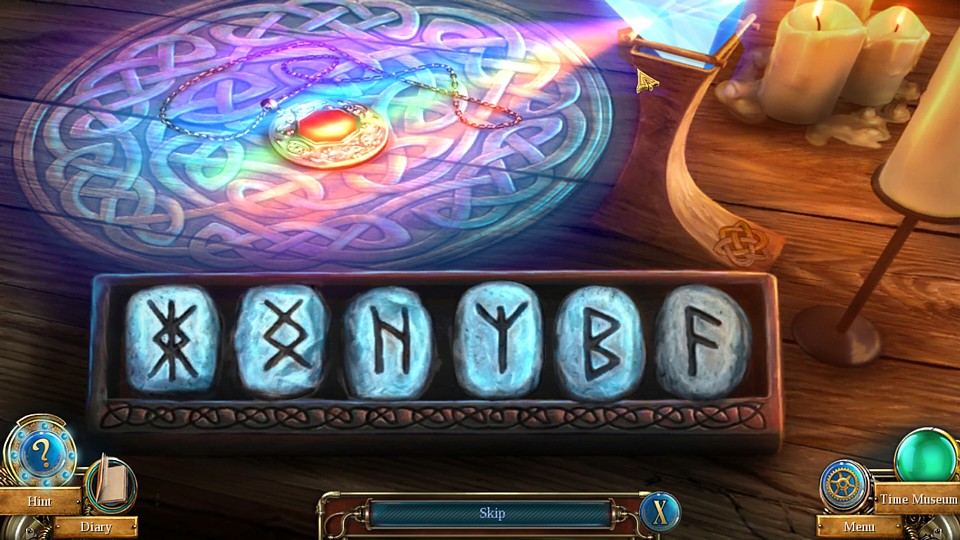
Type: Correct Order/Sequence
Comment: After placing your medallion and prism here, click the runes in the order shown. It is: 251436.

Type: Correct Order/Sequence
Comment: The game doesn't technically consider this a puzzle (no option to skip it), but I'll include it anyway. A nearby sheet of paper offers a clue here. You must pull the books out in a specific order, according to that paper. The order is: Bullhavok, Crowley, Dante, Goethe.
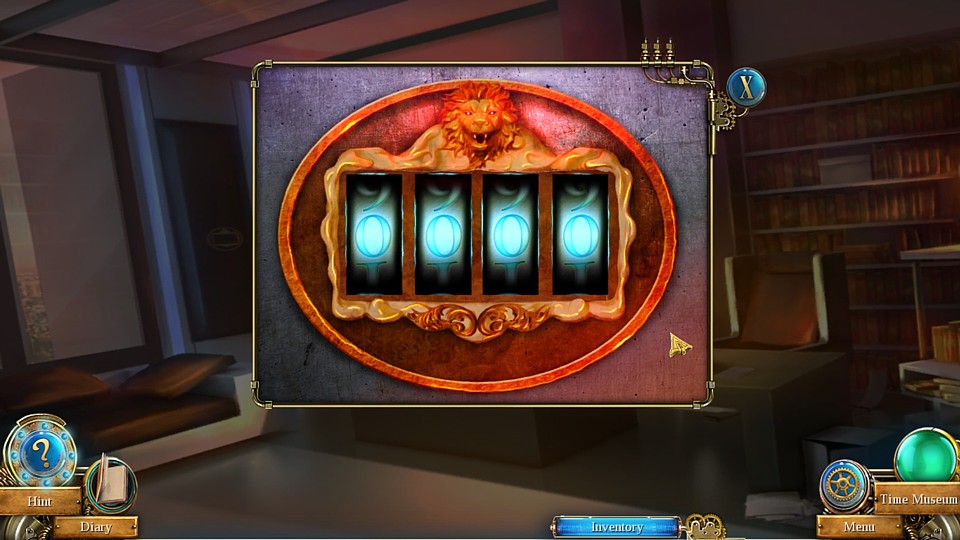
Type: Combination Lock
Comment: There's also a lock in this area that's not considered a puzzle. If you can't figure it out by the clue found in the room, the lock's combination is 1984.
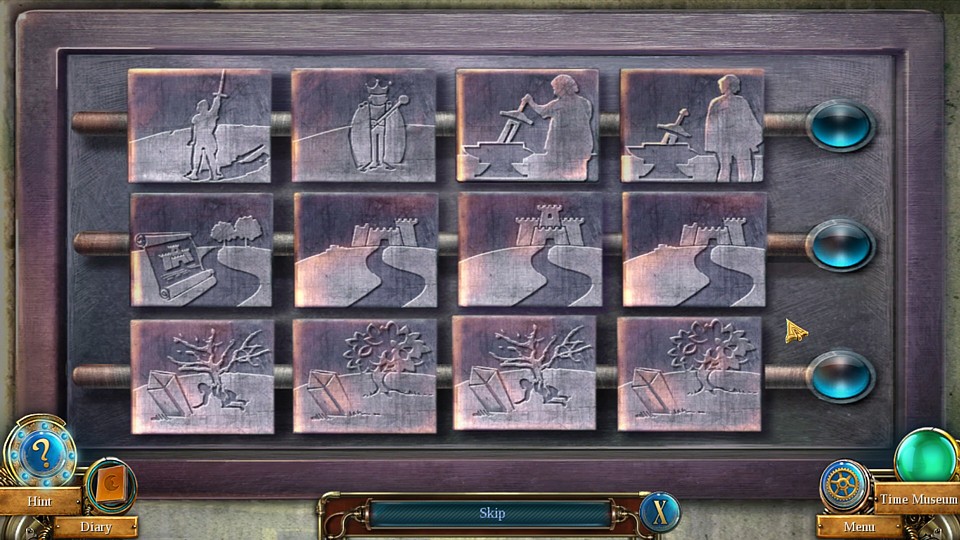
Type: Story Sequence
Comment: The last puzzle in the main game. Turn the tiles so each row tells a logical story.
Row 1: Guy sees sword, guy pulls sword, guy raises sword, guy becomes king.
Row 2: Blueprints, castle with one turret, castle with two turrets, complete castle.
Row 3: Merlin and Viviana fight, Viviana is crystalized, Merlin turns into a tree, crystal and tree alone.

Type: Swapping Tile
Comment: In the bonus chapter, you play as Michael who goes back in time to revisit part of the mansion from Time Mysteries 2. His first test is a sliding tile puzzle. Here's what the completed puzzle will look like.

Type: Sliding Key Puzzle
Comment: Common HOG puzzle. Moe the blocks out of the way of the keys, then slide them into place. Here's the completed puzzle if you have trouble.

Type: Magic Square
Comment: Each wine bottle represents a numerical value, determined by its color and the chart on the right. They must be placed on the racks so that they add up to 15 horizontally, vertically, and diagonally. It's easiest to start with the middle row since the 1 (red) and the 5 (magenta) are locked in place. This means the 9 (pink) should be placed in the slot to the left of them. See here for the full solution.

Type: Color Wheel
Comment: Since Michael is visiting the mansion from Time Mysteries 2, he has to solve one of the exact same puzzles from that game. Use the 2 to turn most of the red panels to green, then use the 3 to offset it. Switch back to the 2 when necessary. It's hard to explain an exact solution, but it's not that difficult and if you played the previous game, you've done it before.
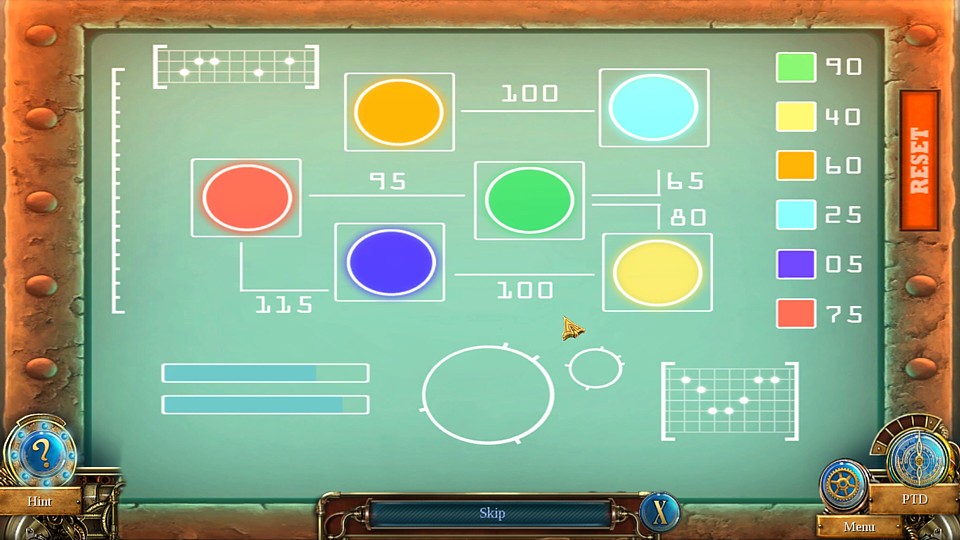
Type: Battery Number Puzzle
Comment: This game gives you the common HOG battery number puzzle, albeit with lights on a computer screen instead of actual batteries. Normally, I like to start by solving the largest number first, but this one's a bit tricky, so I'd recommend starting with the 80 instead because it can only be solved with the 75 and the 5. See here for the full solution.
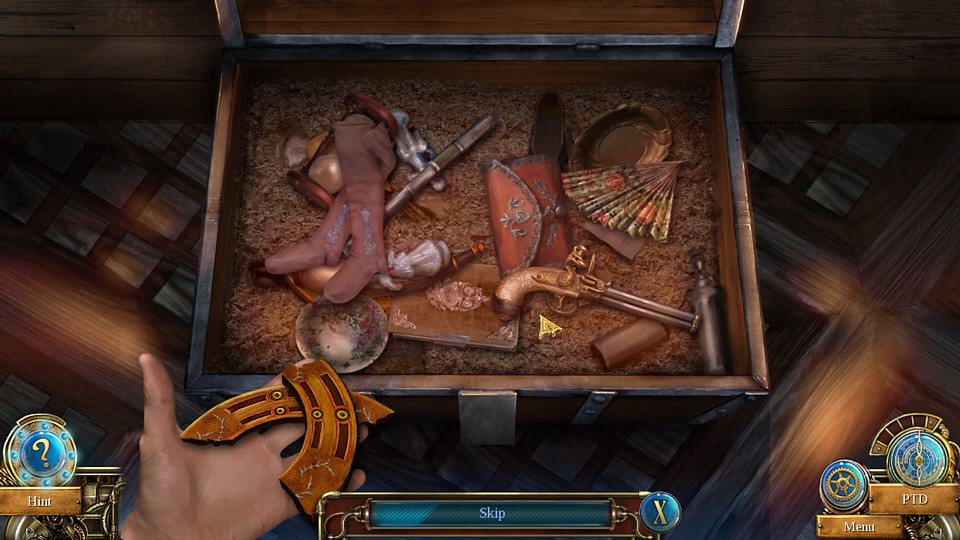
Type: Object Removal
Comment: Keep moving objects aside to find the puzzle pieces as shown in Michael's hand in my screenshot.

Type: Scrambled Picture Puzzle
Comment: The bonus chapter's final puzzle is very easy, and the only real trick to it is knowing which of the scenes you are supposed to complete on the computer screen. But you should know if you've been paying attention to the story. Click each square to change the image that's in it until they all form the complete correct scene. If you can't figure it out, see here for the full solution.
|
