|
Publisher: PlayWay Developer: PlayWay Release Year: 2015
A girl named Kinnat finds a mysterious book called "The Chronicle" in a novelty shop that whisks her away to a fantasy world where her mother had disappeared years earlier, now transformed into a stone statue. With the help of a strange leprechaun, Kinnat must find a way to break the spell on her mother and return home. She has the aid of her mother's magical medallion, which can be used to illuminate secret hidden items on almost every screen of the game. But part of the medallion is missing and Kinnat must find the missing pieces to succeed. Chronicle Keepers boasts some really beautiful scenery, but is rather short and easy, especially for a HOG released in 2015, and has some annoying lag issues. It's also strangely similar to Nearwood (released a year earlier) in both plot and setting.


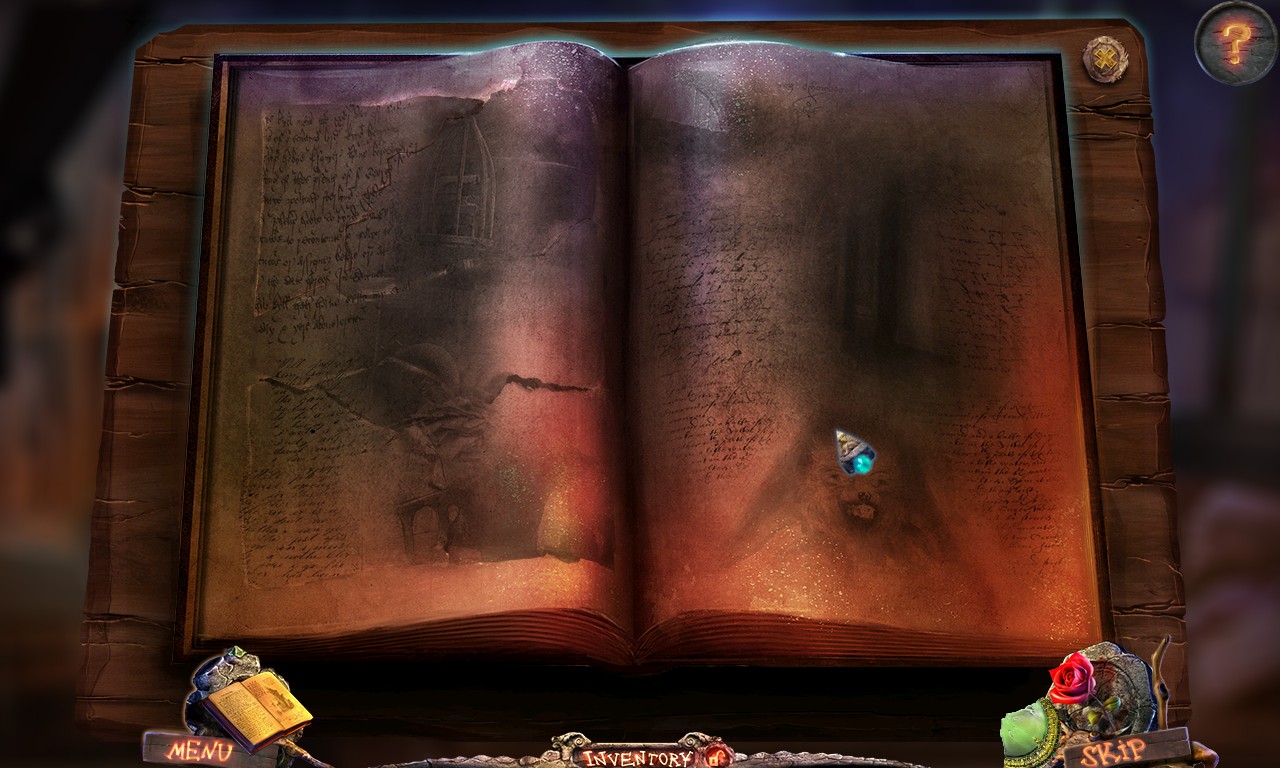
Type: Jigsaw Puzzle
Comment: Reassemble the torn page of the book. Here is what it looks like solved.

Type: Correct Order/Sequence
Comment: The skull switches around this pool need to be flipped in a particular order to drain it. Numbering left-to-right, that order is 3241.

Type: Correct Order/Sequence
Comment: The colored bells hanging from this tree must be rung in a particular order. The order is determined by the colored smoke coming out of the dinosaur skeleton. That order is: Green, Red, Yellow, Blue.

Type: Circular Tile Swapping
Comment: Click two tiles on this jar's jumbled up emblem to swap them and eventually form a complete image of a dragon with a Celtic symbol. Here is what it looks like solved.

Type: Rotating Parts Picture Puzzle
Comment: The discs on this lock must be turned until they are all positioned in such a way that they reveal a keyhole. Here is what it looks like solved.

Type: Correct Order/Sequence
Comment: Four of the leaves at the top of this area have a water droplet that will fall off and drip down to the bottom of the screen when you click them. Each drop is a different size and falls at a different rate of speed. You need to click them in the correct order so that all droplets reach the bottom of the screen at the same time. Small drops go slower than large drops. The correct order is: 4213.

Type: Tic Tac Toe
Comment: Win a game of Tic Tac Toe - the CPU is the X's, you are the O's. This puzzle is likely randomized, so I'm not sure I can give a solution that will work every time, but it's Tic Tac Toe, so it should be easy to win eventually.

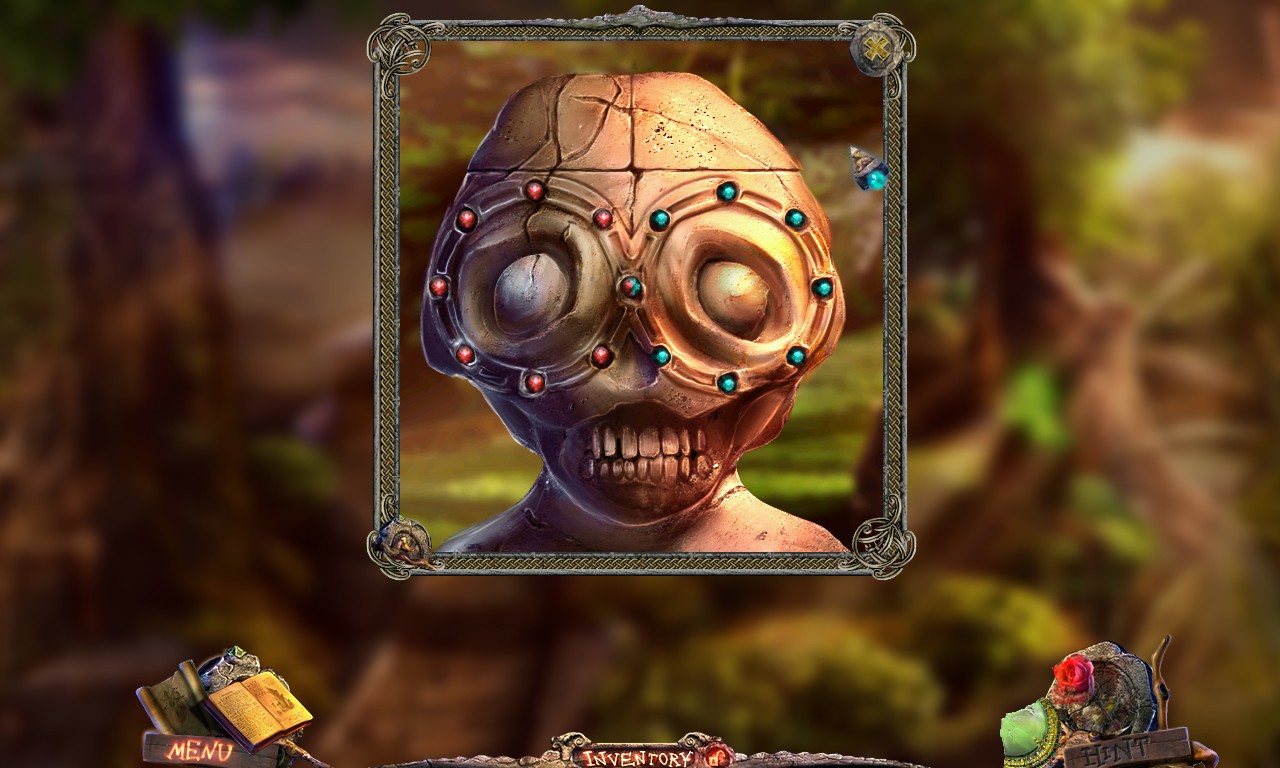
Type: Color Matching via Rotating Parts
Comment: Click the eyeballs of this strange skeleton statue to rotate the colored rings. You can swap the piece that's in the middle where the eyes meet. Ultimately, all the red beads must be on the left, and all the blue beads must be on the right. Here is what it looks like solved.

Type: Color Matching via Rotating Parts
Comment: You're not seeing double, there's another one of these and it's solved exactly the same as the first. Here it is solved in case you still need to know. (Yeah, I popped one of his eyes out when I was done.)

Type: Color Matching via Rotating Parts
Comment: Yup, another one. After you solve it, you'll need to click the mouth several times to pull it off. Lovely.

Type: Correct Order/Sequence
Comment: Hopefully, you've been using your medallion on every screen to find hidden animals that give you a coin when you click on them. The coins are needed for this puzzle, and they must be placed in the correct order. Keep in mind that they must go in absolute order of the screens they are found on. In other words, suppose you missed the octopus on the first screen, found the cat, then came back for the octopus later. The octopus still comes first in this sequence because the screen it's found on is visited first. Also, many of the animal coins presented here were never found at all, so hopefully you remember which ones you found and where you found them. If not, trial and error will help. A coin glows green when it's put in the correct spot. It glows red if it's wrong. From left-to-right, the correct solution is: Octopus, Cat, Snake, Eagle, Horse. Here is a screenshot of it.

Type: Rotating Rings Picture Puzzle
Comment: Turn the rings until you get the full image of a lion's face, right-side up. Here is what it looks like solved.

Type: Swapping Tile
Comment: Swap tiles to put together the image of two flowing rivers. Tiles turn brown when placed in the correct spot. Here is what it looks like solved. (You'll have to come back with more water later to completely fill it out and retrieve the rune from the center.)

Type: Mini Game
Comment: Move the cup back and forth to catch the blue falling grapes. Ignore the green ones. They'll fill up in a row along the bottom of the screen and you'll win when it's completely full.

Type: Simon Says
Comment: The runes in the middle will light up in a particular order, and you must duplicate that sequence with the rune stones above. To simplify things, let's call these runes by the letter they most closely resemble:
XPCRFDNY
First Sequence: RXY
Second Sequence: CDYX
Third Sequence: RCYN

Type: Shape Matching
Comment: Crosses will appear and disappear on the wall here and all you have to do is match up the crosses you should have collected earlier to their shapes while they're visible. If you don't have the crosses, go back and look for them with the medallion. They're all on one screen. When you've placed five of the crosses, a fifth hole will open up where you can place the last one. Here is what it looks like solved.

Type: Jigsaw Puzzle
Comment: Collect the broken pieces of the mirror on the previous screen then replace them here. I don't have a solved image because of fast screen transition, but you don't need one. It's easy.

Type: Telescope Puzzle
Comment: Turn the wheel to zoom the telescope in as far as it will go and wait a moment.

You'll see blurry letters "RON". Wait for the game to tell you to focus on it, then move the lever up until the game says you've solved it.

Type: Gear Fitting Puzzle
Comment: After finding all the gears with the medallion, place them here and don't forget to use the rubber bands hanging in the lower right to connect the smaller gears. Then pull the lever to open the door. Here is what it looks like solved.

Type: Concoction
Comment: When you confront this guard, you'll get an empty wine bottle and a note on how to create a type of wine that he wants. You will need to enter the various buildings in this area to get the ingredients.

First, find this grape wine barrel and turn the handle three times.

Next, find the cherry wine barrel and turn the handle two times.

Finally, find the chokeberry barrel and turn the handle two times. If you make a mistake, click the double arrows to drain the bottle and start again. There is also a fourth wine barrel with plums in this area that you can completely ignore.

Type: Find the Differences
Comment: Click on all the things in the mirror that are different from the image on the right. Quite frankly, I found the differences too difficult to discern through the green glow on the mirror and solved this by clicking everywhere until I eventually got them all. Hooray for no misclick penalty on this game, I guess.

Type: Jigaw Puzzle
Comment: You'll collect four metal plates and a weird key. Assemble them on this chest to open it. Here is what it looks like solved.

Type: Combination Lock
Comment: The code for this lock is 384, but the game won't let you play with it until you find the paper with the code.

Type: Color Matching via Swapping Parts
Comment: Click on two adjacent gems to swap them. Move them around until all gems of one color are matched up to the colored lines on the outer ring. Here is what it looks like solved.

Type: Sliding Tile
Comment: This sliding tile puzzle is particularly irritating because it's not clear what pattern you're supposed to be forming and the constant flow of water makes it hard to see. When you have it right, the final piece will appear above the doorknob. Snap it in place to continue.

Type: Concoction
Comment: For the final puzzle, put all four of the vials in the slots and the bottle in front of the beaker. Pour the colored liquids into the beaker in the order shown on the note: Red, Red/Green, Green, Blue. Then click the candle to turn on the burner. Click the valve to send the potion into the bottle. Collect the bottle when it's done. You now have what you need to save Kinnat's mother from her stone prison.
|


