|
Publisher: MumboJumbo Developer: MumboJumbo Release Year: 2008
Introducing Samantha Swift, an archaeologist whose approach to the field is waiting for someone to make a big mess and then picking it clean. She will take toilet paper from someone else's archaeological dig and say, "I hope they like using leaves." More importantly, she's on a quest to find the six Hidden Roses of Athena, even if she has to break into Buckingham Palace and steal the crown jewels to do it. One of the confusing things about writing a Samantha Swift guide is determining exactly what I should consider a "puzzle" and what is just "use items from your inventory here" or "disguised hidden object scene", which I typically don't cover. Problem is the gamee does not give you options to skip puzzles, so I have to determine what I should include by my own standards.


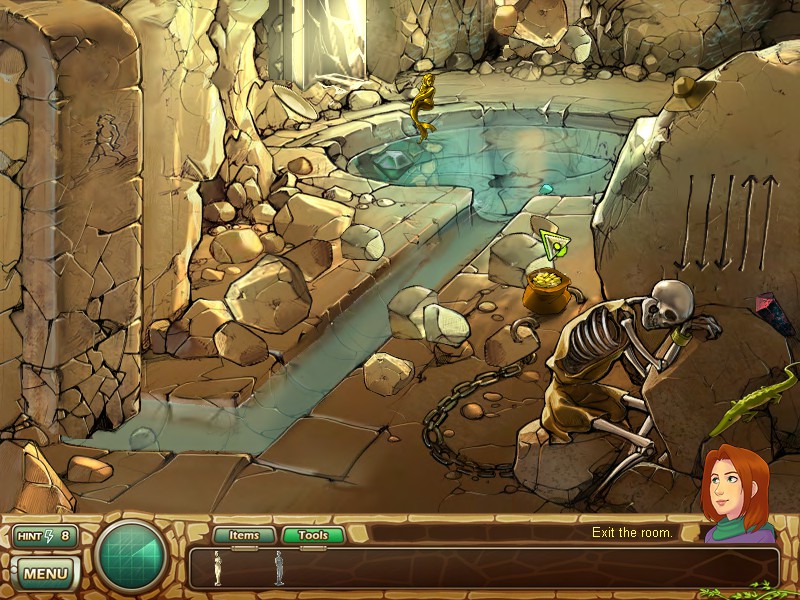
Type: Lever Puzzle
Comment: The levers on this first puzzle must be put in specific positions. The clue can be found in another nearby room. The answer is: Down, Down, Down, Up, Up.

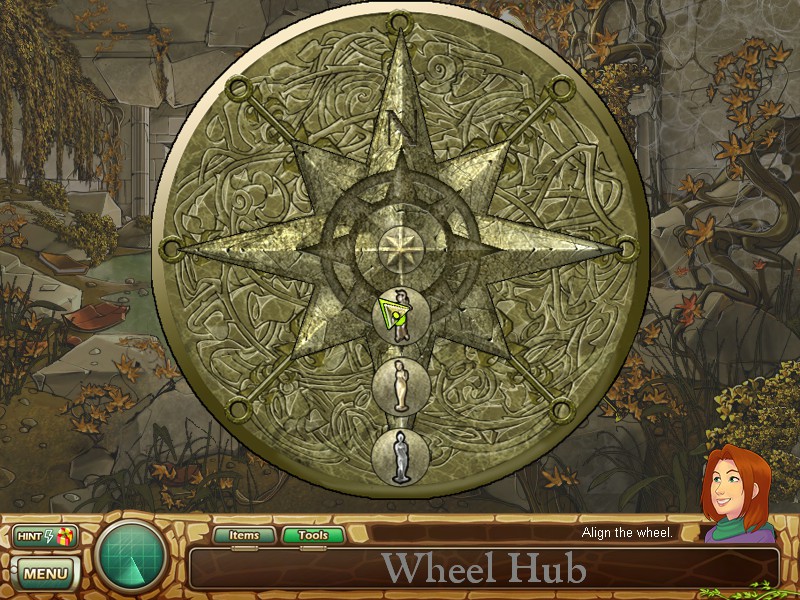
Type: Rotating Rings Picture Puzzle
Comment: After you place the three goddess statues into this puzzle, rotate the rings to complete the image of a star. The statues will be lined up vertically at the bottom. Here is what it looks like solved.

Type: Jigsaw Puzzle
Comment: Put the pieces of the goddess statue from your inventory on this screen and reassemble them. Here is what it looks like solved.

Type: Jigsaw Puzzle
Comment: Put the mural blocks from your inventory on this screen and reassemble the picture. Here is what it looks like solved.

Type: Digging Puzzle
Comment: Use your shovel to dig around for the items on the list. Uh, for some reason as soon as a used it, that sun-shaped piece popped out immediately and left a hole in the shape of itself, which I'm pretty sure is a glitch because none of the others do that.

Type: Match 3
Comment: Click two symbols on this playing field to momentarily swap them. If you create a chain of three or more of the same color, the symbols will disappear and any stone tiles underneath will be destroyed, graudally revealing this image below. Until you have them all removed, more symbols will fall down to replace the ones that disappear. Just keep at it until they're all gone.

Type: Object Repair
Comment: Drag the pieces of stained glass that appear on the right into the same-shaped empty slots on the window. More will appear when you've successfully placed the first four pieces until the entire window is finished. Unfortunately, the scene transitioned far too quickly for me to get a screenshot of the completed window, but this is really a no-brainer.

Type: 3D Labyrinth
Comment: This is a very strange hidden object scene that is combined with a first person view maze. As you move through it, click the knights and animals that you see on the walls to check them off the list. I am not entirely sure of the significance of the letters on the signs, but even if you take a wrong turn, the maze is rather simple, so it's easy to turn around and find the correct path. At the end is a wooden door with a skeleton key. If you found all the knights and animals, use the key to unlock the door and leave.

Type: Code Word
Comment: When the game asks you to find the "Rose of Justice" on this scene, click the K at the bottom of the wheel and going in a clockwise direction, spell out "KINGARTHUR". Here is what it looks like solved.

Type: Weight Balancing Puzzle
Comment: Spelling out "KINGARTHUR" on the wheel swaps out the King Arthur figurine with a Lady Justice one. Click on her, then put the sword from your inventory in her right hand, the scales on her left, and the blindfold on her eyes.

The camera will zoom in on her scales. You must place the weights from your inventory into the scales so that there is an even number on both sides. Here is one possible solution.

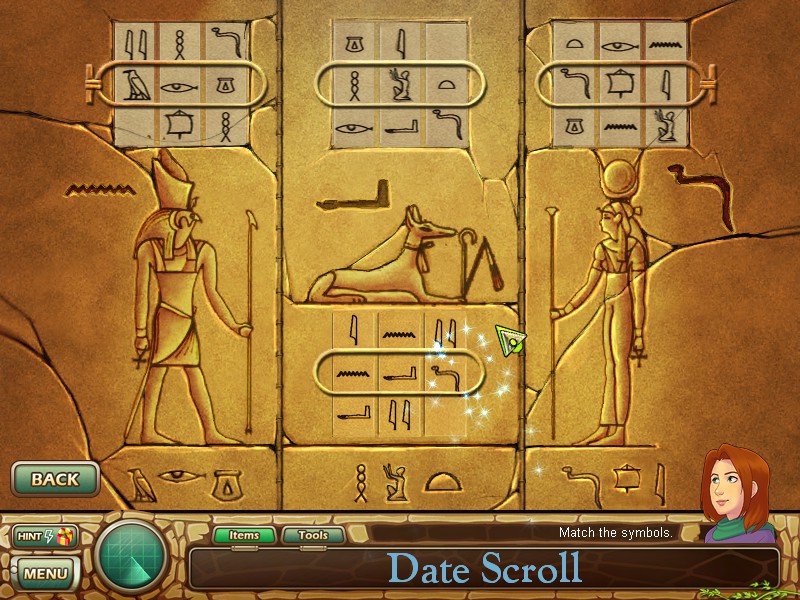
Type: Hieroglyphics Puzzle
Comment: For the first part, simply match the hieroglyphics that are circled to the patterns below. Click the top or bottom of each reel to cycle the symbols up or down. Here is what it looks like solved.

A new set of symbols appears at the bottom. To find the right code for it, use the duster from your inventory to uncover three partially-hidden hieroglyphics on the wall (they look like a wavy line, an arm, and a snake). Here is what it looks like solved.

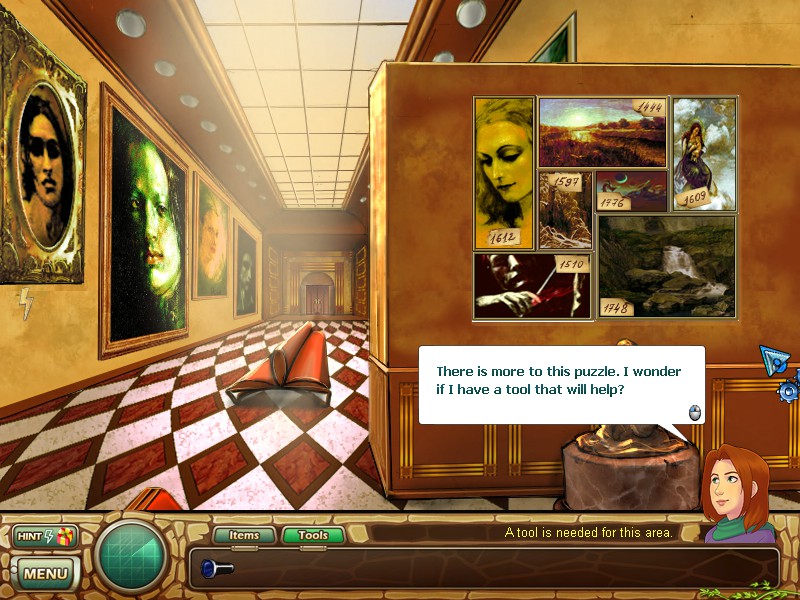
Type: Jigsaw Puzzle
Comment: Rearrange the paintings on the wall by date in the order that the note in Samantha Swift's hand shows. Here is what it looks like solved. When you are done, use the black light from your inventory to reveal this image of a centaur statue. The arrow by the shield is a clue to go back to this statue from the previous room and click on the shield until the star design lines up properly.


Type: Matching Pairs
Comment: I have two pictures here because there are two of these puzzles in the same room that are almost exactly the same. Click on matching pairs of Fleur de Lis designs until they are all gone. That's it.

Type: Find the Differences
Comment: You must click on all the differences between these two pictures. Most of them are obvious, but the two I think are the most difficult to spot are the extra set of windows on the bottom left of the building in the left picture, and the extra window on the building in the right picture where there is only a blank wall on the left. It's below the satellite dish and slightly to the left.

Type: Jigsaw Puzzle
Comment: Arrange the sand art tiles to match up by color and designs. Here is what it looks like solved.

Type: Color Puzzle
Comment: Use the paintbrush and cans to paint the wheels. When you've painted all three, they will spin. Any that are the correct color will turn green, so this takes some trial and error. You will need to do this three times to solve the puzzle. The correct answers are:
First Set: All Yellow
Second Set: All Red
Third Set: Blue, Red, Yellow

Type: Match Object to Picture
Comment: You're going to recreate the map in the lower right corner in a Zen Garden. Take the houses from the bottom left and arrange them on the big grassy island like the map shows. Then take the stones and place them around the field to match the positions of the smaller islands. Finally, take the rake and draw lines around all the landmasses (you don't have to be very precise). Here is what it looks like solved.

Type: Tile Rotation Picture Puzzle
Comment: Rotate the door tiles to form the image of a rose. You will know if they are positioned correctly because they will change to a different shade of brown. Here is what it looks like solved. You will have to use the door pull from your inventory to actually open it when you're done.

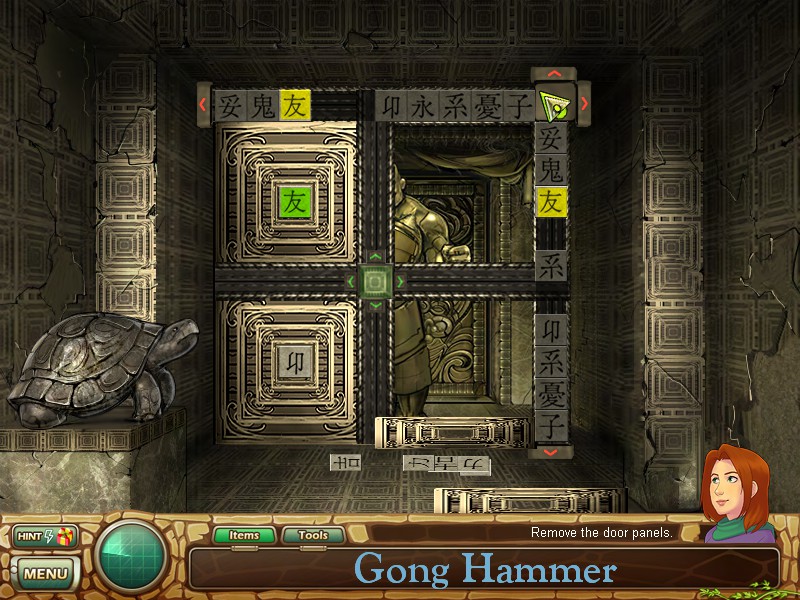
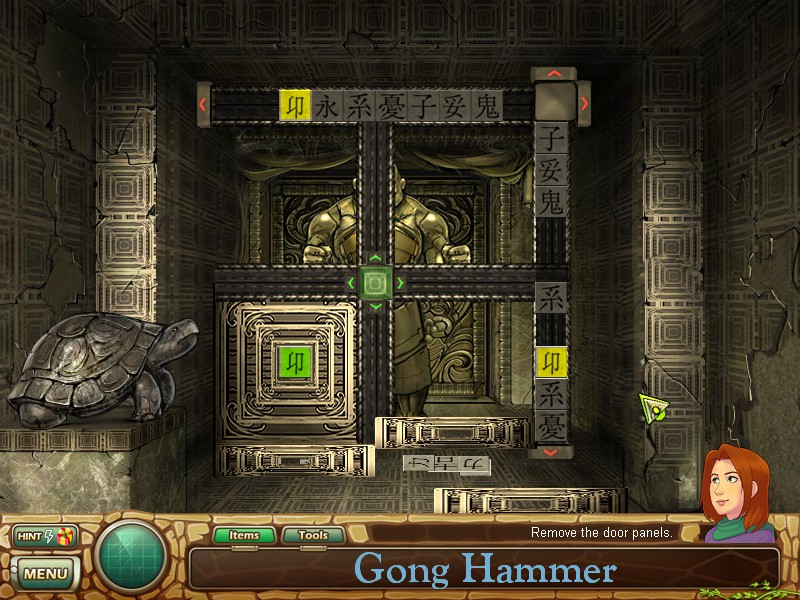
Type: Matching Symbols
Comment: This is a weird one. Each of these door panels has a Japanese symbol that you need to match up with the row above and the column to the right.

Click the arrows to move the symbols on the row or column. When you match them as I have for the bottom right panel in this screenshot, the middle segment lights up and you can now drag it around.

Drag it over the symbol that has been lit up, and that door panel will crumble away. Repeat this for the other three panels.

Type: Maze
Comment: You will need to drag items from your inventory through the maze of lasers to their proper glass tubes to deactivate the security system. Your mouse pointer must not touch the lasers or you will be jolted and have to try again.

Put the silk scarf in the tube for Japan.

The red rose goes in the tube for France. These are the easy ones.

Avoid the lasers and put the green rose in the tube for Tibet.

If you can do that, you can easily get the gold rose in the tube for Rome right next to it.

The purple rose is for England. Drag it up from your inventory and then back down to the tube.

The single hardest one to do, weave the blue rose through the maze and drop it in Guatemala's tube.

Once the lasers in front are deactivated, use the sun disk on the leftmost set of lasers on the back wall. Click the panel to open it and free Dr. Butler. You're done with this game's puzzles.
|


